> ## Documentation Index
> Fetch the complete documentation index at: https://docs.testsprite.com/llms.txt
> Use this file to discover all available pages before exploring further.
# Key Terms
> Essential TestSprite concepts explained simply.
## Generate & Regenerate
These actions control how TestSprite creates and updates your test suite. Generate creates new tests for the first time, while Regenerate recreates existing tests from scratch when your application or requirements change significantly.
### Generate
Create tests for the **first time** based on your PRD and project.
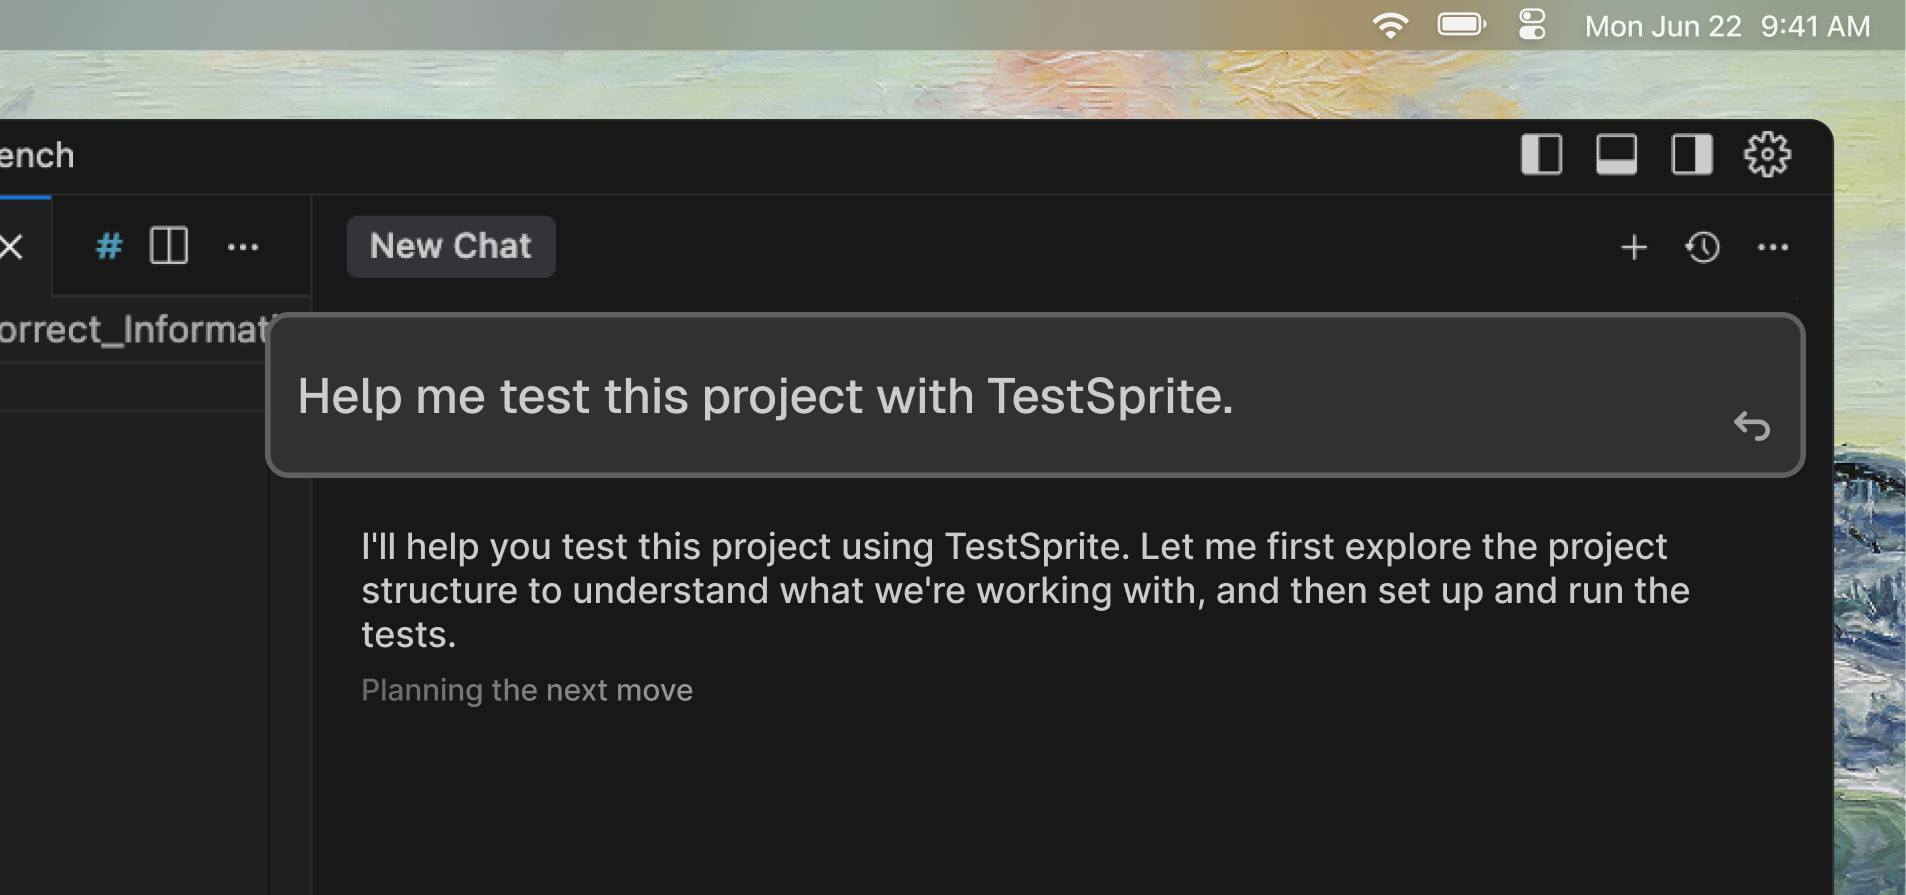
Use this prompt to get started with testing your project:
```text theme={null}
Help me test this project with TestSprite.
```
Use Generate when you need to create tests for the first time:
* Starting with a new project
* Adding tests to an existing project without tests
* Creating initial test coverage
Generate follows this workflow:
1. Analyzes your code
2. Creates test plans
3. Generates test files
4. Executes the tests
### Regenerate
**Recreate tests** from scratch based on updated PRD and code.
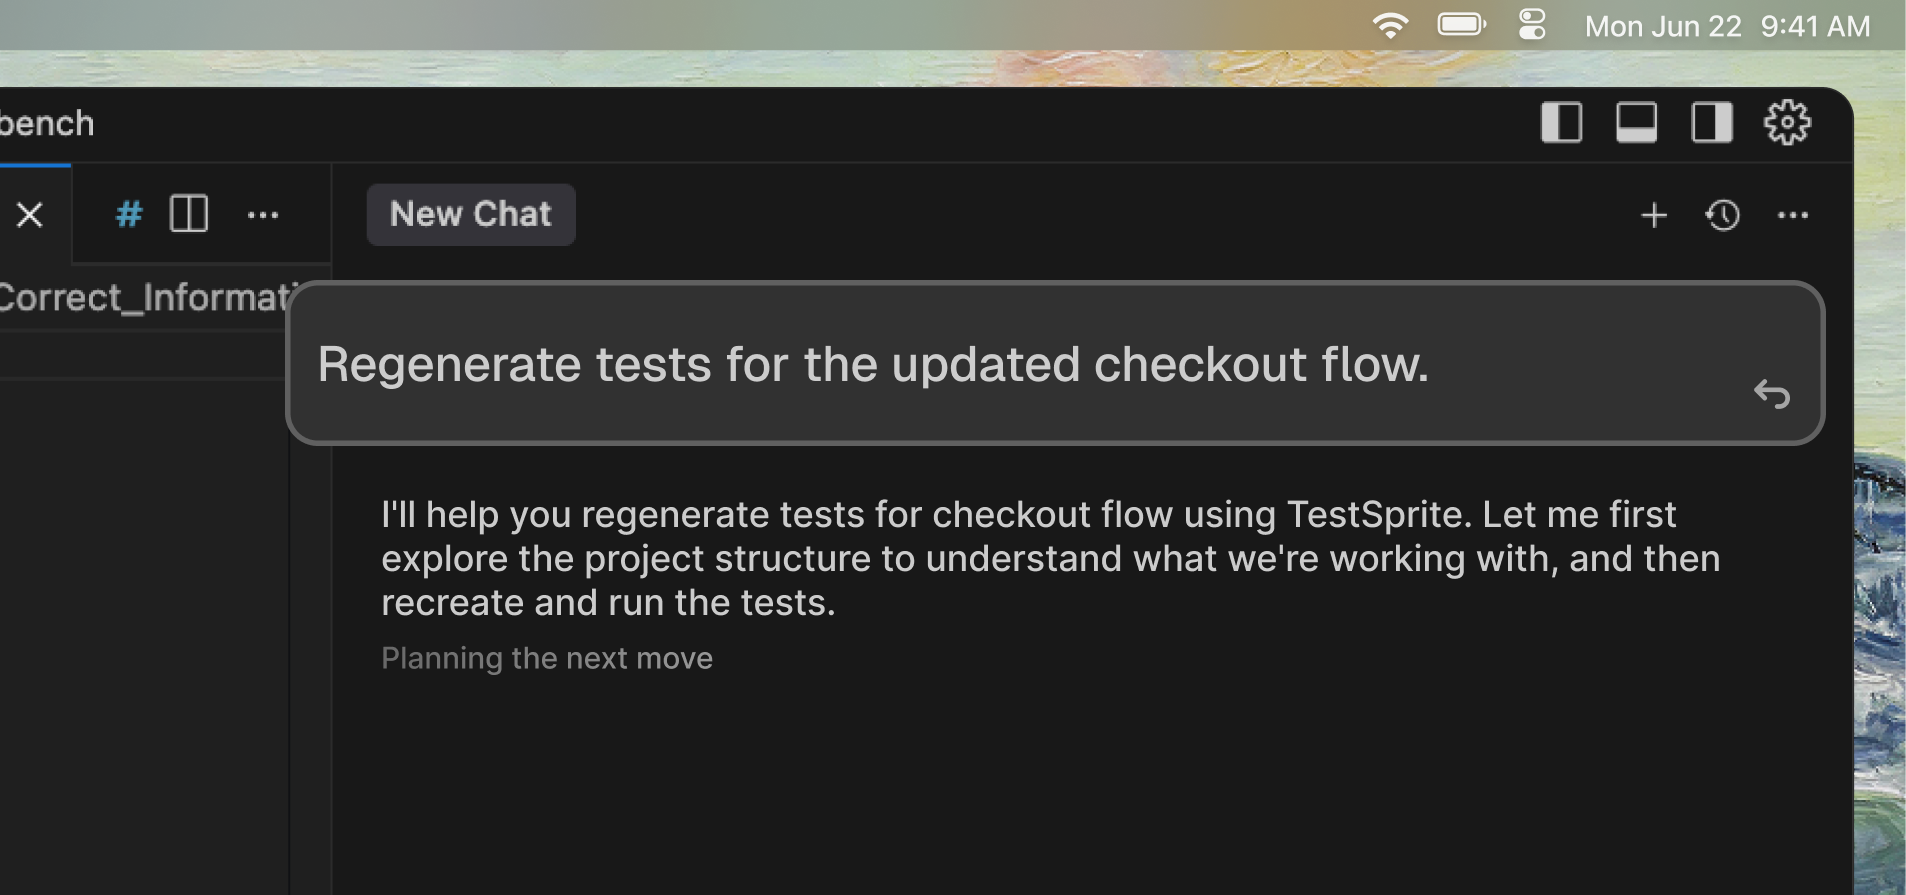
Use this prompt to regenerate tests after significant changes:
```text theme={null}
Regenerate tests for the updated checkout flow.
```
Use Regenerate when you need to recreate tests from scratch:
* Your app changed significantly (new features, refactored flows)
* Test plans need updating to match new requirements
* You want fresh test coverage reflecting current state
Regenerate follows this workflow:
1. Re-analyzes your code
2. Updates test plans
3. Generates new test files
4. Executes the new tests
Learn more about how to regenerate tests from scratch
## Run & Rerun
These actions control how TestSprite executes your tests. Run executes newly generated tests for the first time, while Rerun executes previously generated tests again without regenerating them.
### Run
**Execute newly generated tests** for the first time.
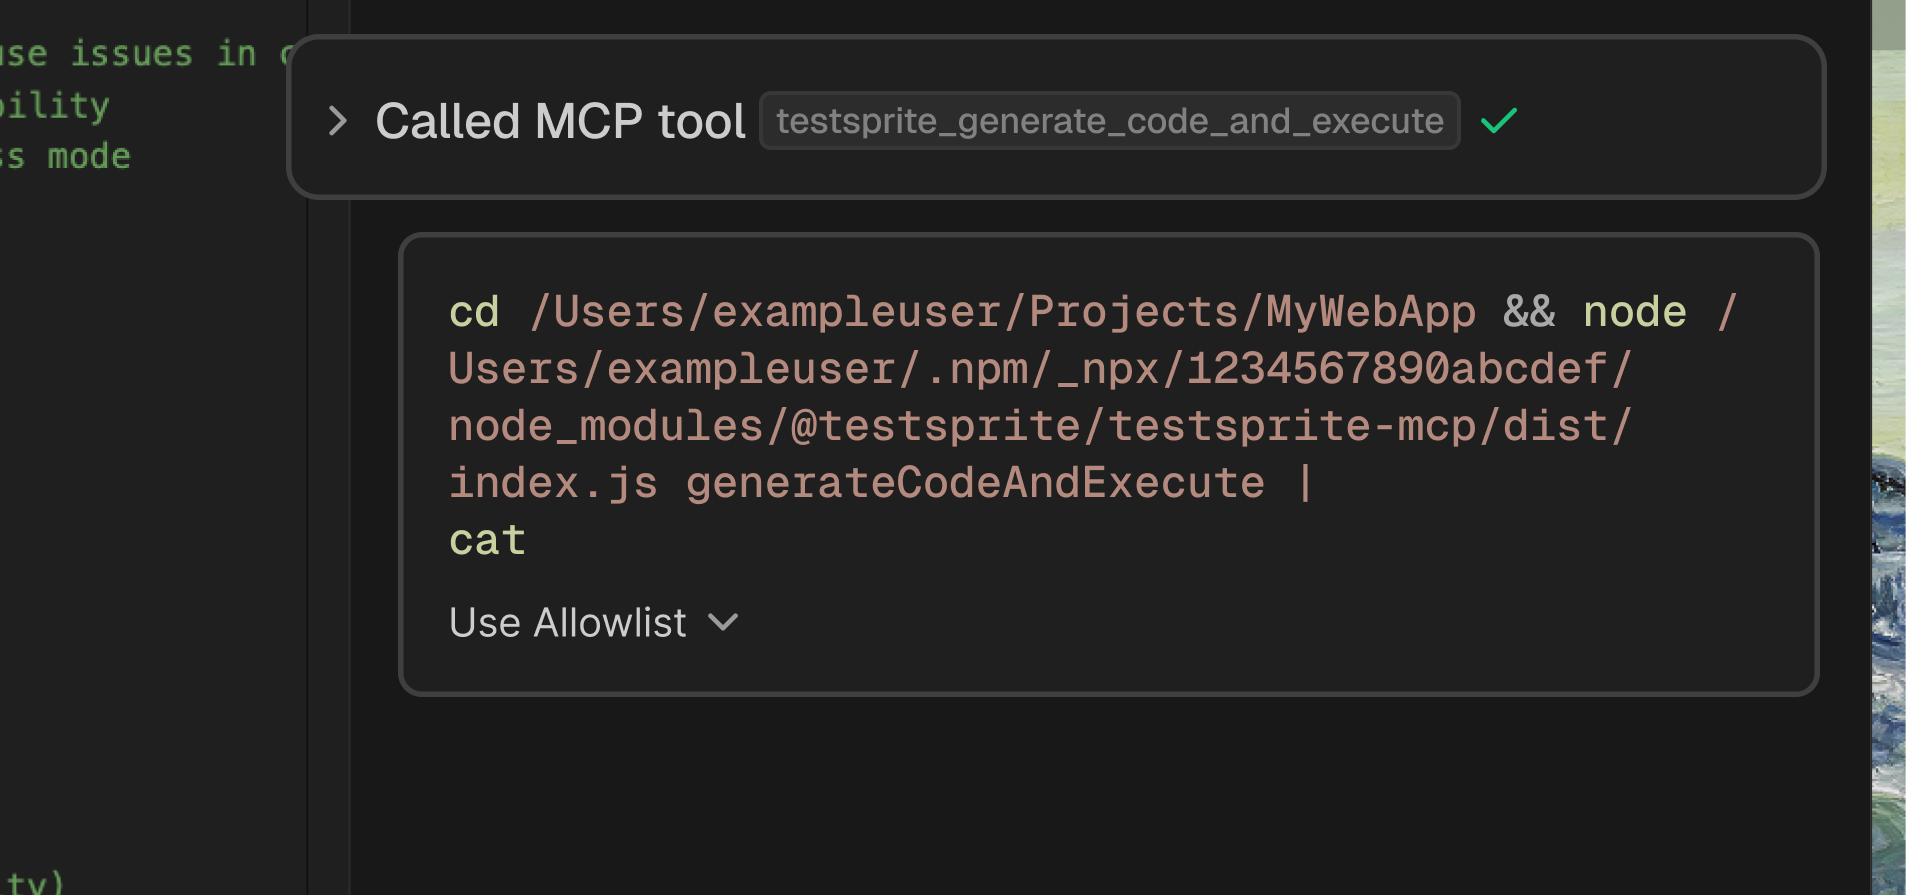
Use Run when executing tests for the first time:
* After generating tests
* Initial validation of your application
* First-time test execution
Run follows this workflow:
1. Executes generated test files
2. Collects results and artifacts
3. Generates test reports
### Rerun
Execute **previously generated tests** again without changing them.
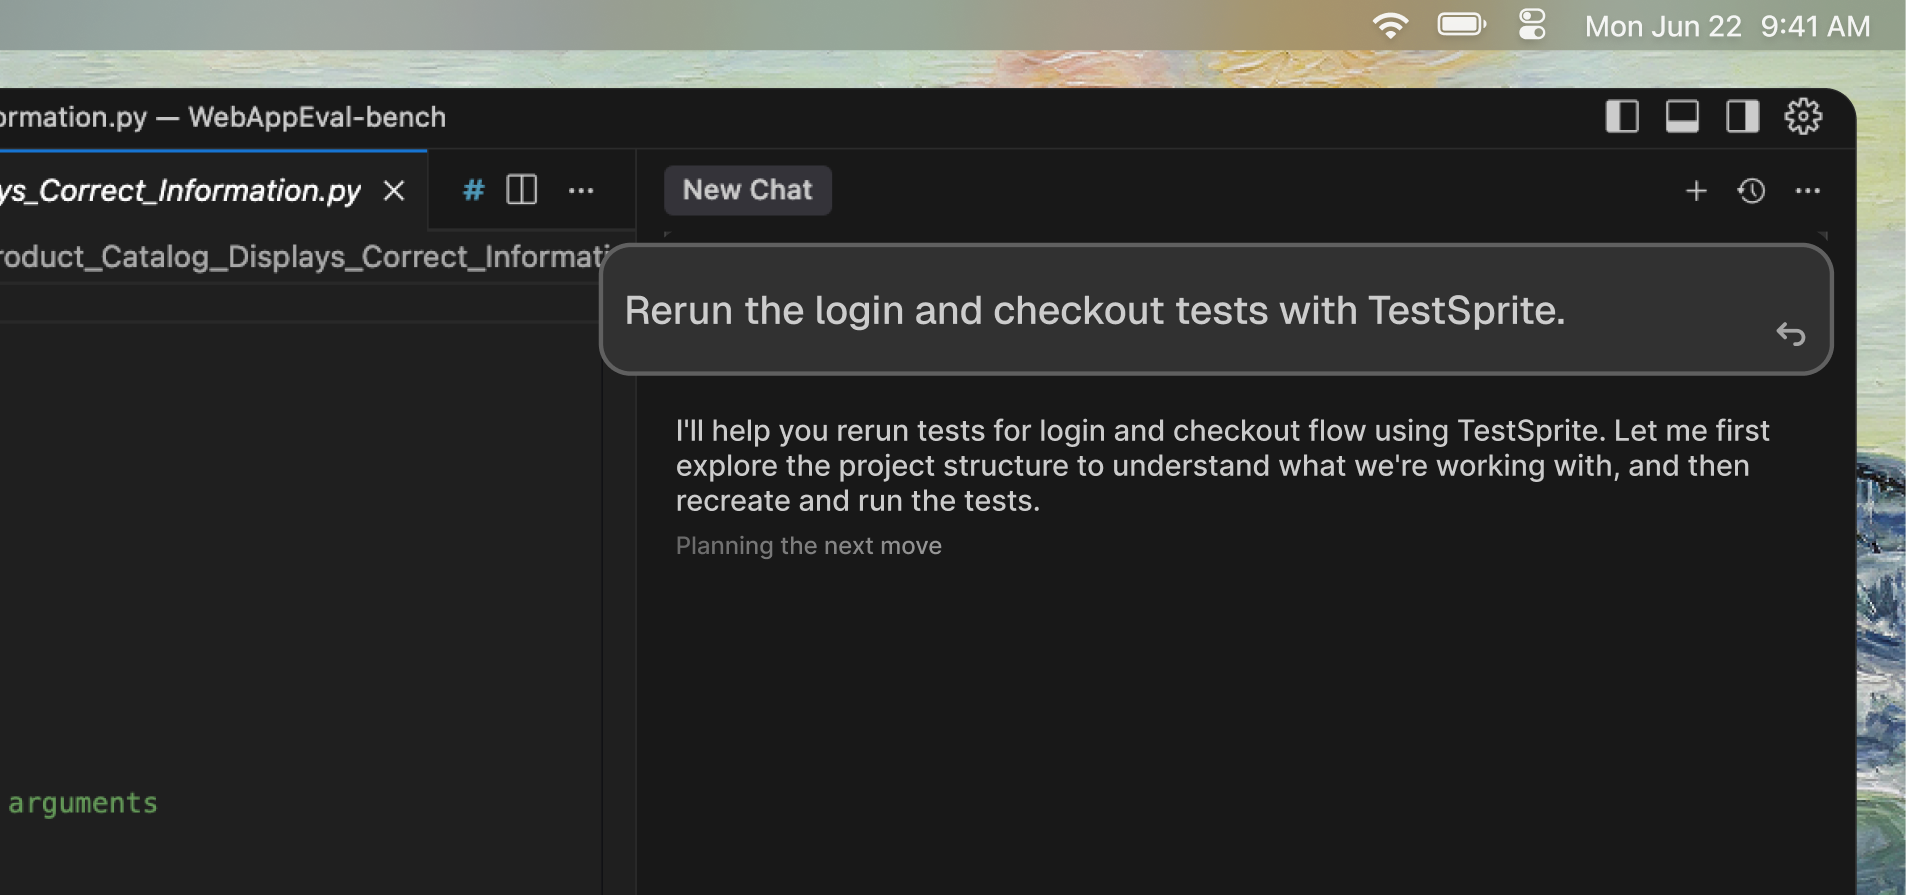
Use this prompt to rerun existing tests:
```text theme={null}
Rerun the login and checkout tests with TestSprite.
```
Use Rerun when executing existing tests again:
* Validating fixes you just applied
* Confirming tests pass after app restart
* Quick smoke check with existing tests
Rerun follows this workflow:
1. Uses existing test files (no regeneration)
2. Runs them against current app state
3. Reports updated results
Learn more about how to rerun existing tests
## Healing
Automatic or semi-automatic **fixes to brittle tests that fail due to non-functional changes** (not real bugs), making tests robust without masking actual product issues.
```mermaid theme={null}
flowchart LR
A[Detect] --> B[Classify]
B --> C[Propose Fix]
C --> D[Apply]
D --> E[Verify]
```
Healing addresses these common test fragility issues:
* **UI Selectors:** Updates when element IDs/classes change (e.g., `#login-btn` → `[data-testid="login"]`)
* **Timing Issues:** Adjusts waits for slow-loading components or animations
* **Test Data:** Updates fixtures when data schemas change
* **Environment:** Corrects port mismatches, missing credentials, or configuration issues
* **API Contracts:** Tightens schema assertions to match actual API responses
When a test fails for reasons that look like fragility (not a product bug), TestSprite proposes a fix and verifies it works. Low-risk fixes apply automatically; larger changes ask for approval.
Here's an example of how healing works:
```
Test failed: Login button reference outdated
Healing: Updated test to match the new login element
Status: Auto-applied, test now passing
```
### What Healing Is vs. What It's Not
Understanding the difference between healing and masking bugs is crucial. Healing only fixes test fragility caused by non-functional changes, never real product issues.
| What Healing is Not | What Healing Is |
| :---------------------------------------------------------------------------------- | :---------------------------------------------------------------------------------------------------- |
| Masking real product bugs | Making tests resilient to non-functional code changes |
| Making tests pass when they should fail | Reducing test maintenance busywork |
## Test Scope
Defines **which parts of your codebase** TestSprite will analyze and test.
 TestSprite offers two scope options to balance between comprehensive coverage and speed. Choose based on your testing needs and development workflow.
| Features | Codebase | Code Diff |
| :------------ | :------------------------------------------------- | :---------------------------------------------------------- |
| What it tests | Tests the entire project | Tests only changed files/features (based on git diff) |
| Use cases | New projects, major releases, comprehensive audits | Feature branches, incremental development, quick validation |
| Speed | Takes longer | Fast feedback |
| Coverage | Full coverage | Recent changes only |
Set the scope in the bootstrapping page when you call the `testsprite_bootstrap_tests` tool.
Learn more about TestSprite MCP tools and commands
## PRD & Normalized PRD
TestSprite uses Product Requirements Documents (PRD) to understand your project and generate appropriate tests. While you can provide PRDs in any format, TestSprite converts them into a standardized Normalized PRD format for consistent test generation.
### PRD (Product Requirements Document)
Your **original documentation** describing what your product should do.
TestSprite offers two scope options to balance between comprehensive coverage and speed. Choose based on your testing needs and development workflow.
| Features | Codebase | Code Diff |
| :------------ | :------------------------------------------------- | :---------------------------------------------------------- |
| What it tests | Tests the entire project | Tests only changed files/features (based on git diff) |
| Use cases | New projects, major releases, comprehensive audits | Feature branches, incremental development, quick validation |
| Speed | Takes longer | Fast feedback |
| Coverage | Full coverage | Recent changes only |
Set the scope in the bootstrapping page when you call the `testsprite_bootstrap_tests` tool.
Learn more about TestSprite MCP tools and commands
## PRD & Normalized PRD
TestSprite uses Product Requirements Documents (PRD) to understand your project and generate appropriate tests. While you can provide PRDs in any format, TestSprite converts them into a standardized Normalized PRD format for consistent test generation.
### PRD (Product Requirements Document)
Your **original documentation** describing what your product should do.
 **Can be:**
* Informal notes or README
* Formal specification documents
* Jira tickets or user stories
* Design docs or wikis
### Normalized PRD
TestSprite's **standardized Product Requirements Document format** that ensures consistent and smooth test generation regardless of your original PRD style.
**Can be:**
* Informal notes or README
* Formal specification documents
* Jira tickets or user stories
* Design docs or wikis
### Normalized PRD
TestSprite's **standardized Product Requirements Document format** that ensures consistent and smooth test generation regardless of your original PRD style.
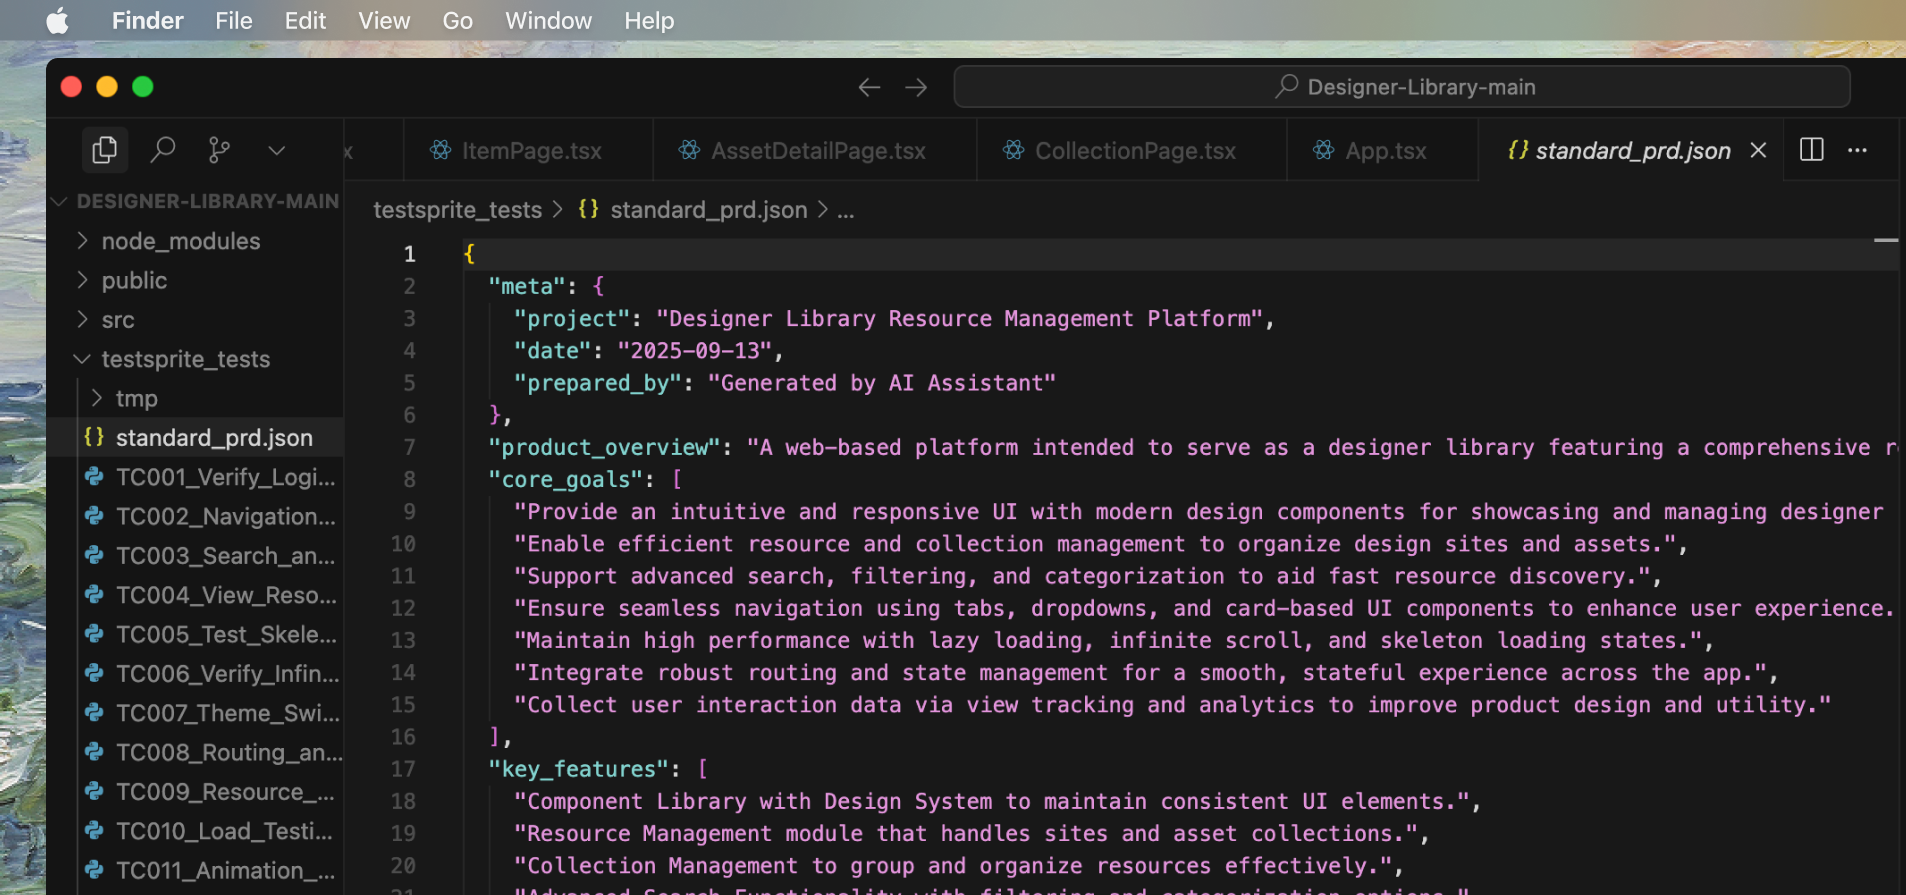 The Normalized PRD contains structured information:
* Product overview and goals
* Core features with acceptance criteria
* User flows and validation rules
* Technical context from code analysis
Understanding why Normalized PRD exists:
* Your PRD might be in any format
* TestSprite converts it to a structured format
* This normalized PRD drives test plan generation
TestSprite **invented** this format to make test generation predictable across any project type.
Learn how to create tests using PRD and Normalized PRD
## Test Plan
A **structured list** of test cases generated by TestSprite based on your normalized PRD and code analysis.
The Normalized PRD contains structured information:
* Product overview and goals
* Core features with acceptance criteria
* User flows and validation rules
* Technical context from code analysis
Understanding why Normalized PRD exists:
* Your PRD might be in any format
* TestSprite converts it to a structured format
* This normalized PRD drives test plan generation
TestSprite **invented** this format to make test generation predictable across any project type.
Learn how to create tests using PRD and Normalized PRD
## Test Plan
A **structured list** of test cases generated by TestSprite based on your normalized PRD and code analysis.
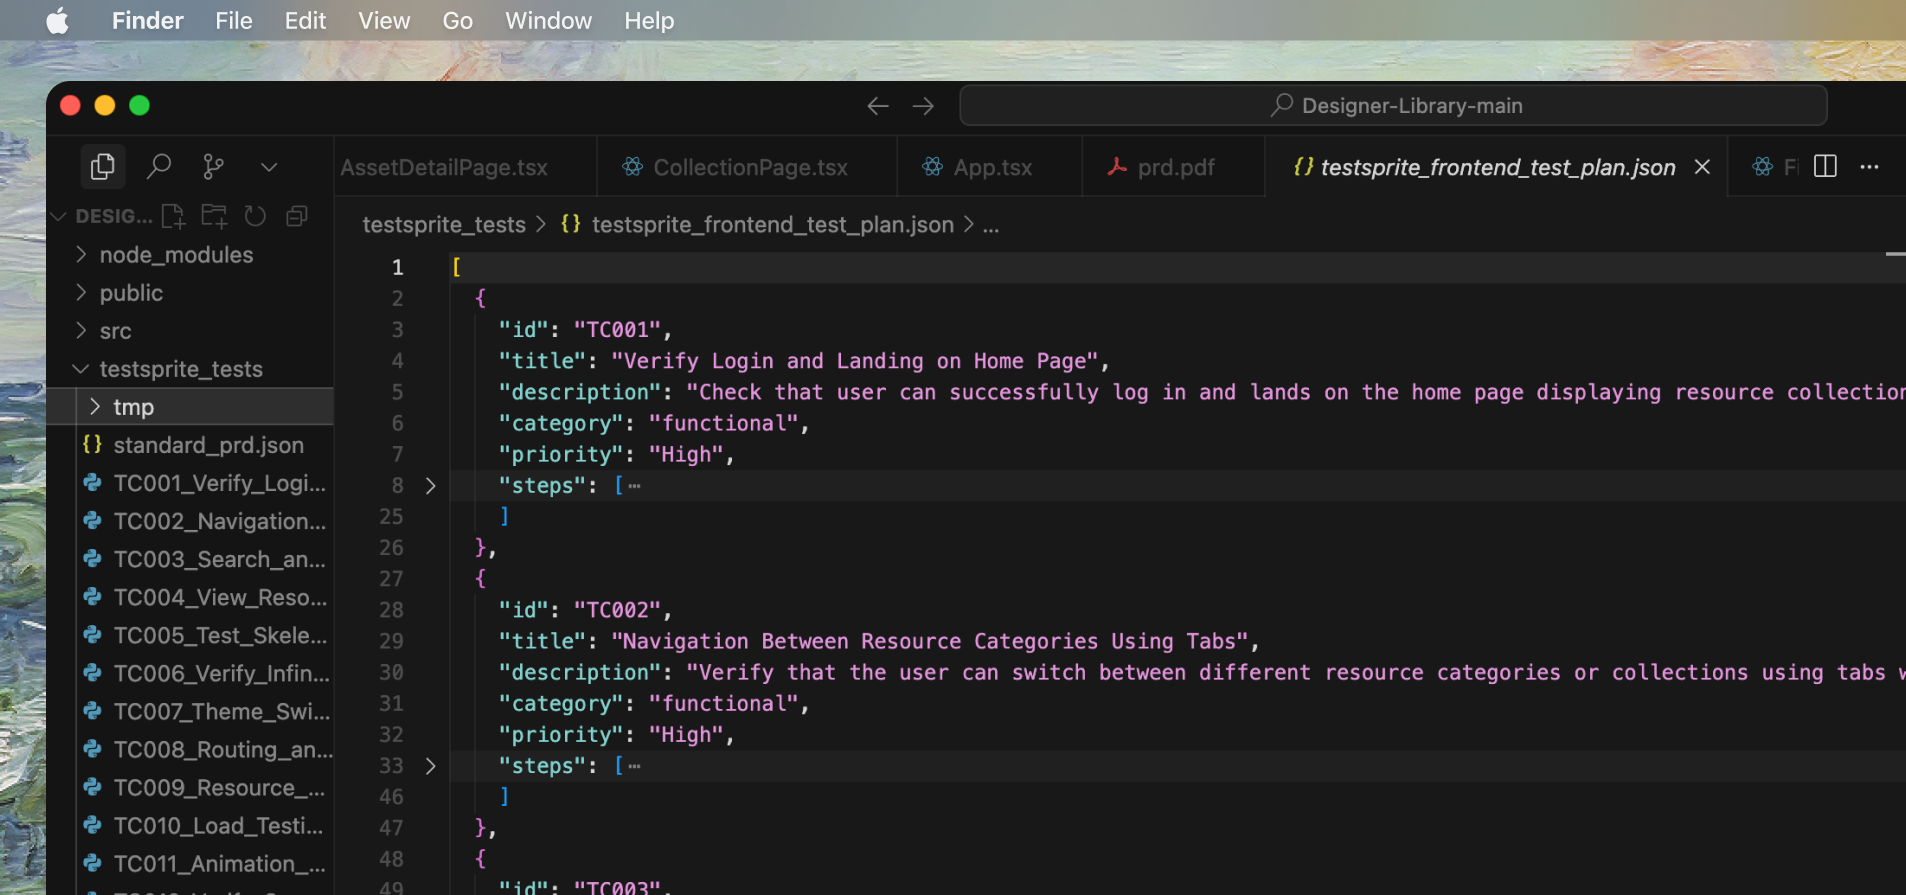 Here's an example of a test plan entry:
```json expandable theme={null}
{
"id": "TC001",
"title": "Login with valid credentials",
"category": "functional",
"priority": "High",
"steps": [...]
}
```
A Test Plan typically includes:
* Test case IDs (TC001, TC002, etc.)
* Descriptions and steps
* Categories (functional, security, UI, etc.)
* Priorities (High, Medium, Low)
* Expected outcomes
Plans are saved as `frontend_test_plan.json` or `backend_test_plan.json`.
## Where to Learn More
Understand what we test and when
Deep dive into auto-healing
Technical tool parameters
Practical diff-scope usage
Here's an example of a test plan entry:
```json expandable theme={null}
{
"id": "TC001",
"title": "Login with valid credentials",
"category": "functional",
"priority": "High",
"steps": [...]
}
```
A Test Plan typically includes:
* Test case IDs (TC001, TC002, etc.)
* Descriptions and steps
* Categories (functional, security, UI, etc.)
* Priorities (High, Medium, Low)
* Expected outcomes
Plans are saved as `frontend_test_plan.json` or `backend_test_plan.json`.
## Where to Learn More
Understand what we test and when
Deep dive into auto-healing
Technical tool parameters
Practical diff-scope usage