Prerequisites
Before installing TestSprite MCP Server, ensure you have:- Compatible IDEs
- TestSprite Account - Sign up for free
- Node.js >= 22 - Download Node.js (required for running MCP server)
Which IDEs and editors does TestSprite support?
Which IDEs and editors does TestSprite support?
TestSprite supports Trae, Cursor, Claude Code, Windsurf, VS Code, and GitHub Copilot. Simply install our MCP Server get started.
How do I check my Node.js version?
How do I check my Node.js version?
Run
node --version to check your version. For detailed setup instructions, see Node.js Configuration.Get Your API Key
First, you’ll need a TestSprite API key for any installation method:
- Sign in to your TestSprite Dashboard
- Navigate to API Keys under Settings
- Click “New API Key”
- Copy your API key (you’ll need it for installation)
Installation
Follow the instructions for your specific client to add the TestSprite MCP server.- Trae
- Cursor
- Claude Code
- Antigravity
- VSCode
- Other IDEs
- Get your API key.
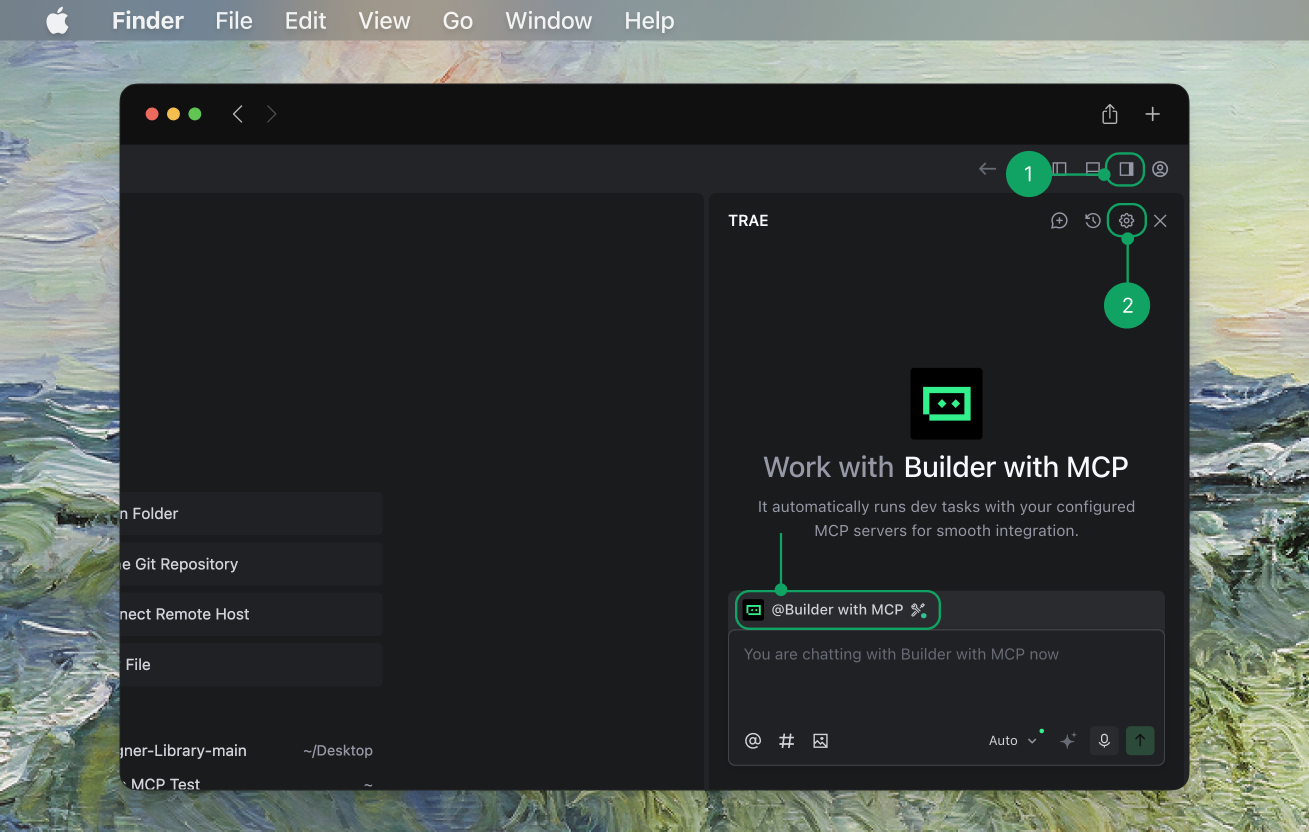
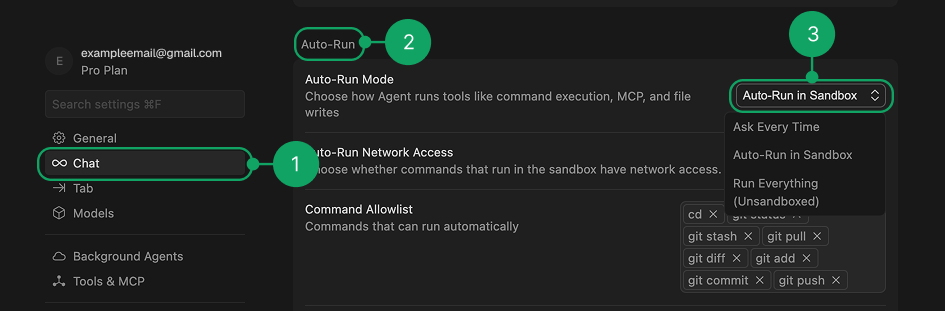
- In Trae, navigate to
AI Sidebar > AI Management. - Select
MCP > Add > Add from Marketplace. - Search for TestSprite and add to your MCP list.

- Enter your API key in Trae and hit Confirm
- Select Builder with MCP and start testing.


Installation Verification
Success Indicators
- Your AI assistant can see TestSprite MCP tools
- No “command not found” errors
- Ready to start testing your projects
Quick Test
Try prompting:Uninstallation
To remove TestSprite MCP Server:- Remove the configuration from your IDE’s MCP settings
- Restart your IDE