Key Features
Feature
Description
Fast Setup
Get started in minutes with minimal configuration. Just provide your website URLs and let our AI agent handle the rest
AI-Generated Test Cases
Dynamically creates intelligent test plans tailored to your product’s content and edge cases with full customization control
Smart Video Playback
Every interaction is recorded and replayable—see exactly how tests run and spot UI issues visually
Live Test Preview
Watch test execution unfold in real-time to catch potential issues instantly
Actionable Reports
Detailed execution reports with error analysis, root cause identification, and AI-suggested fixes
Natural Language Control
Refine tests using plain English—no code required for tweaking scenarios or adding edge cases
Bonus: TestSprite automatically generates reusable Python + Playwright test code perfect for CI/CD pipelines and regression testing.
Getting Started
To begin using TestSprite for front-end testing, follow these steps:Step 1: Set Up Your Front-End Testing Environment
1
Access TestSprite Dashboard
Navigate to TestSprite Dashboard and click Create a Test from the sidebar
2
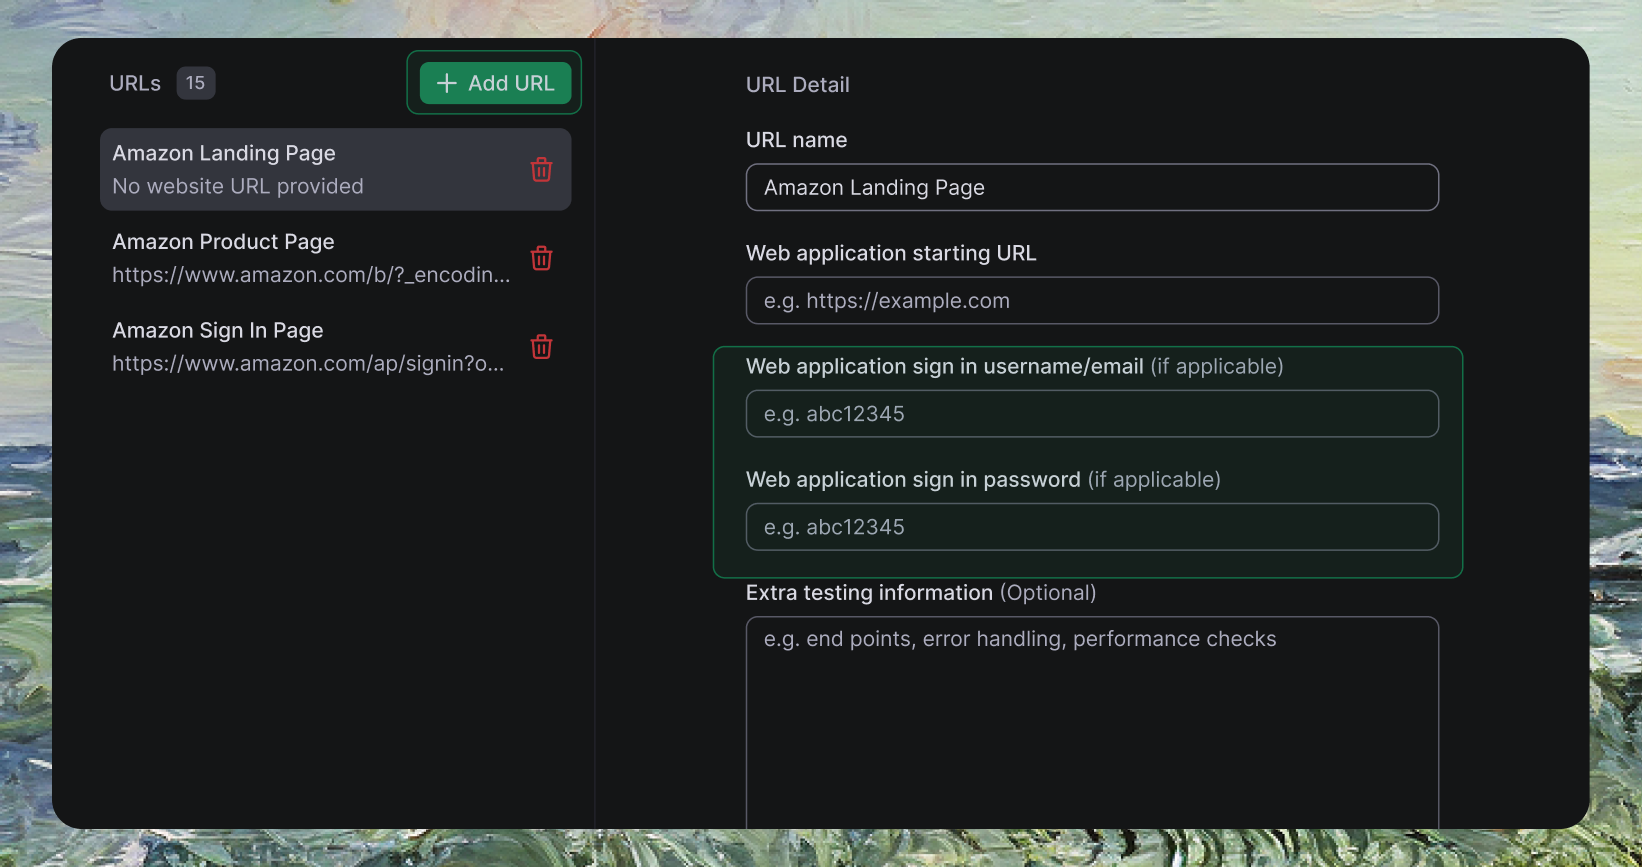
Enter Application Details
Provide your web application URL and optional authentication credentials
3
Add Testing URLs
Include additional pages you want to test within the same flow
4
Special Instructions (Optional)
Add specific testing requirements to help AI generate more accurate test plans
Example Application Configuration
Example Application Configuration
Step 2: Configure Test Plans
1
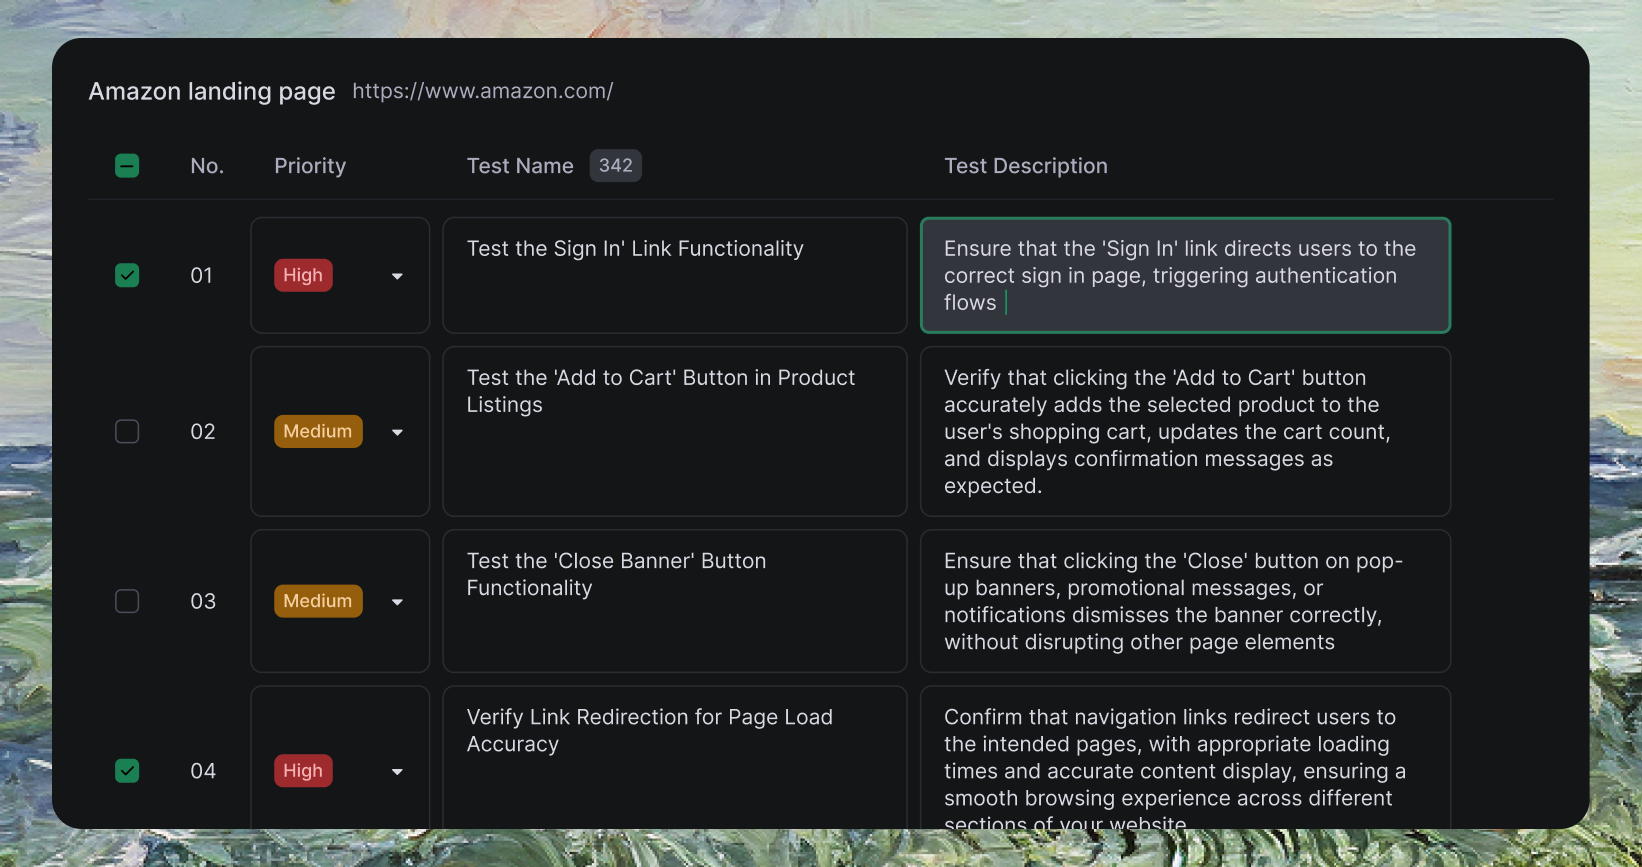
Review AI-Generated Test Plan
Review the draft test plan tailored to your UI with end-to-end scenarios
2
Select & Modify Scenarios
Choose test scenarios to execute and modify descriptions to match your requirements
Example Test Scenarios Generated by AI
Example Test Scenarios Generated by AI
-
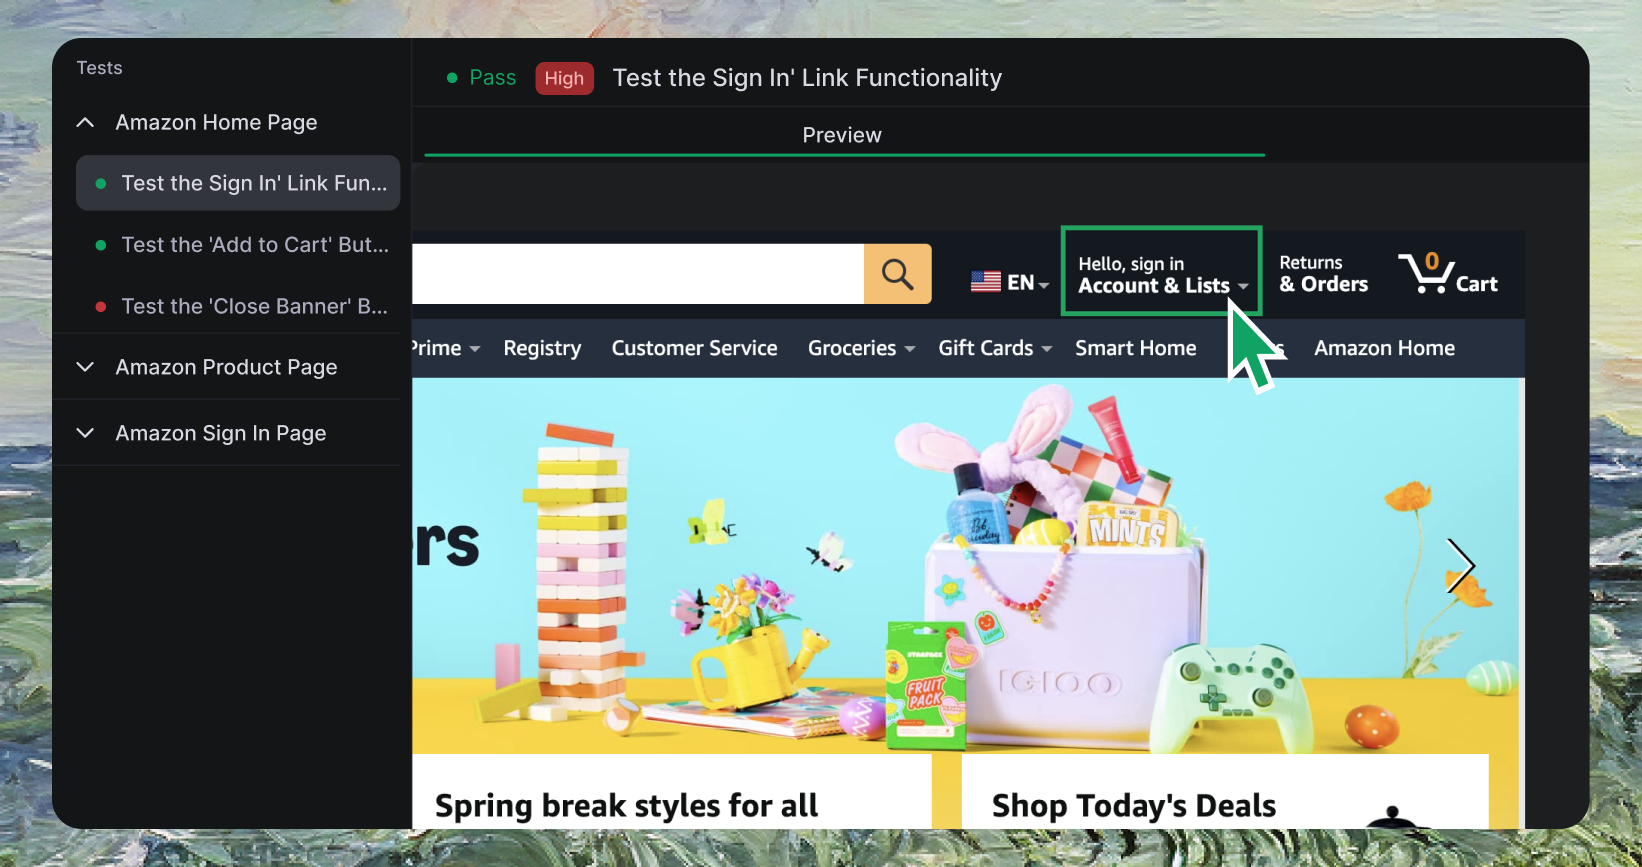
Test the ‘Log In’ Link Functionality
Ensure login link directs users to correct page and handles authentication properly -
Test the ‘Add to Cart’ Button
Verify cart button adds products, updates cart count, and shows confirmation messages -
Test the ‘Close Banner’ Button
Ensure banner close buttons dismiss properly without disrupting other elements -
Verify Link Redirection Accuracy
Confirm navigation links redirect to intended pages with proper loading and content
Our AI may further refine test plans after performing real-time analysis of your application during execution.
Step 3: Run Your Tests
1
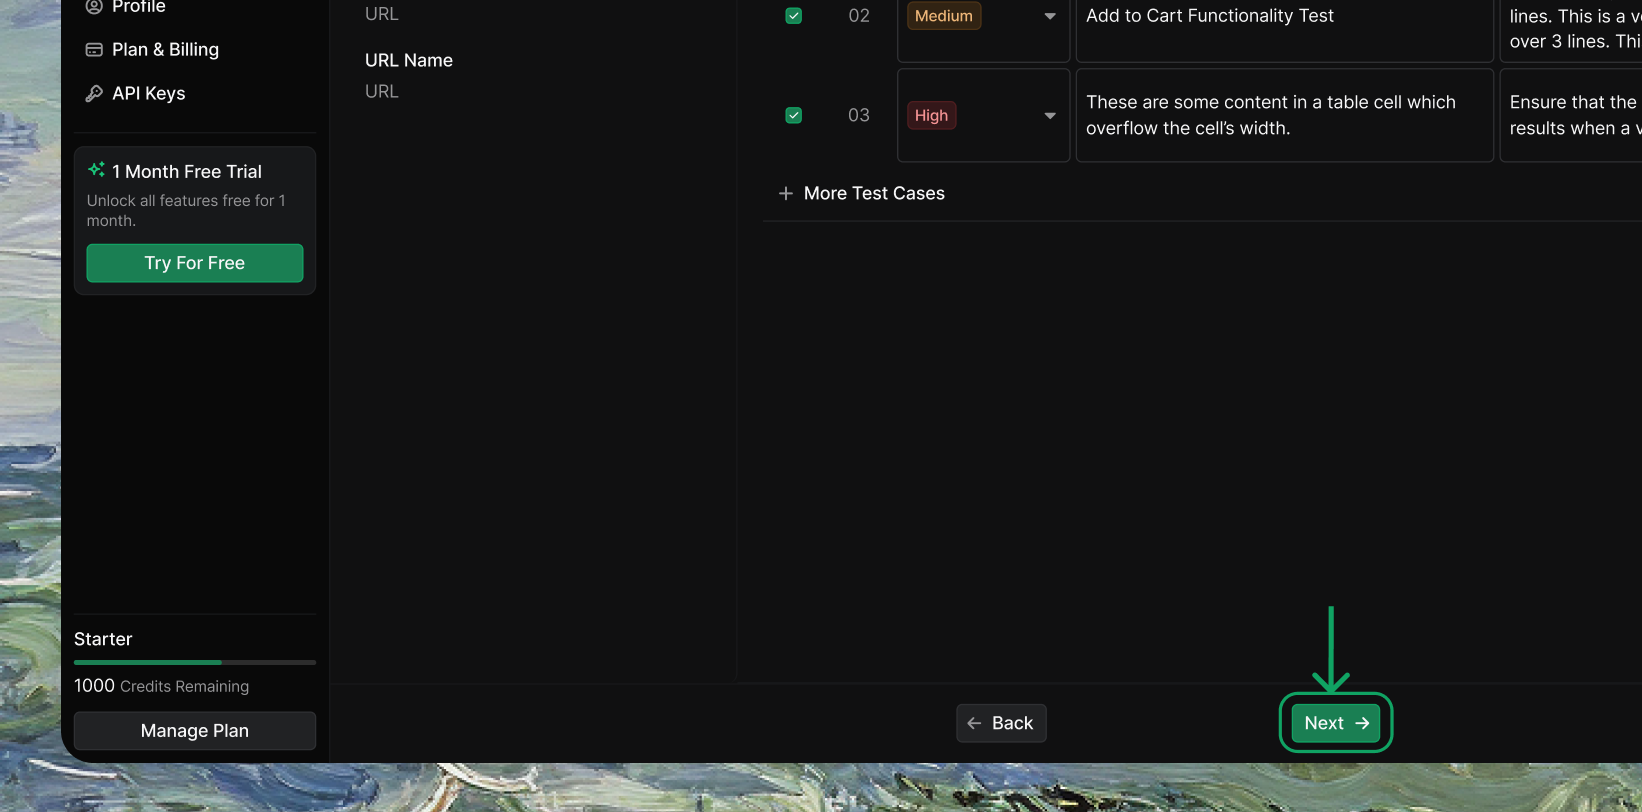
Start Test Execution
Click Next to begin generating and executing your selected test cases
2
Monitor Web Preview
Watch real-time test execution through the Web Preview feature
3
Automatic Validation
TestSprite validates UI interactions and generates detailed results automatically
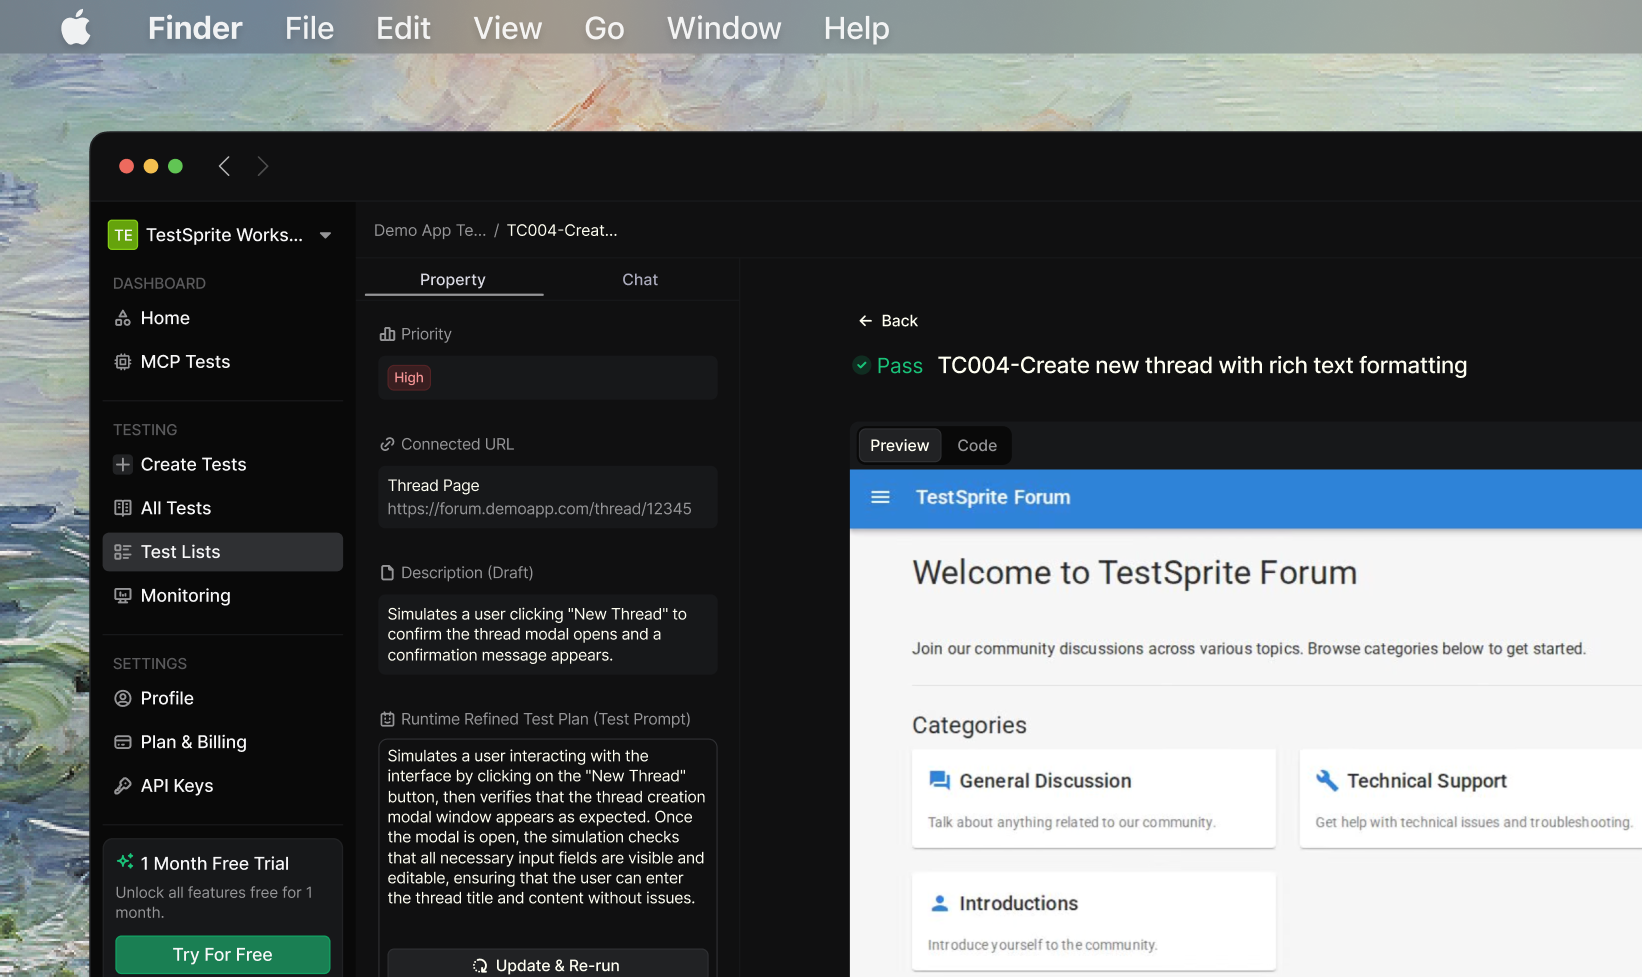
Step 4: Review Test Results
1
Access Detailed Report
TestSprite provides comprehensive test results with visual insights
2
Analyze Results
Review test outcomes, errors, and performance metrics for your UI
Advanced Features
Web Preview for Context
TestSprite includes a Web Preview feature that allows you to visualize the testing process
- Watch as each element is interacted with on your web page
- Understand how the page responds to various actions
- Quickly identify UI issues that might otherwise be missed
Using Natural Language to Refine and Regenerate Tests
Refine tests using plain English—no technical configuration required.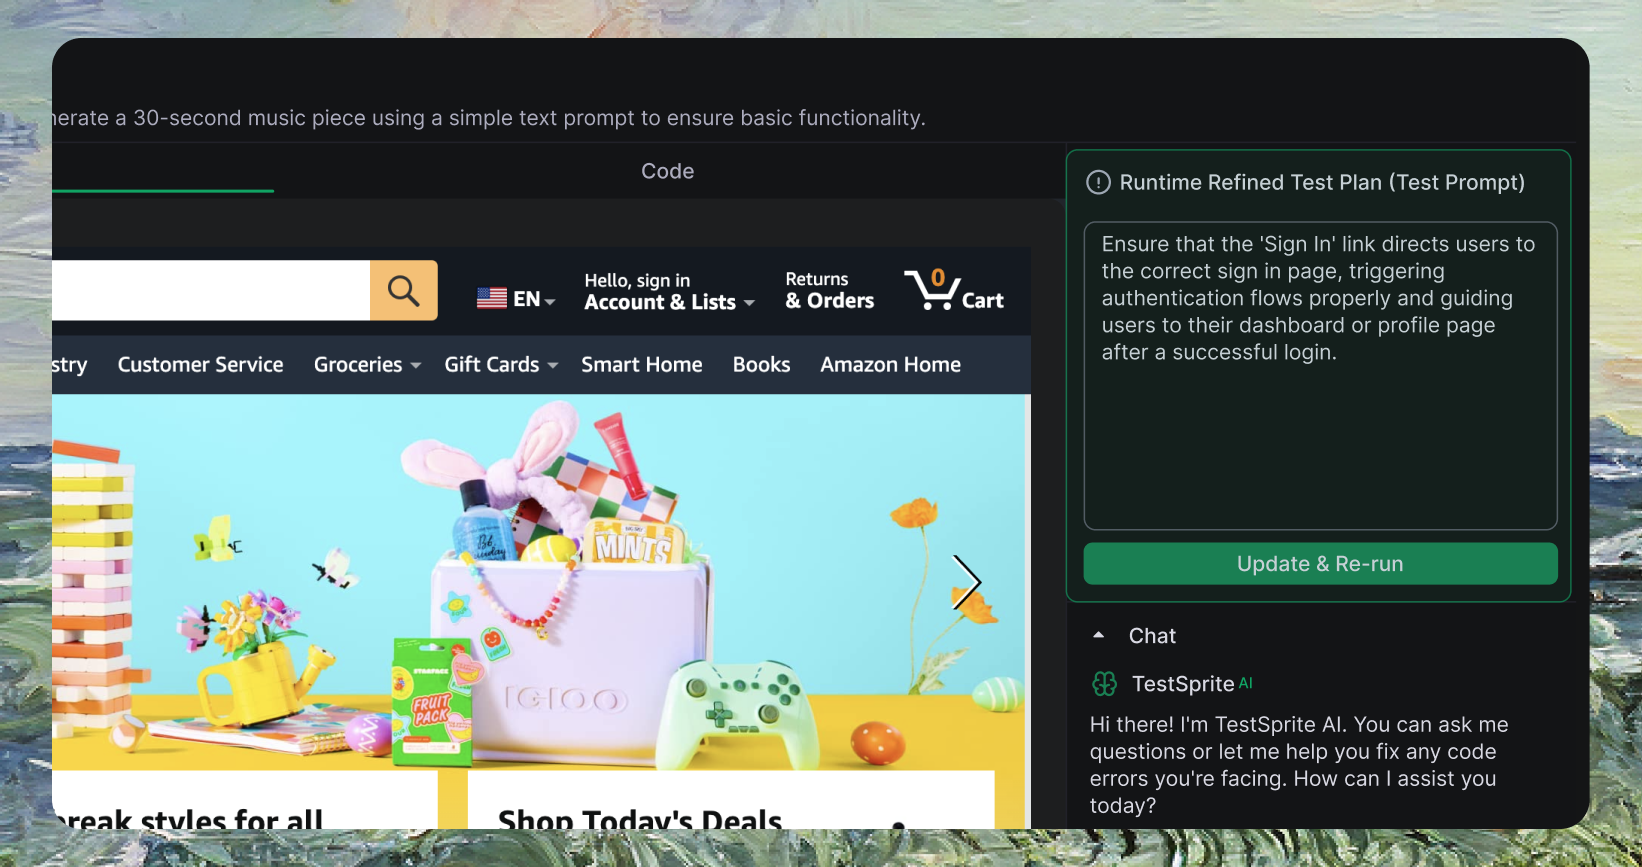
- How it works
- Example
- Edit the test description in plain language
- TestSprite automatically regenerates the test