Rerun Existing Tests
Sometimes you just want to rerun the same tests as the previous run—maybe to double-check after a bug fix.In your coding IDE, simply type:TestSprite will automatically detect your existing project test suite and execute all of the tests again. You’ll see updated results directly in your IDE or TestSprite dashboard.
Example Prompt
This is useful after you fix a bug or change code and want to confirm nothing is broken.
Regenerate Tests
There are two different ways to regenerate tests depending on whether you want to update just a few cases or start over completely.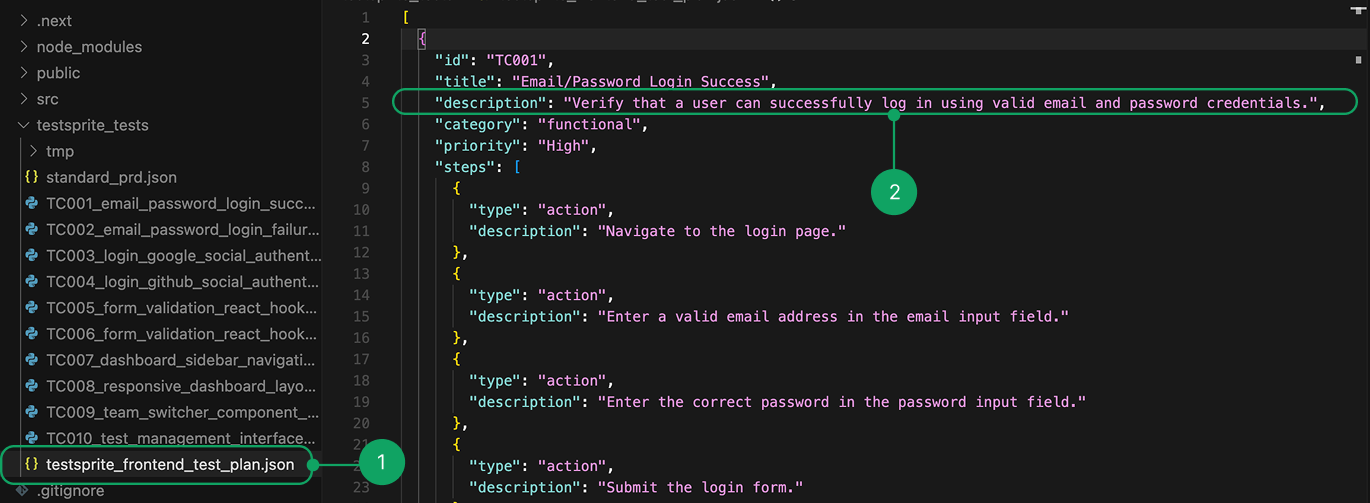
1
Open your TestSprite test plan file
Open your TestSprite test plan file (e.g.
testsprite_frontend_test_plan.json).2
Edit the test case description
Find the test case you want to change, edit the descriptionand, and save the file ( ). For example:
Before/After Example
3
Prompt in your IDE
Example Prompt
4
TestSprite runs the updated tests
TestSprite will detect your change, update the relevant test code, and run the updated tests automatically.
Key Point: You only need to change the description in the plan. TestSprite handles the rest.
Add New Test Cases or Import From Other Platforms
Sometimes you’ll want to extend your suite with fresh test cases.1
Open the TestSprite test plan file
Open the TestSprite test plan file (e.g.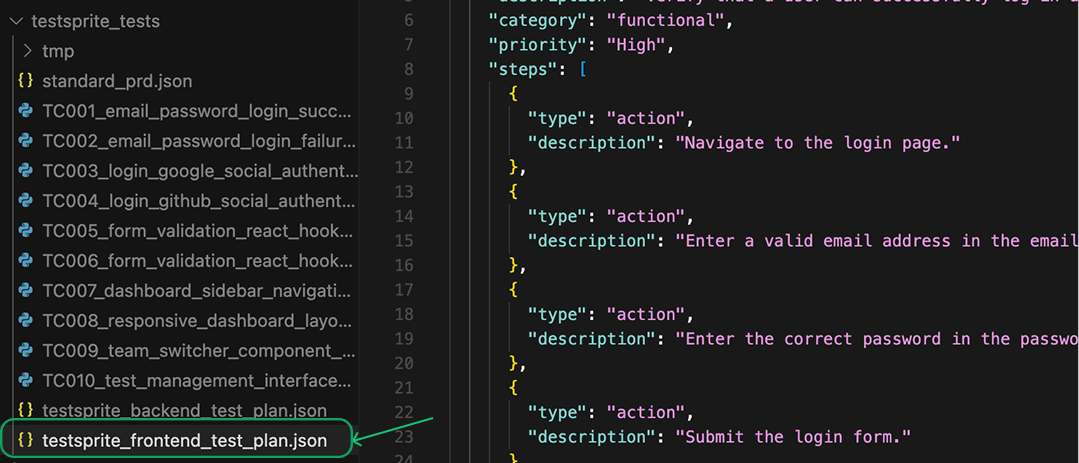
testsprite_frontend_test_plan.json).2
Add new test cases
Append new test cases at the end, following the same format as the existing ones. If you have test cases from another tool or platform, paste them in and make sure they follow the same style.
You can also use AI IDEs like Cursor or Trae to help reformat them to match TestSprite’s standard.
Expandable Test Case Example
3
Prompt your IDE
Once added, prompt your IDE:
Example Prompt
4
TestSprite generates test code
TestSprite will run the
generate_code_execute tool again, generate test code for your new cases, and add them to your project and your TestSprite account.Summary
Action
Description
Rerun
Quick re-execution of existing tests
Regenerate some
Edit specific test case descriptions prompt rerun
Regenerate all
Delete
testsprite_tests folder prompt rerun project testsAdd/import
Append new cases in test plan rerun to generate code
With these simple steps, your TestSprite test suite will stay up-to-date, flexible, and always aligned with your evolving project.