Key Features
| Feature | Description |
|---|---|
| Fast Setup | Get started in minutes with minimal configuration. Just provide your website URLs and let our AI agent handle the rest |
| AI-Generated Test Cases | Dynamically creates intelligent test plans tailored to your product’s content and edge cases with full customization control |
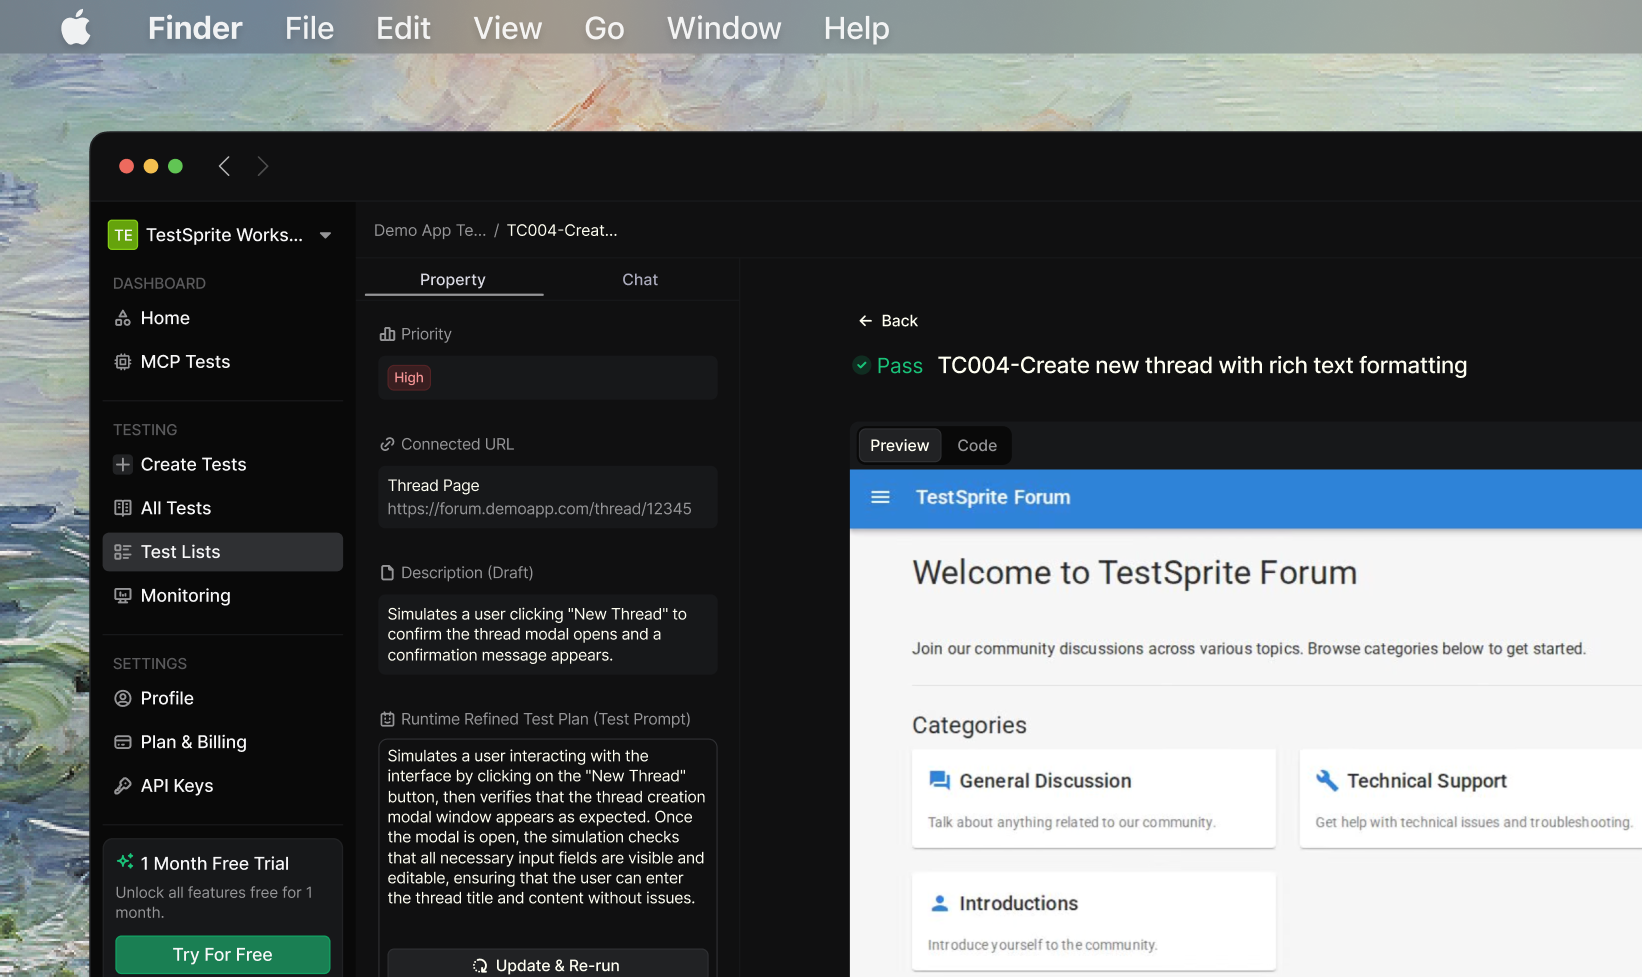
| Smart Video Playback | Every interaction is recorded and replayable—see exactly how tests run and spot UI issues visually |
| Live Test Preview | Watch test execution unfold in real-time to catch potential issues instantly |
| Actionable Reports | Detailed execution reports with error analysis, root cause identification, and AI-suggested fixes |
| Natural Language Control | Refine tests using plain English—no code required for tweaking scenarios or adding edge cases |
Bonus: TestSprite automatically generates reusable Python + Playwright test code perfect for CI/CD pipelines and regression testing.
Getting Started
To begin using TestSprite for front-end testing, follow these steps:Step 1: Set Up Your Front-End Testing Environment
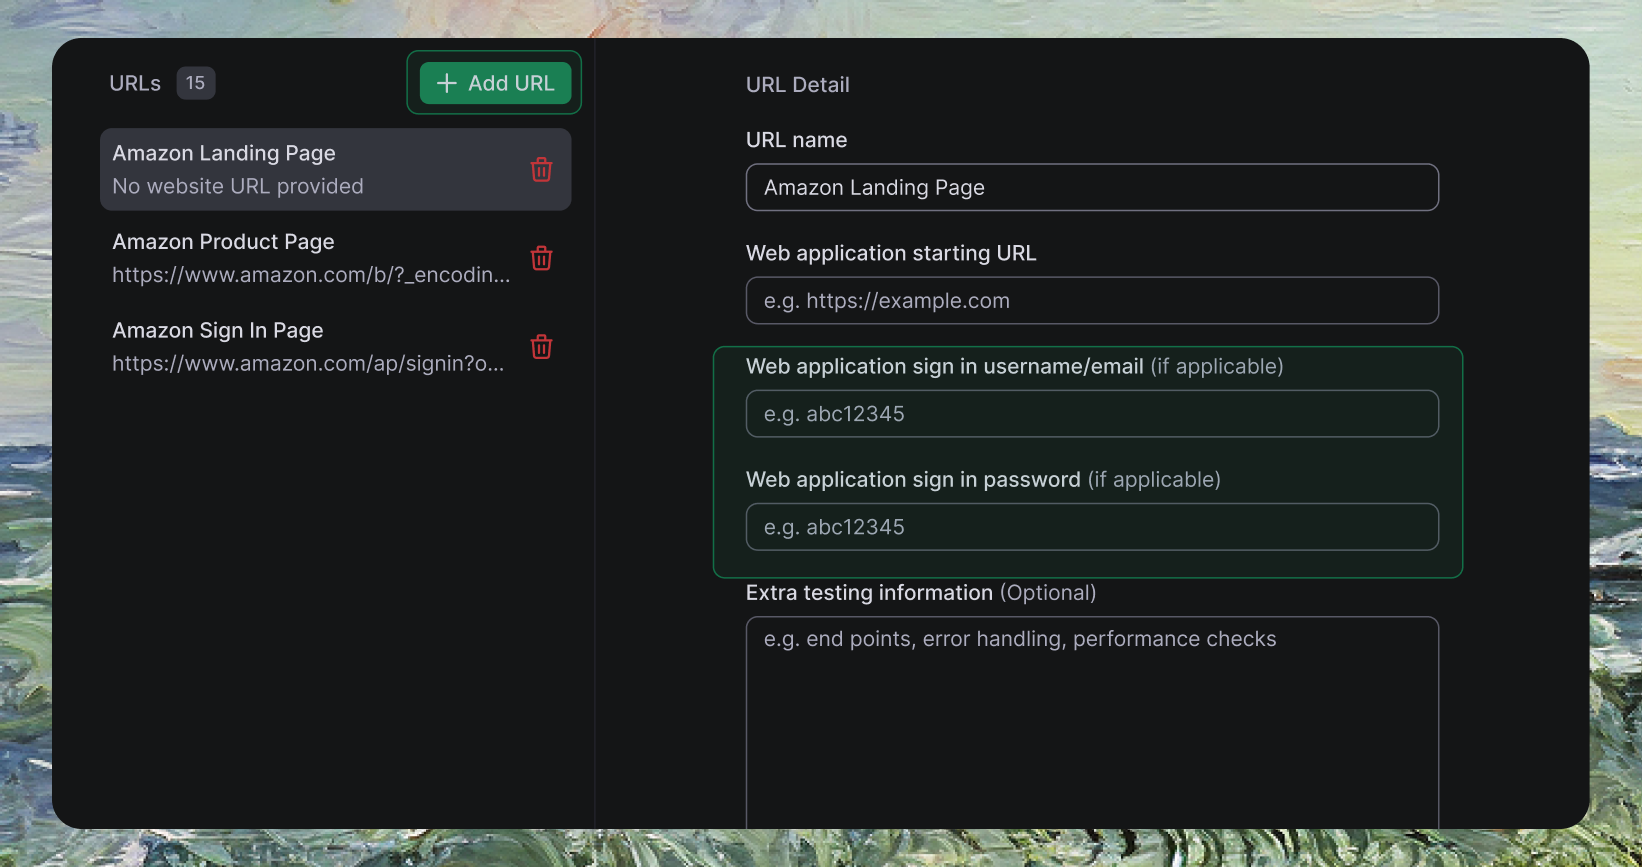
Access TestSprite Dashboard
Navigate to TestSprite Dashboard and click Create a Test from the sidebar
Example Application Configuration
Example Application Configuration
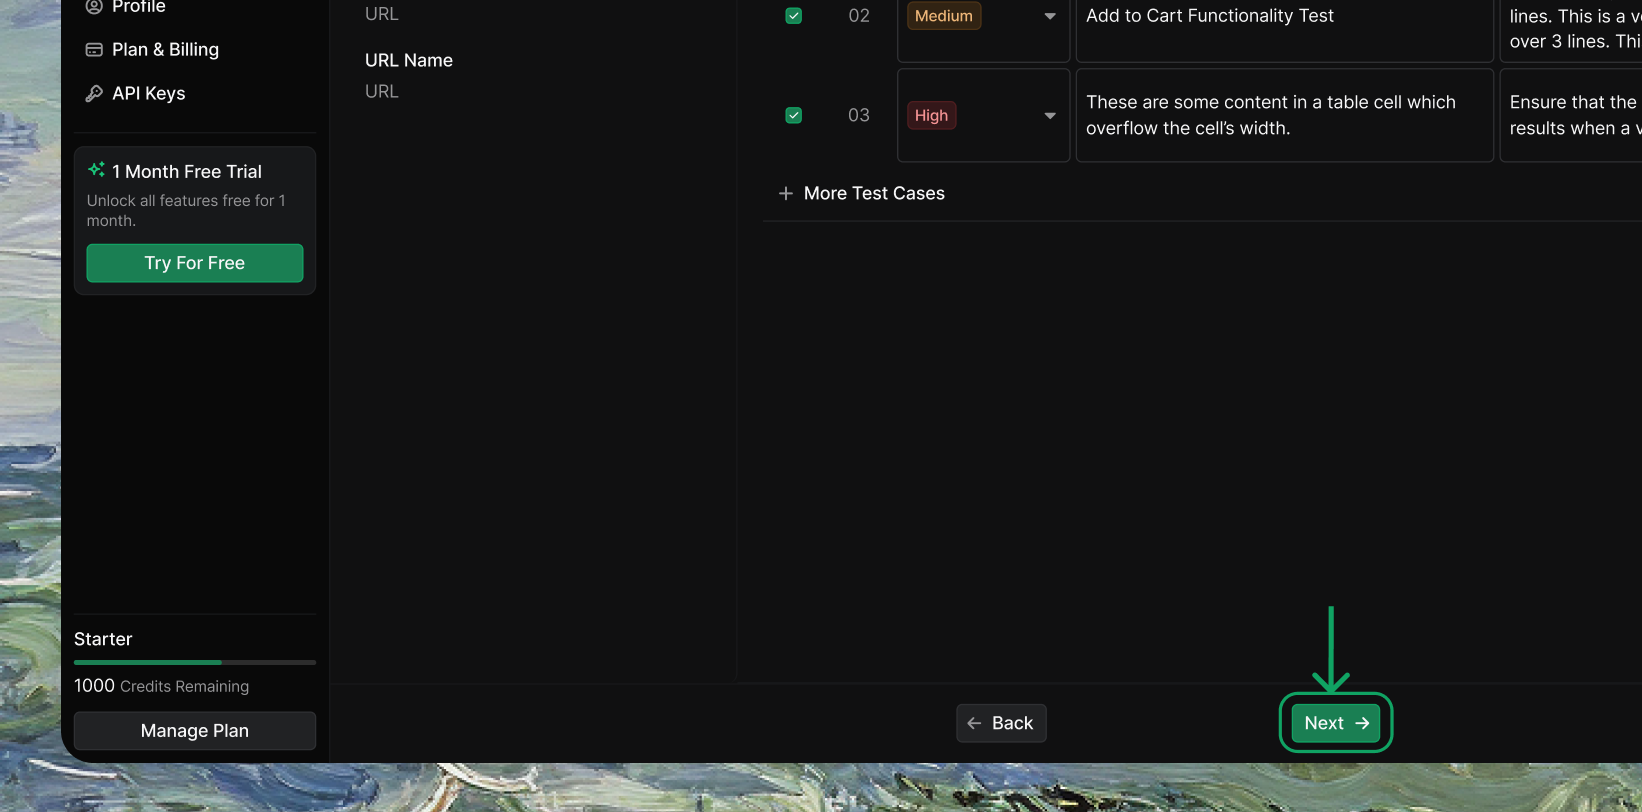
Step 2: Configure Test Plans
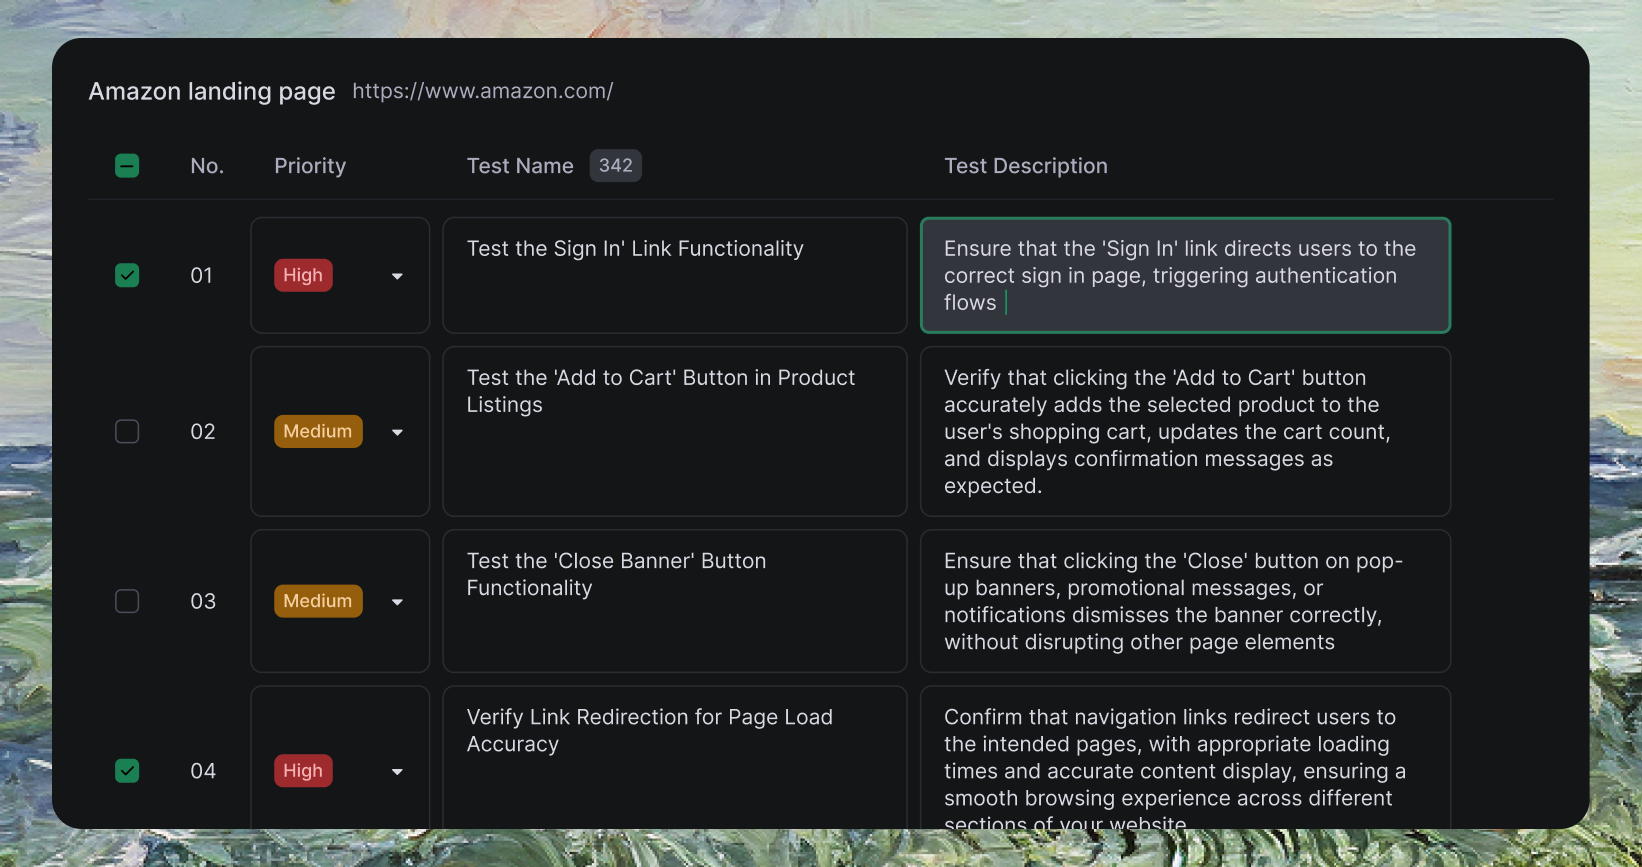
Review AI-Generated Test Plan
Review the draft test plan tailored to your UI with end-to-end scenarios
Example Test Scenarios Generated by AI
Example Test Scenarios Generated by AI
-
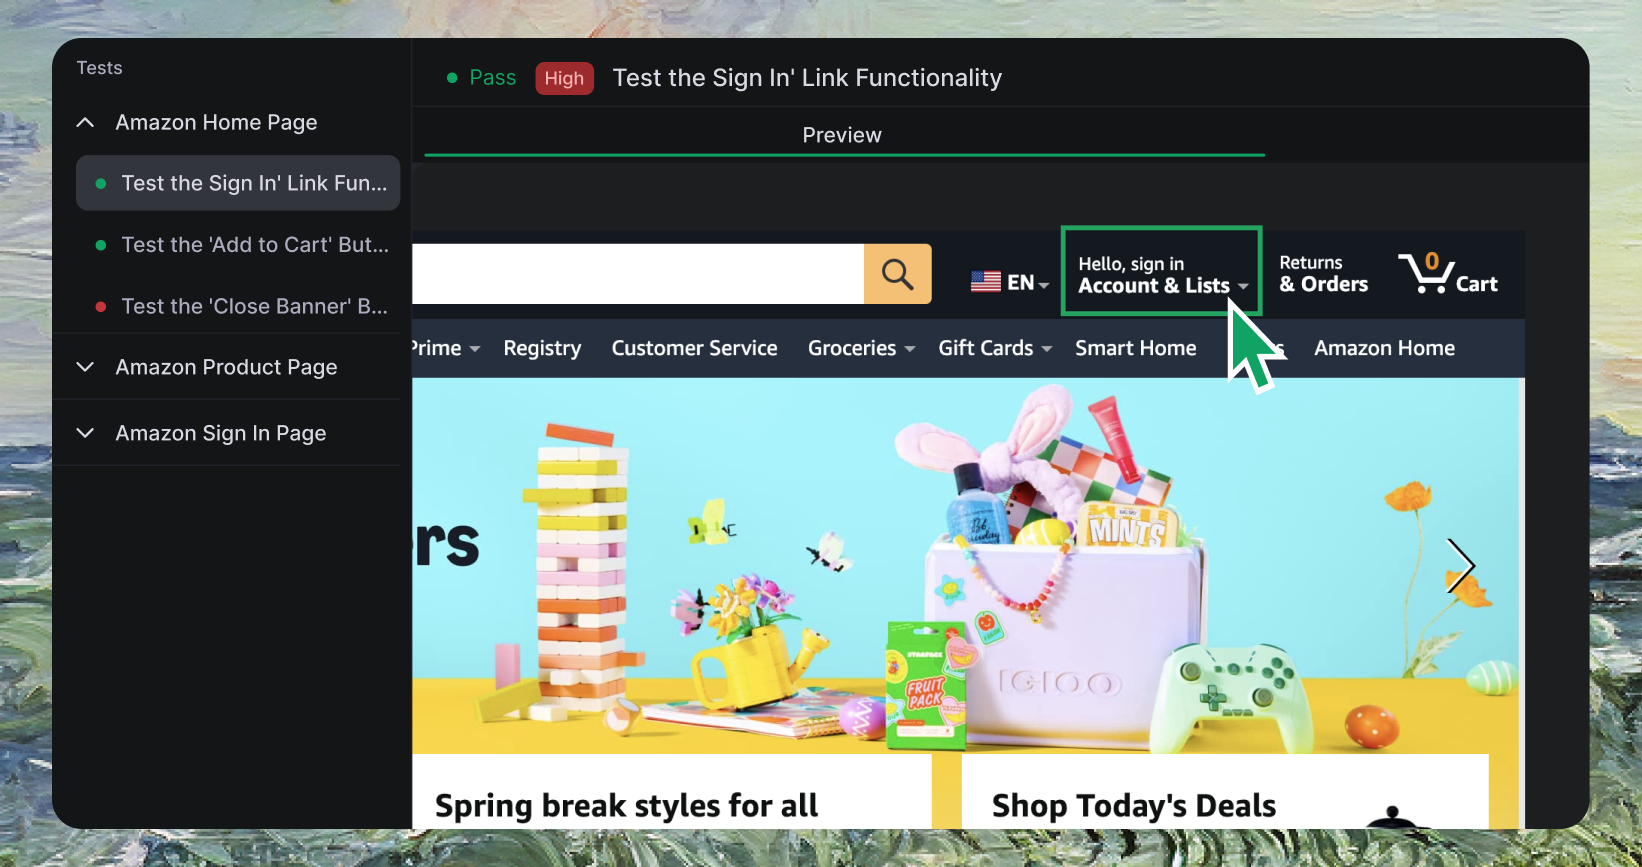
Test the ‘Log In’ Link Functionality
Ensure login link directs users to correct page and handles authentication properly -
Test the ‘Add to Cart’ Button
Verify cart button adds products, updates cart count, and shows confirmation messages -
Test the ‘Close Banner’ Button
Ensure banner close buttons dismiss properly without disrupting other elements -
Verify Link Redirection Accuracy
Confirm navigation links redirect to intended pages with proper loading and content
Our AI may further refine test plans after performing real-time analysis of your application during execution.
Step 3: Run Your Tests
Step 4: Review Test Results
Advanced Features
Web Preview for Context
TestSprite includes a Web Preview feature that allows you to visualize the testing process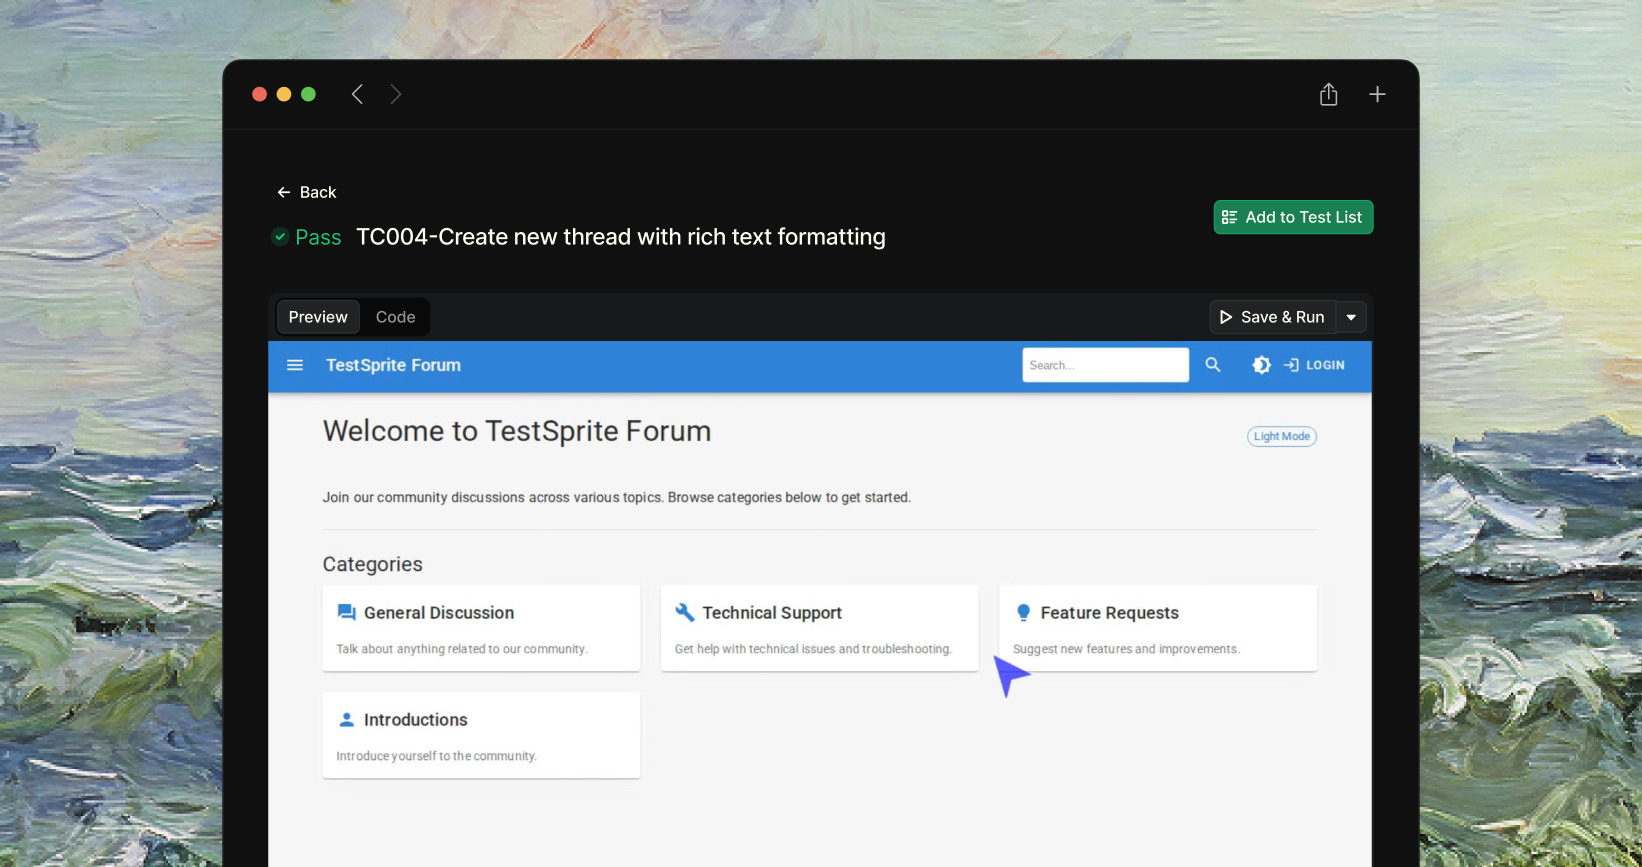
- Watch as each element is interacted with on your web page
- Understand how the page responds to various actions
- Quickly identify UI issues that might otherwise be missed
Using Natural Language to Refine and Regenerate Tests
Refine tests using plain English—no technical configuration required.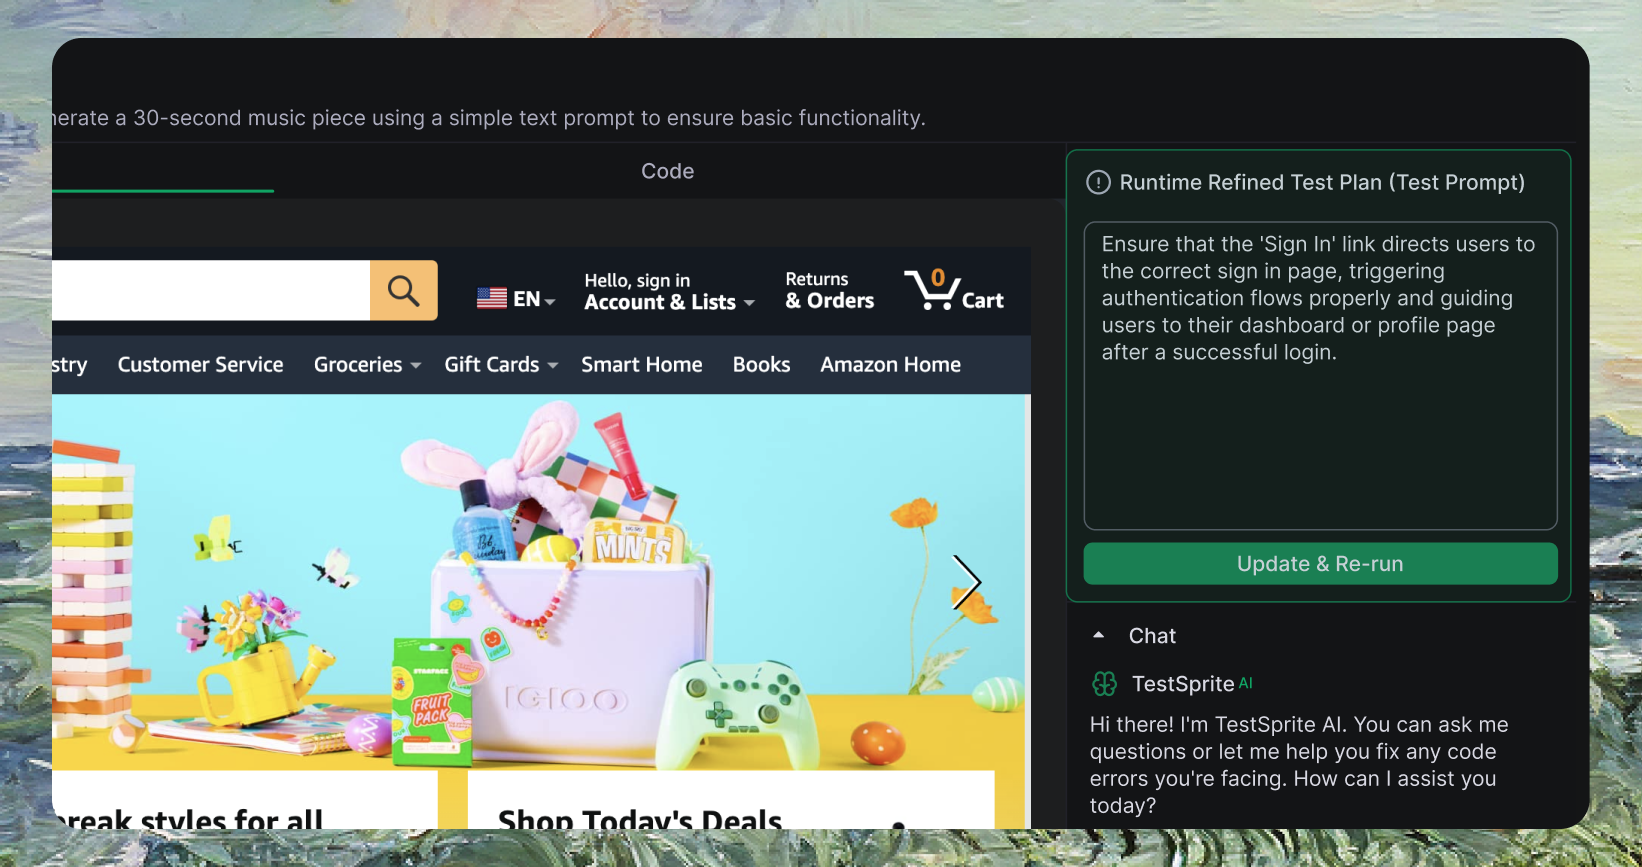
- How it works
- Example
- Edit the test description in plain language
- TestSprite automatically regenerates the test