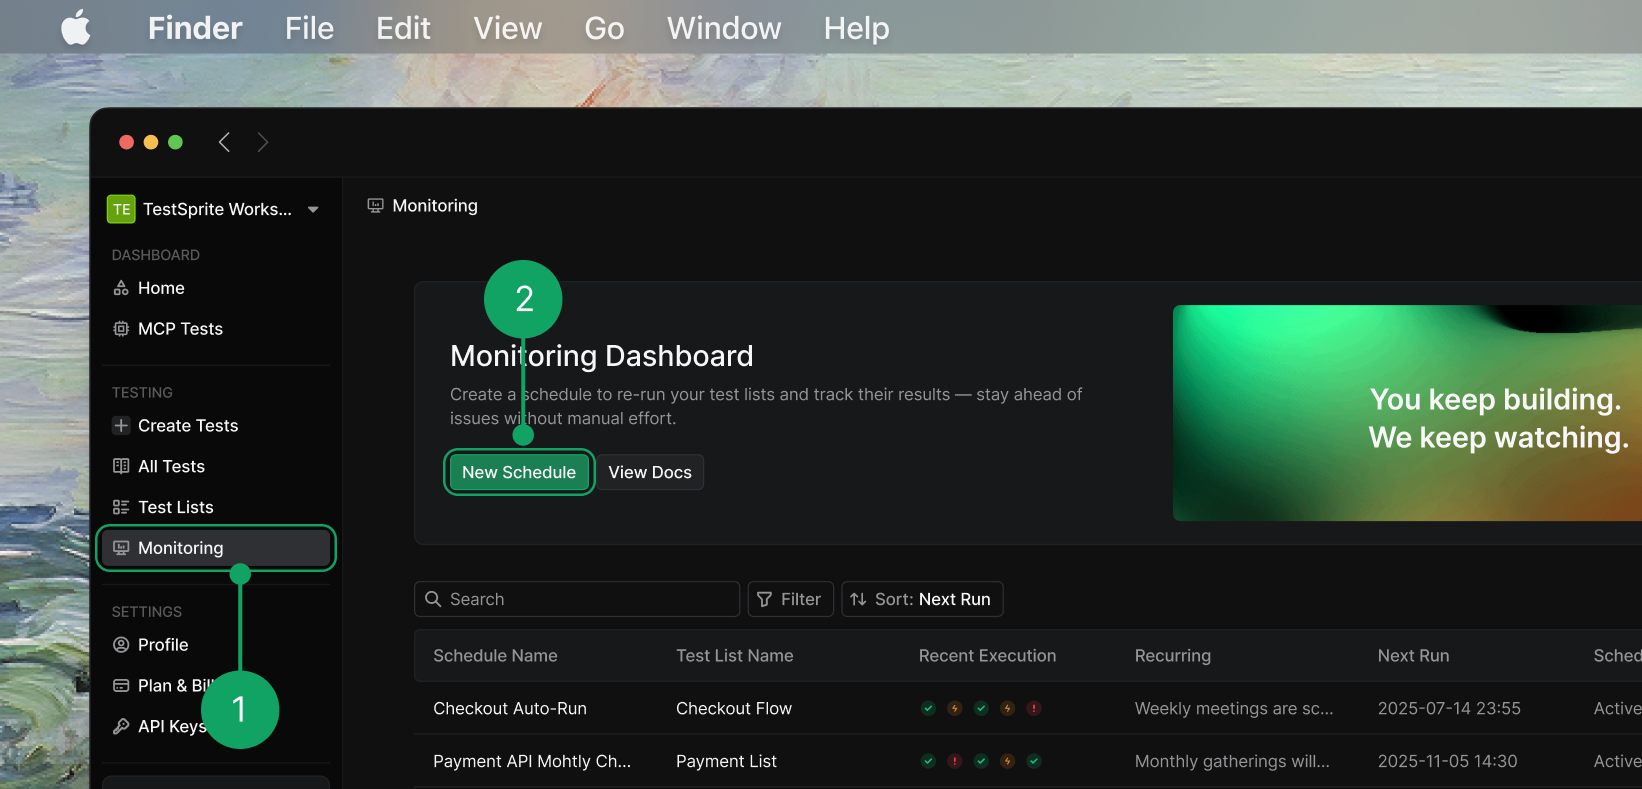
Key Benefits
- Continuous Quality Assurance: Automatically detect issues before they reach users. 24/7 monitoring and regression detection without manual effort.
- Flexible Scheduling: Recurring test executions with multiple scheduling options. Monitor run times and pause/modify schedules as needed.
- Proactive Issue Detection: Immediate notifications when tests fail. Track trends and identify performance degradation over time.
Getting Started with Monitoring
Prerequisites
Before setting up schedules:- Create Test Lists: You need existing test lists to schedule
- Verify Test Stability: Ensure your tests run reliably
- Set Up Notifications: Configure how you want to receive alerts
- Check Account Limits: Verify your plan supports scheduling
Steps
Select Test List
Choose an existing test list to schedule
Review test cases and execution settings, and confirm test list is ready for automation.

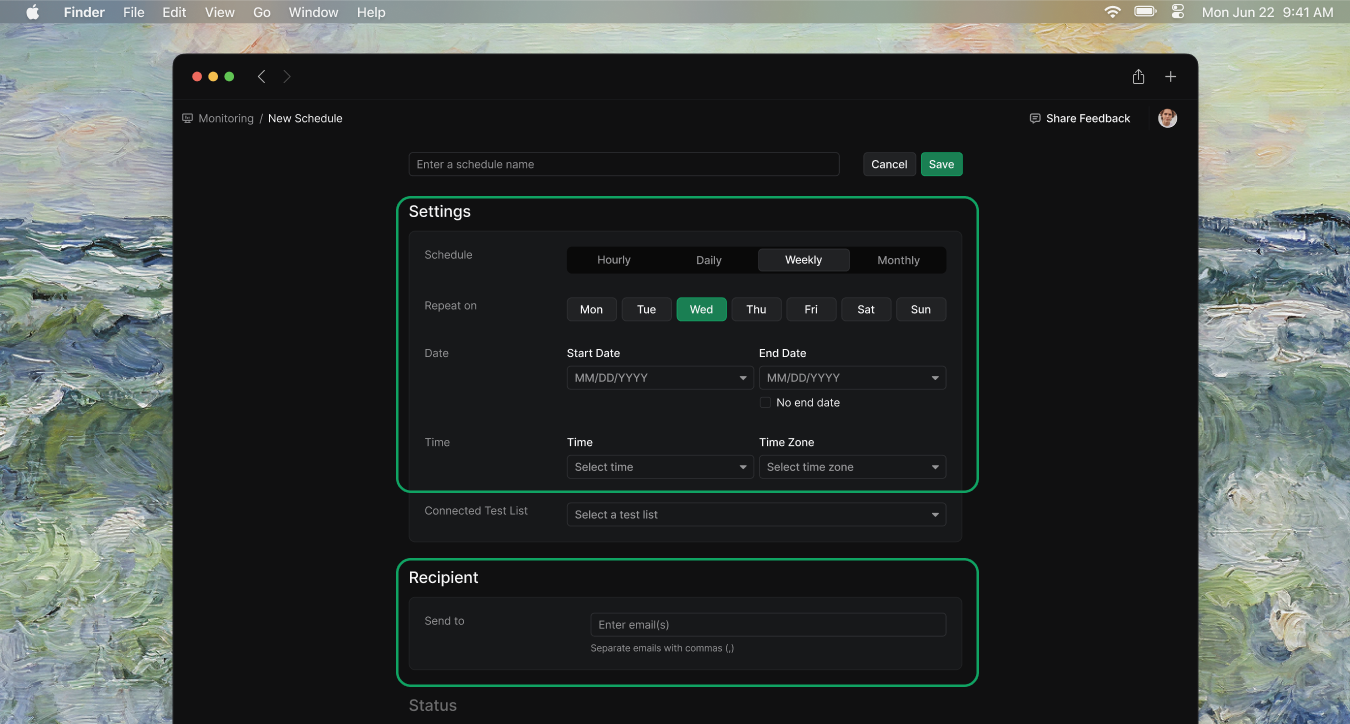
Schedule Configuration
Configure when and how often your tests run automatically. Choose from multiple frequency options, set specific times and timezones, and customize scheduling patterns to match your monitoring needs.Frequency Options
Select how frequently your tests execute. Available options include daily runs, weekly schedules on specific days, monthly executions on set dates, and custom patterns for advanced scheduling needs.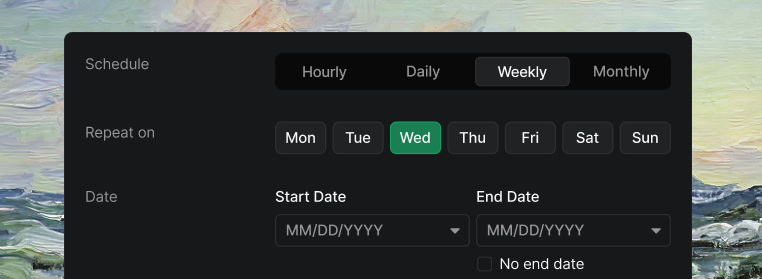
- Frequency Options
- Example Configurations
Choose how often your tests run automatically. Select from daily, weekly, monthly, or create custom scheduling patterns.
Frequency Options
Description
Daily
Execute tests every day at specified time
Weekly
Run tests on specific days of the week
Monthly
Schedule tests for specific dates each month
Custom
Define complex scheduling patterns
Timezone Settings
Configure the timezone for your scheduled test executions. All schedules use UTC by default. You can specify different timezones to match your local time or business hours.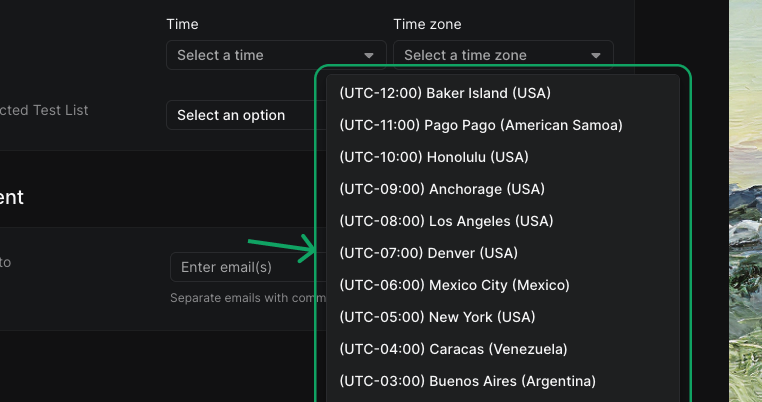
Timezone Best Practices: Convert your local time to UTC for accurate scheduling. Consider daylight saving time changes that may affect execution times. Use a consistent timezone across your team to avoid confusion.
Managing Schedules
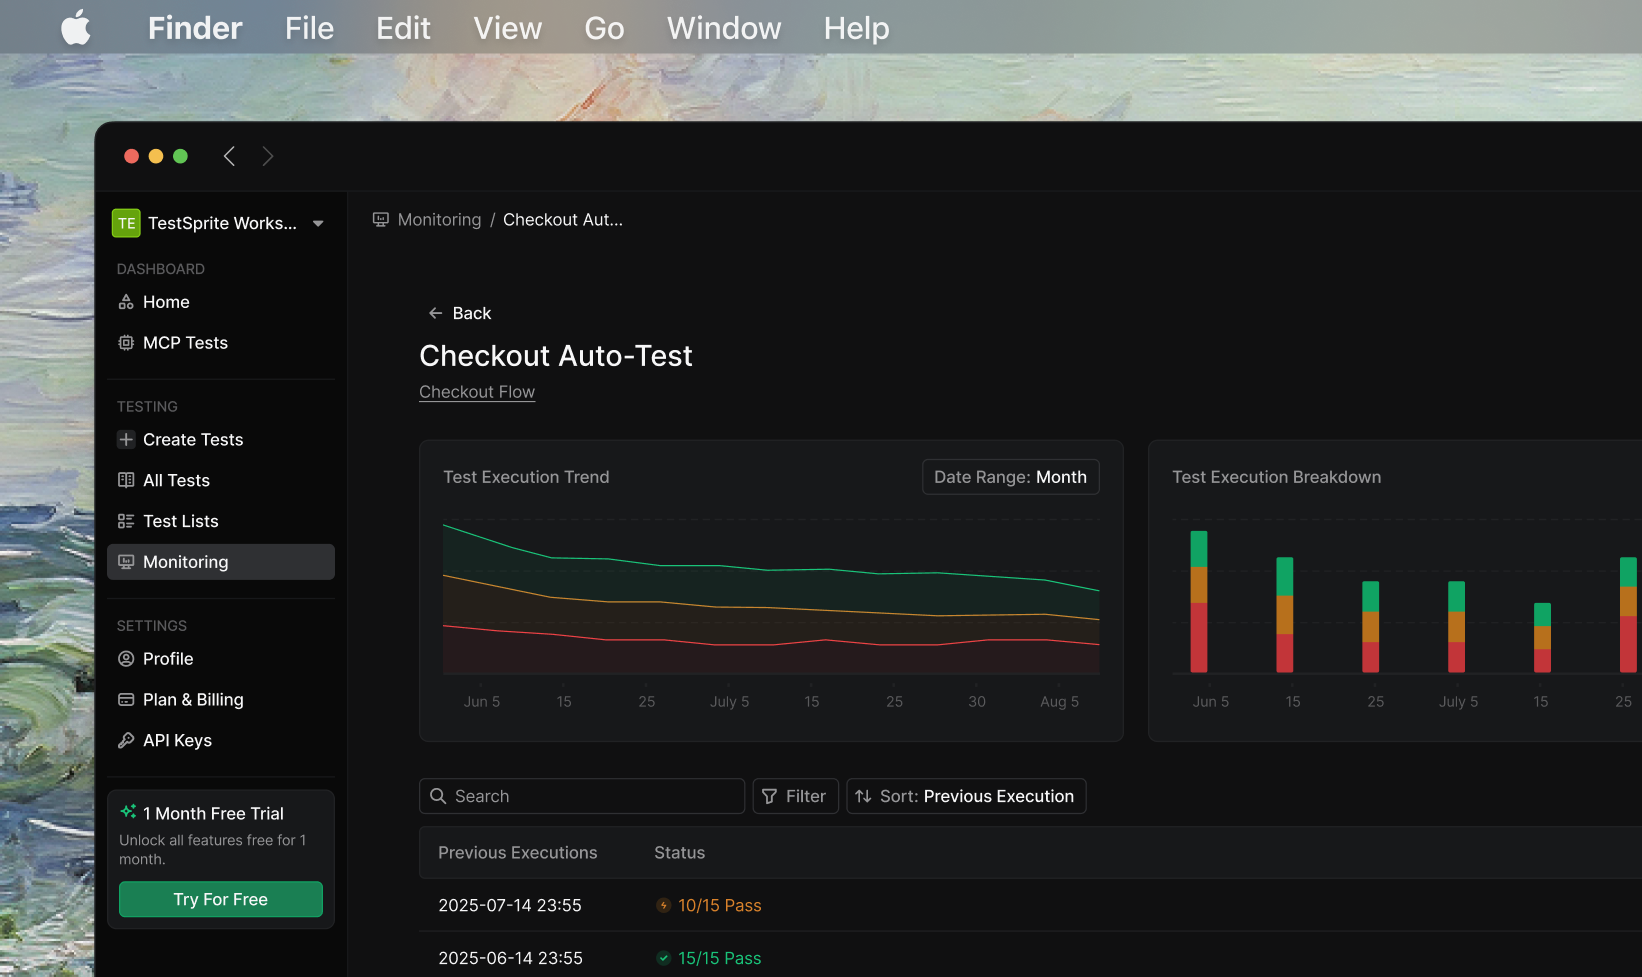
Once schedules are created, you can monitor their execution, view detailed status information, and manage them through the schedule dashboard. Track execution history, pause or modify schedules as needed, and ensure your monitoring runs smoothly.Schedule Dashboard
The Schedule Dashboard provides a comprehensive overview of all your automated test schedules, allowing you to monitor their status, execution history, and upcoming runs at a glance.Overview Information
Description
Schedule Name
Descriptive name for the scheduled execution
Test List
Associated test list that will be executed
Frequency
How often the schedule runs (daily, weekly, etc.)
Next Run
When the next execution is scheduled
Status
Current schedule status (active, paused, completed)
Last Result
Result of the most recent execution
Schedule Actions
Manage your test schedules with these available actions. Each schedule can be controlled individually to fit your testing workflow and requirements.Action
Description
Run Now
Execute the schedule immediately
Edit Schedule
Modify timing and configuration
Pause/Resume
Temporarily disable or re-enable
View Results
See detailed execution history
Delete Schedule
Remove schedule permanently
