When to Use This
Use this guide when onboarding a project that has little or no automated tests. The MCP workflow will analyze your codebase, derive a normalized PRD, generate both frontend and backend test plans, create runnable tests, execute them, and produce reports.Prerequisites
- Installed and configured TestSprite MCP in your IDE
- Application can run locally (frontend dev server or backend API)
- Basic test credentials if auth is required
Quick Start (All-in-One)
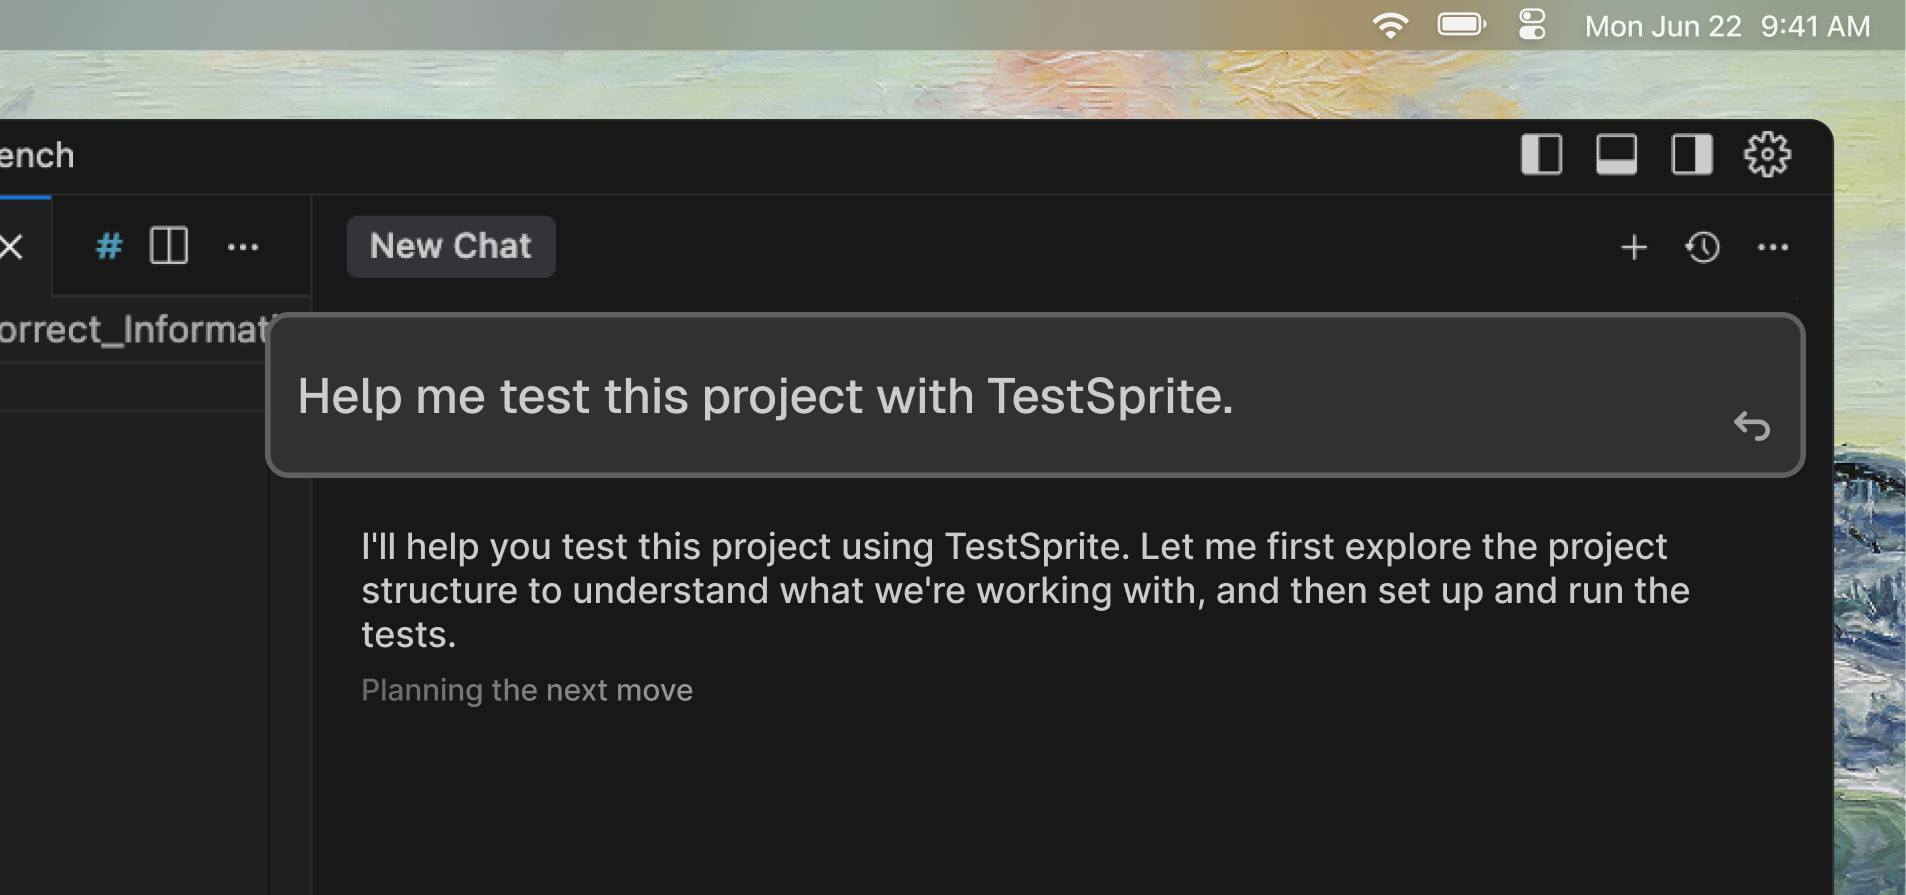
The assistant will orchestrate the full flow automatically.
Complete Testing Workflow
TestSprite follows a systematic 8-step process to transform your code into thoroughly tested software:Step 1: Bootstrap Testing Environment
The AI callstestsprite_bootstrap_tests to initialize the testing environment.
Learn more about bootstrap configuration: First Test: Configuration

- Project Detection: Identifies project type (
frontendorbackend) - Port Discovery: Finds running applications and their ports
- Configuration Portal: Opens TestSprite configuration interface
- Scope Definition: Determines testing scope (
codebasefor full project)
Step 2: Read User PRD
TestSprite reads the Product Requirements Document (PRD) that you upload to understand your product goals and requirements.
- PRD Upload: Reads the PRD file you uploaded during configuration
- Requirement Parsing: Extracts user stories, acceptance criteria, and functional requirements
- Goal Understanding: Identifies primary product objectives and user needs
- Scope Definition: Determines what features should be tested
Step 3: Code Analysis & Summary
The AI callstestsprite_generate_code_summary to analyze your codebase.

- Structure Mapping: Identifies files, folders, and dependencies
- Framework Detection: Recognizes React, Vue, Angular, Node.js, etc.
- Feature Extraction: Understands implemented functionality
- Architecture Analysis: Maps component relationships
- Security Assessment: Identifies potential vulnerabilities
Step 4: Generate TestSprite Normalized PRD
The AI callstestsprite_generate_standardized_prd to create a standardized, normalized Product Requirements Document.

- Product Overview: High-level description and goals
- Core Goals: Primary objectives and user needs
- Key Features: Main functionality and capabilities
- User Flows: Step-by-step user journeys
- Validation Criteria: Test requirements and acceptance criteria
Step 5: Create Test Plans
The AI callstestsprite_generate_frontend_test_plan or testsprite_generate_backend_test_plan based on project type.

- Test Cases: Detailed scenarios with steps
- Categories: Functional, UI/UX, Security, Performance
- Priorities: High, Medium, Low based on user impact
- Prerequisites: Setup requirements for each test
- Expected Results: Success criteria and validation points
Step 6: Generate Executable Test Code
The AI callstestsprite_generate_code_and_execute to create production-ready test code based on the test plans.

- Framework Selection: Chooses appropriate testing framework (Playwright, Cypress, Jest)
- Test Structure: Creates organized test suites and files
- Helper Functions: Generates reusable utility functions
- Data Setup: Creates test data and fixtures
- Configuration: Sets up test environment configuration
Step 7: Execute Tests
TestSprite runs the generated test code in secure cloud environments.
- Sandbox Creation: Isolated testing environment
- Dependency Installation: Installs required packages
- Test Execution: Runs all generated tests
- Result Collection: Gathers results, screenshots, logs
- Report Generation: Creates comprehensive test report
Step 8: Analyze Results & Reports
TestSprite generates comprehensive test reports with detailed analysis, error descriptions, and actionable fix recommendations.
- What You Get
- Files Generated
- Detailed test results with pass/fail status for each test case
- Error analysis explaining why tests failed
- Fix recommendations with specific steps to resolve issues
- Coverage metrics showing overall project health
- Requirement breakdown organized by feature areas
View Detailed Report Structure
View Detailed Report Structure
Basic Information - Every report starts with essential details:
- Project Name - The name of your application
- Test Date - When the tests were run
- Version - Which version was tested
- Summary - Quick overview of results
- What it does - Simple description of the feature
- How many tests - Number of tests run for this feature
- Test ID - Unique identifier like “TC001”
- What was tested - Clear description like “Login with valid password”
- Result - ✅ Passed or ❌ Failed
- Priority - High, Medium, or Low importance
- What went wrong - Detailed error explanation (if failed)
- How to fix it - Specific recommendations for repairs
- 73% of features tested - How much of your app was covered
- 56% of tests passed - Overall success rate
- Critical issues found - Most important problems to fix
Step 9: AI Fixes Issues
When you request fixes with “Help me fix the codebase based on these test results”, your IDE AI assistant:- Process
- Example Fix Application
- Reads Test Results: Reviews
testsprite_tests/tmp/test_results.jsonfor detailed failure data - Analyzes Test Report: Processes
testsprite_tests/tmp/report_prompt.jsonfor context and recommendations - Examines Error Details: Reviews stderr messages and test visualizations
- Identifies Root Causes: Determines underlying issues causing test failures
- Generates Targeted Fixes: Creates code changes based on TestSprite’s recommendations
- Applies Changes: Modifies your codebase automatically
- Validates Fixes: Re-runs tests to verify solutions
Best Practices
Before Testing
Before Testing
- Ensure all applications are running on specified ports
- Prepare test credentials for auth flows
- Update README with clear project description
- Clean up any development artifacts
During Testing
During Testing
- Review generated PRD for accuracy
- Examine test plan coverage
- Monitor test execution progress
- Note any configuration adjustments needed
After Testing
After Testing
- Analyze test results thoroughly
- Understand failure patterns
- Apply fixes systematically
- Document lessons learned
- Re-run tests to validate fixes
Next Steps
Create Tests for New Changes
Test diff-scoped changes
Modify or Update Tests
Adjust existing tests
Continuous Monitoring
Integrate into CI/CD
Test Types & Lifecycle
Understand what we test
Healing & Observability
Learn about auto-healing