Overview
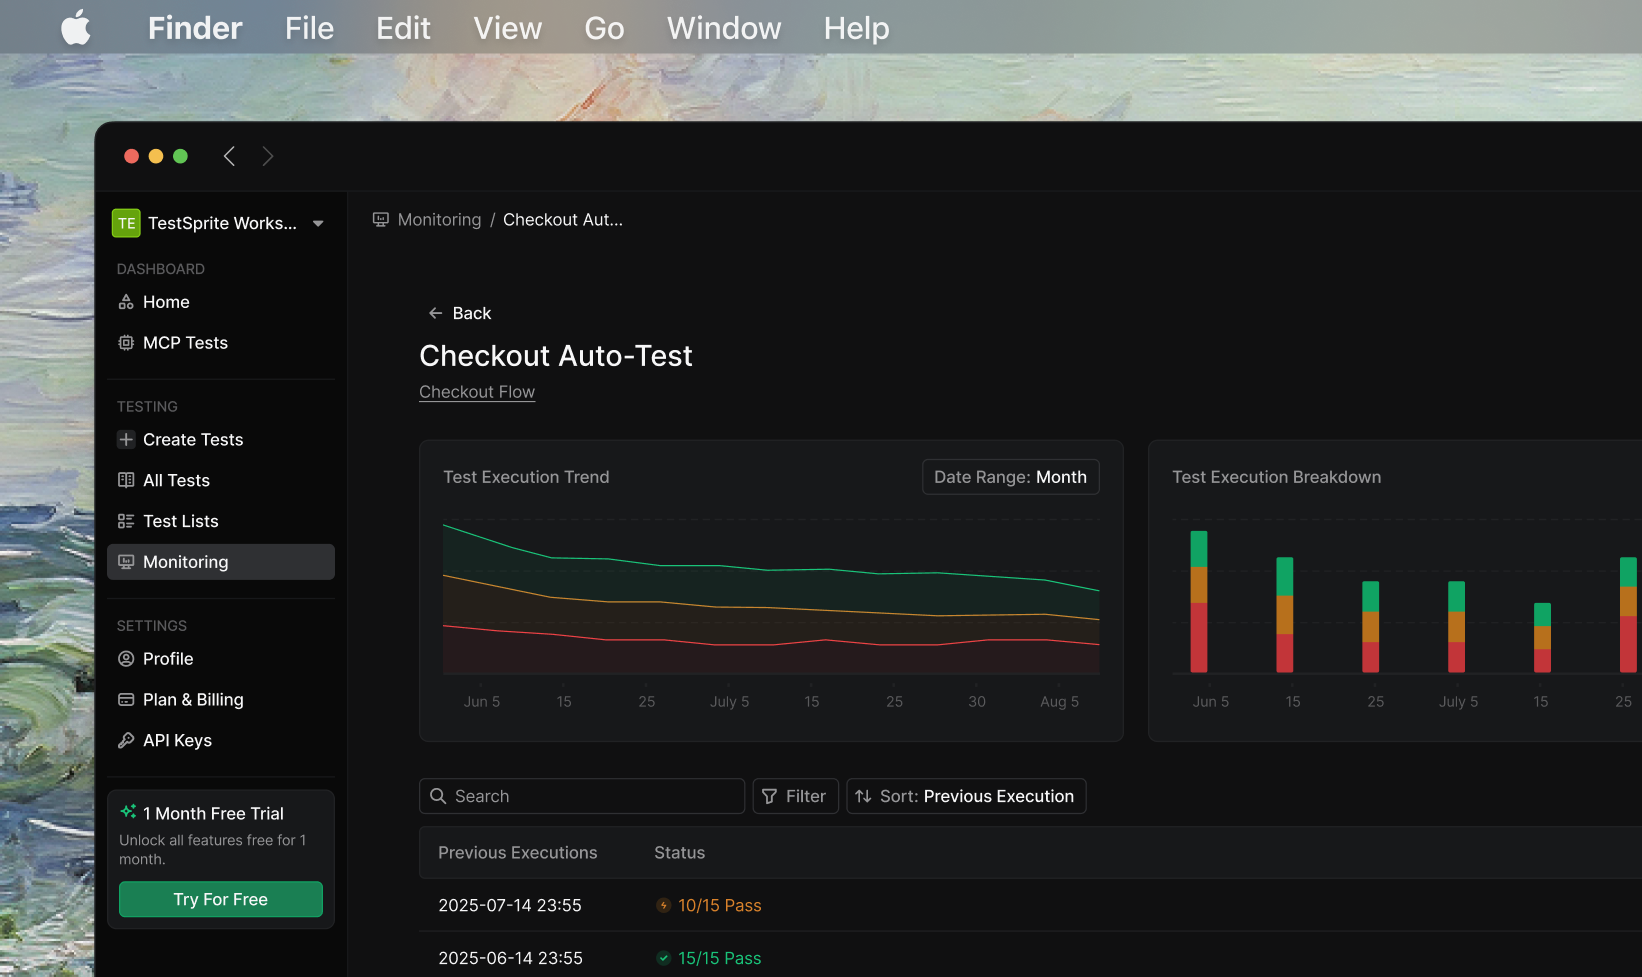
Continuous monitoring enables you to automatically run your MCP tests against deployed environments on a regular schedule. This ensures your production applications remain stable and helps you catch issues before they impact users.Two-Step Process: Setting up continuous monitoring involves first deploying your tests to production, then configuring automated schedules.
Prerequisites
Before setting up continuous monitoring, ensure you have:- Successfully created and tested your MCP tests
- Access to your deployed application URL (staging, testing, or production)
- Appropriate permissions to the TestSprite web portal
Step 1: Deploy Tests to Production
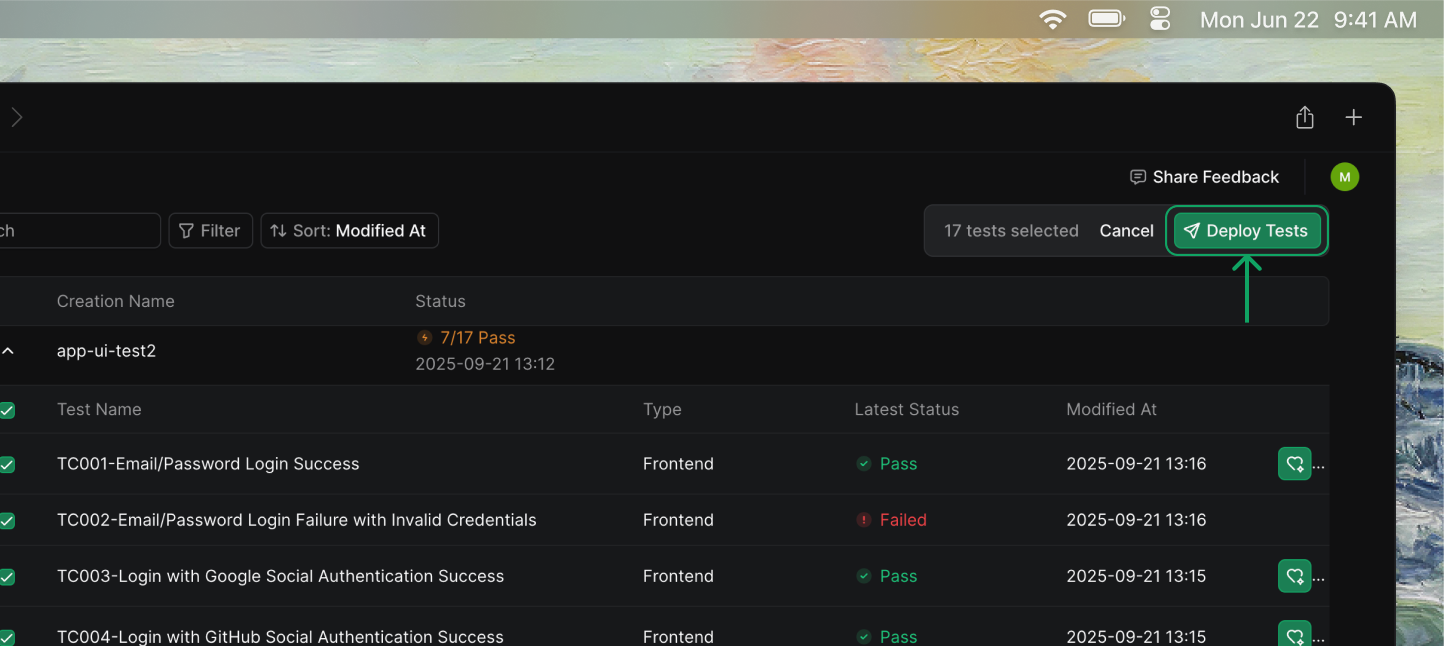
First, you need to deploy your locally created MCP tests to run against your deployed environment.
Deploy Your Tests
Follow the complete deployment workflow to push your local MCP tests to the web portal and configure them to run against your deployed application.
Step 2: Configure Continuous Monitoring
Once your tests are deployed and running successfully against your production environment, set up automated schedules to monitor your application continuously.
Set Up Monitoring & Scheduling
Configure automated test execution schedules to enable 24/7 continuous monitoring of your deployed application.
Key Monitoring Features
Continuous monitoring provides automated test execution with comprehensive tracking and alerting capabilities. The following features help you maintain visibility into your application’s health:Feature
Description
Automated ExecutionSchedule tests to run daily, weekly, or monthly without manual intervention.
Proactive AlertsReceive immediate notifications when tests fail or performance degrades.
Historical TrackingMonitor trends and identify issues over time with detailed execution history.
Flexible SchedulingPause, modify, or delete schedules as your monitoring needs evolve.
Best Practices
Start with Stable Tests
Start with Stable Tests
Ensure your tests run reliably before scheduling them. Flaky tests lead to alert fatigue and reduce confidence in your monitoring.
Choose Appropriate Frequency
Choose Appropriate Frequency
Balance monitoring coverage with resource usage. Critical applications may need hourly checks, while others can be monitored daily or weekly.
Configure Smart Alerts
Configure Smart Alerts
Set up notification channels that match your team’s workflow. Consider using different channels for different severity levels.
Review Results Regularly
Review Results Regularly
Even with automation, periodically review test results and execution trends to identify patterns and opportunities for improvement.
Keep Tests Updated
Keep Tests Updated
As your application evolves, update your test schedules accordingly. Remove obsolete tests and add new ones for new features.