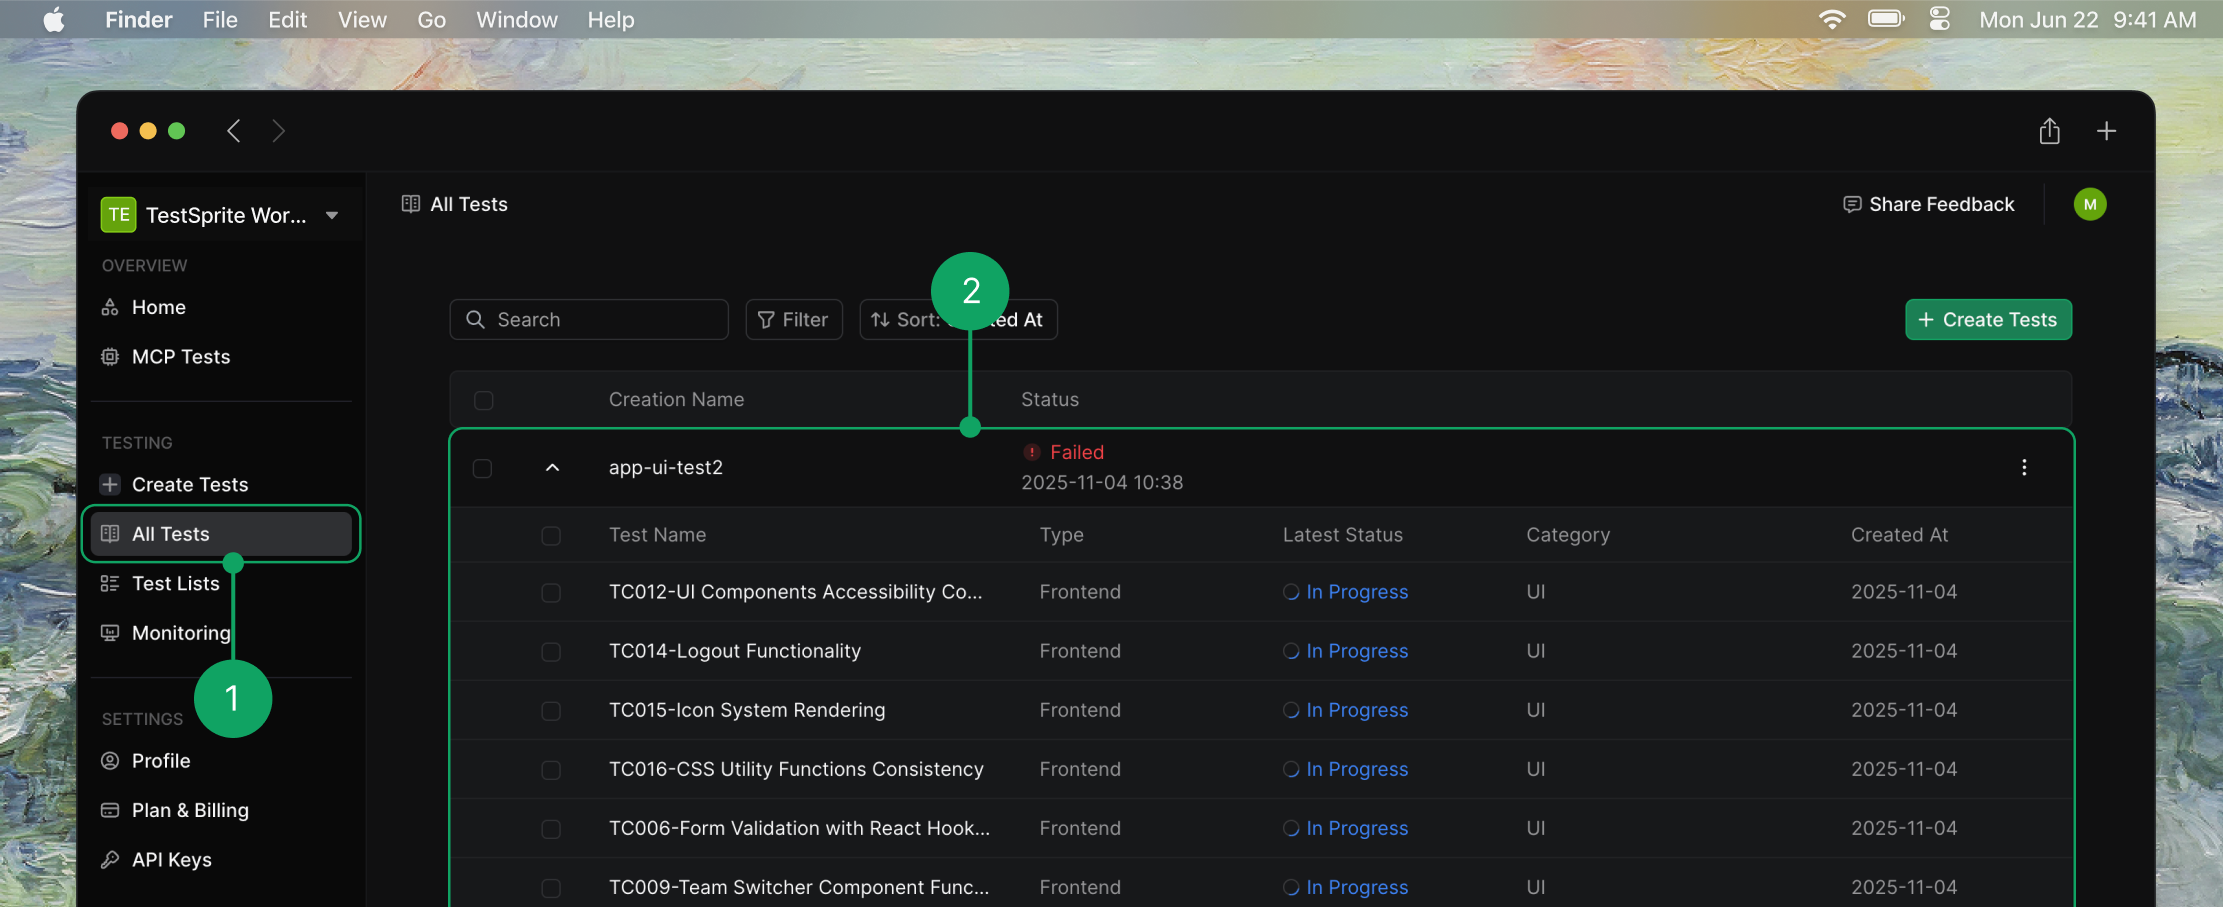
Prerequisites
Before deploying your tests, ensure you have:- Successfully created and run tests locally using MCP
- Access to the MCP Tests web portal
- The URL of your deployed application (staging or production)
Deployment Steps
Access the MCP Tests Web Portal
Log in to the MCP Tests web portal and navigate to your project. You’ll see a list of all test suites that have been created locally.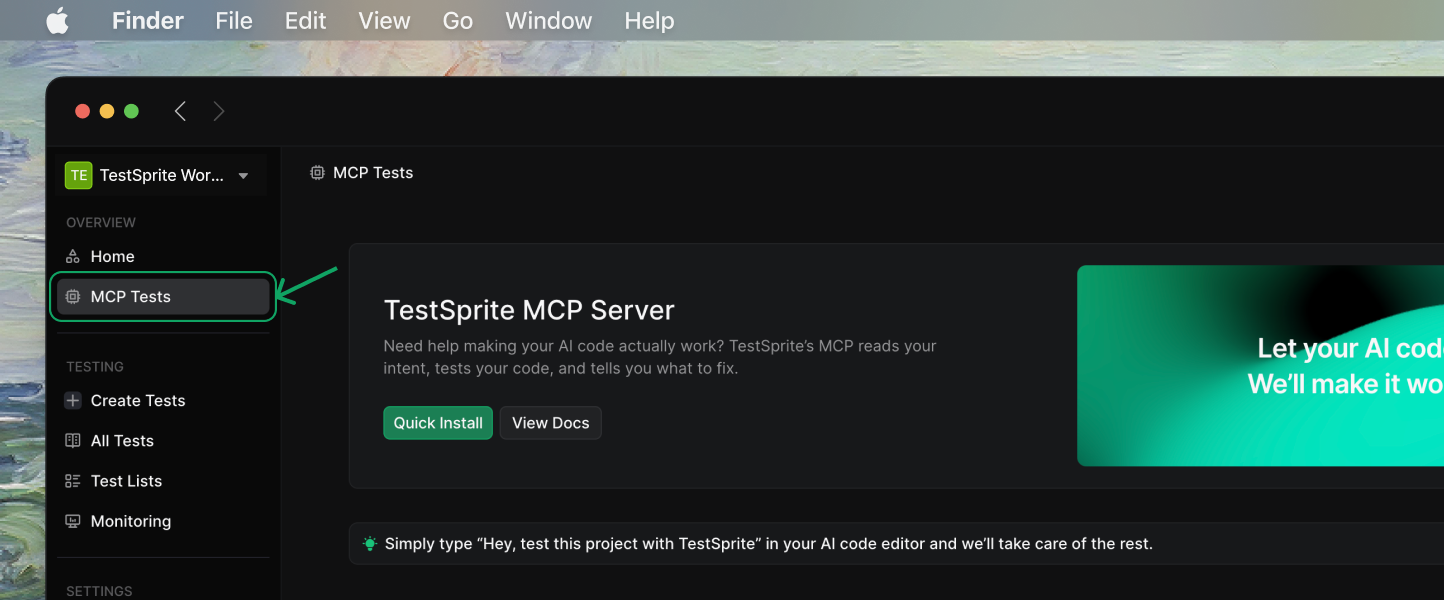

Initiate Test Deployment
Locate the test suite you want to deploy and click the “Deploy Tests” button next to it. This opens the test selection interface.

Select Tests to Deploy
Review the available tests and use the checkboxes to select which ones you want to deploy. You can select individual tests or multiple tests at once depending on your deployment strategy.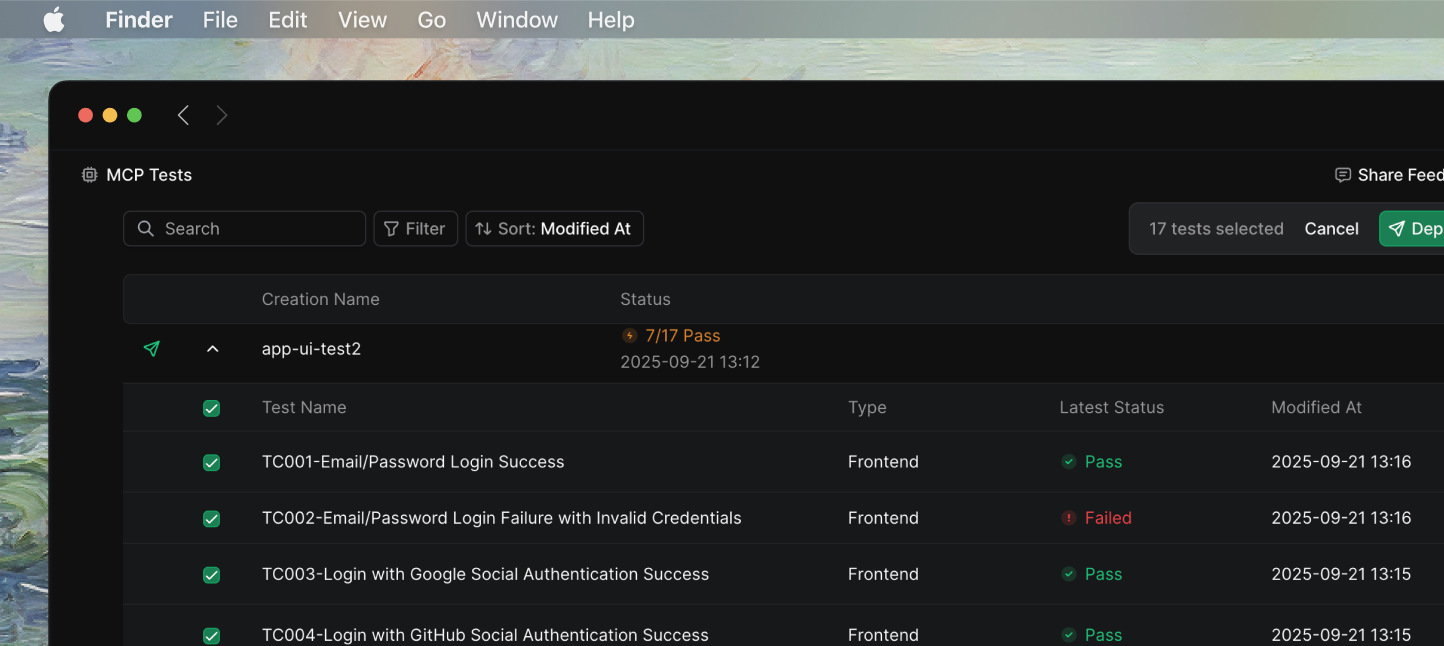

Confirm Test Selection
After selecting your tests, click the “Deploy Tests” button in the upper right corner to proceed with the deployment.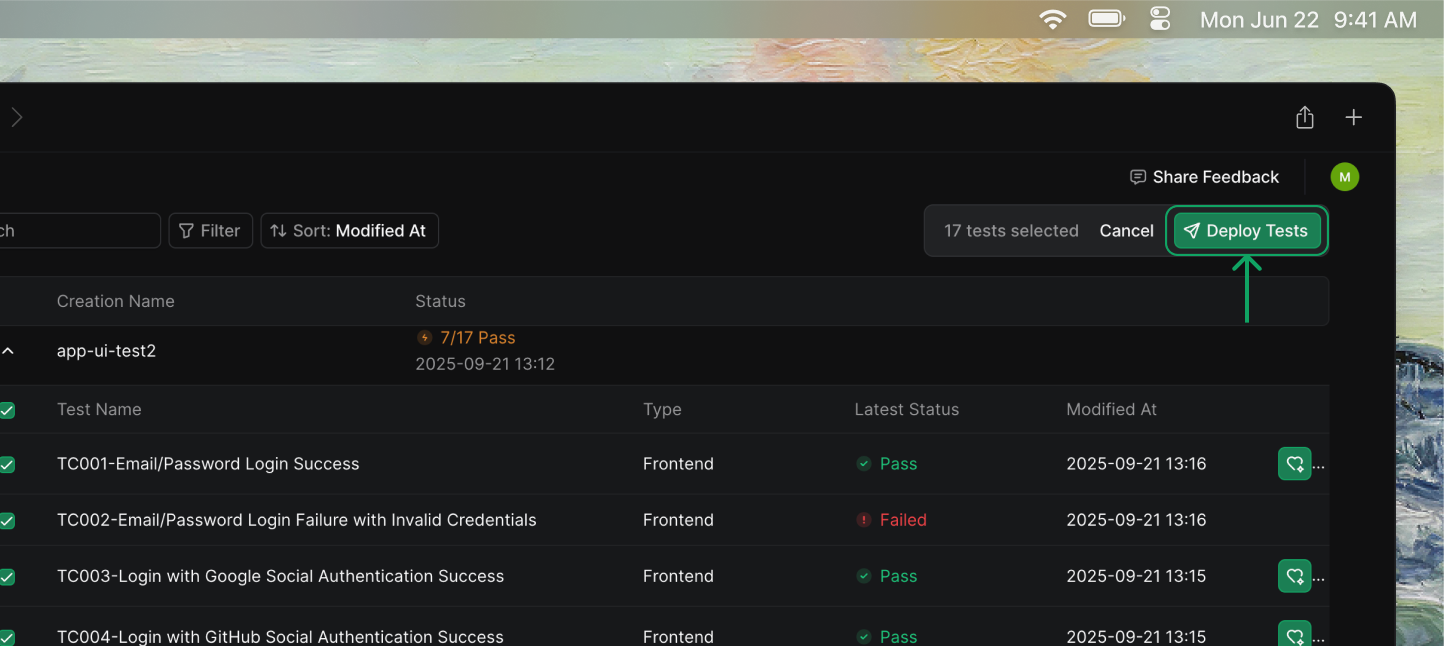

Configure Target Environment
Enter the URL of your deployed application where the tests will run (e.g., 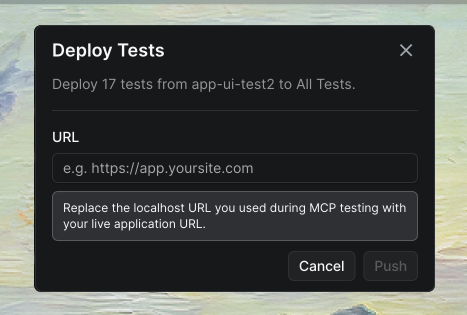
https://your-app.com or https://staging.your-app.com). This URL becomes the target environment for all test executions.
