
How It Works
Once connected, the TestSprite GitHub App:- Detects new pull requests on your connected repository
- Waits for your deployment platform (Vercel, Netlify, etc.) to deploy a preview
- Automatically runs your TestSprite tests against the preview URL
- Posts a comment on the PR with a detailed test results summary
Prerequisites
Generate Tests with MCP Server
The TestSprite MCP Server is responsible for generating, executing, and refining your test cases locally. Once your tests are committed to your repository, the GitHub App can run them automatically on every PR.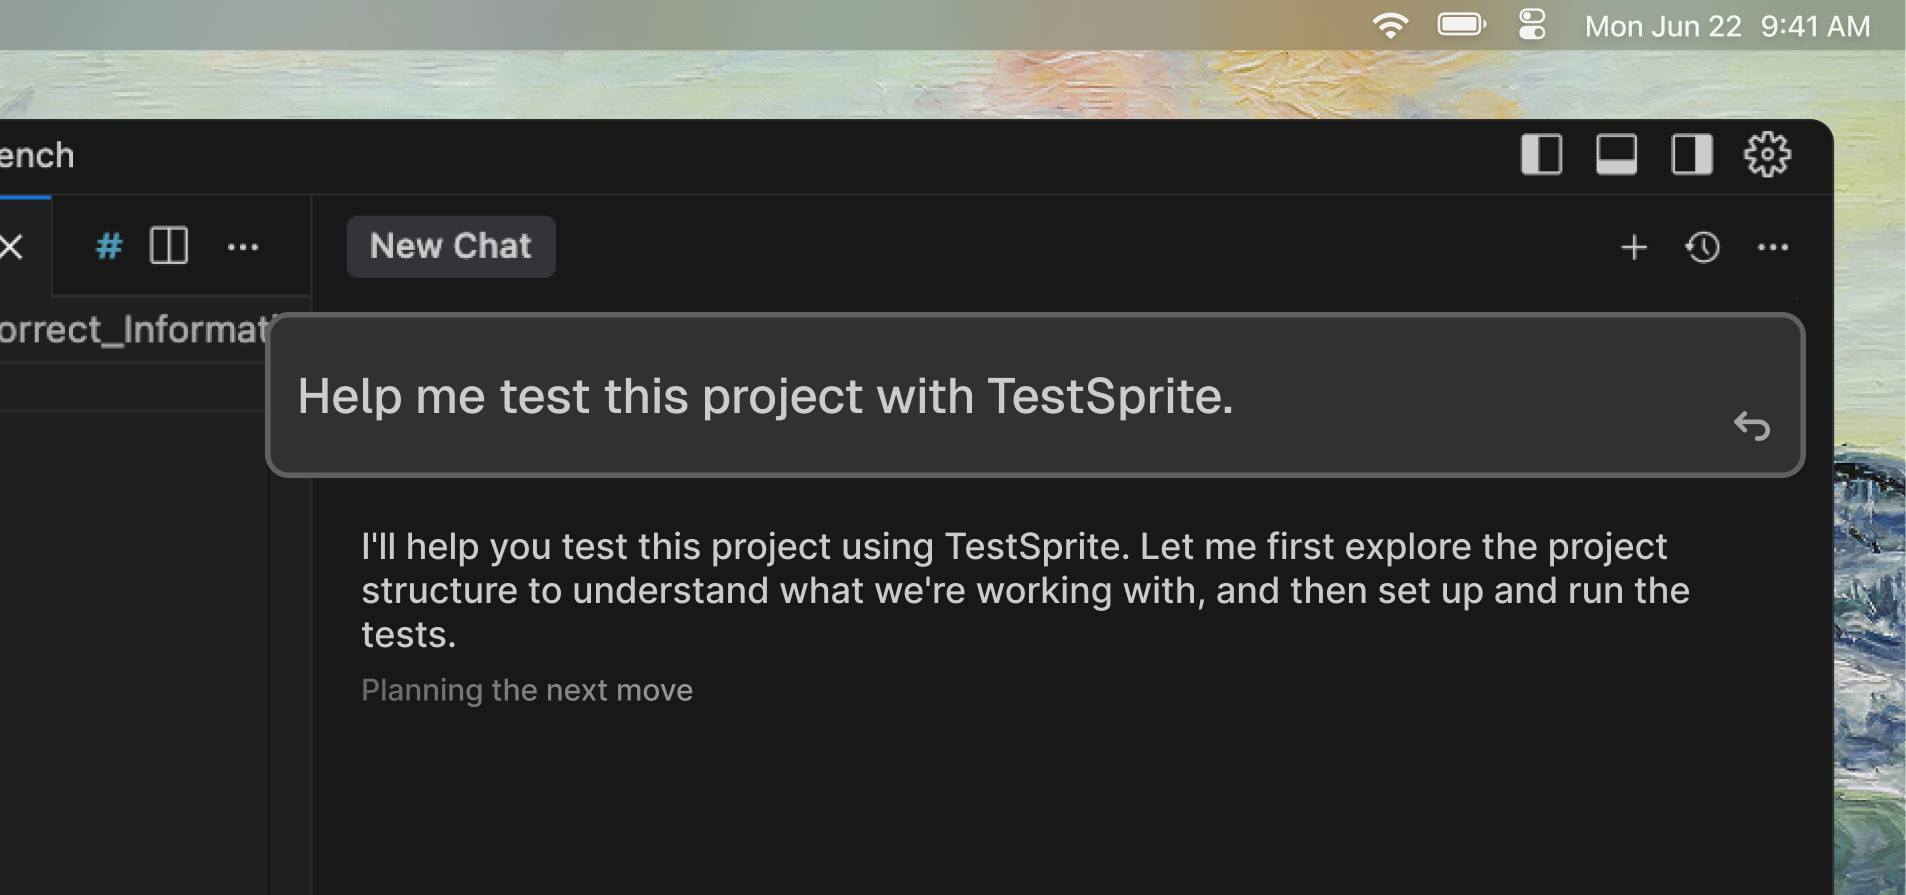
1
Install MCP Server
Follow the MCP Installation Guide to set up the TestSprite MCP Server in your IDE.
2
Generate Tests
Use the MCP tools to generate test plans and test code for your project. See First MCP Test for a step-by-step walkthrough.
3
Commit Tests to Your Repository
Ensure the generated
testsprite_tests/ folder and test files are committed and included in your repository. The GitHub App will use these tests during CI/CD runs.Other Requirements
- A GitHub repository for your project
- A deployment platform connected to your repo (e.g., Vercel, Netlify, Render, Railway, or Fly.io) that auto-deploys on PRs
Github App vs. Github Action
GitHub App (Recommended)
Best for teams using Vercel, Netlify, Render, or other managed platforms.
- Setup: Connect in a few clicks via Web Portal
- Workflow files: None required
- Deploys: Auto-detects platform deployments
- Config: Managed in TestSprite Web Portal
GitHub Action
Best for teams with custom CI/CD pipelines who need full control.
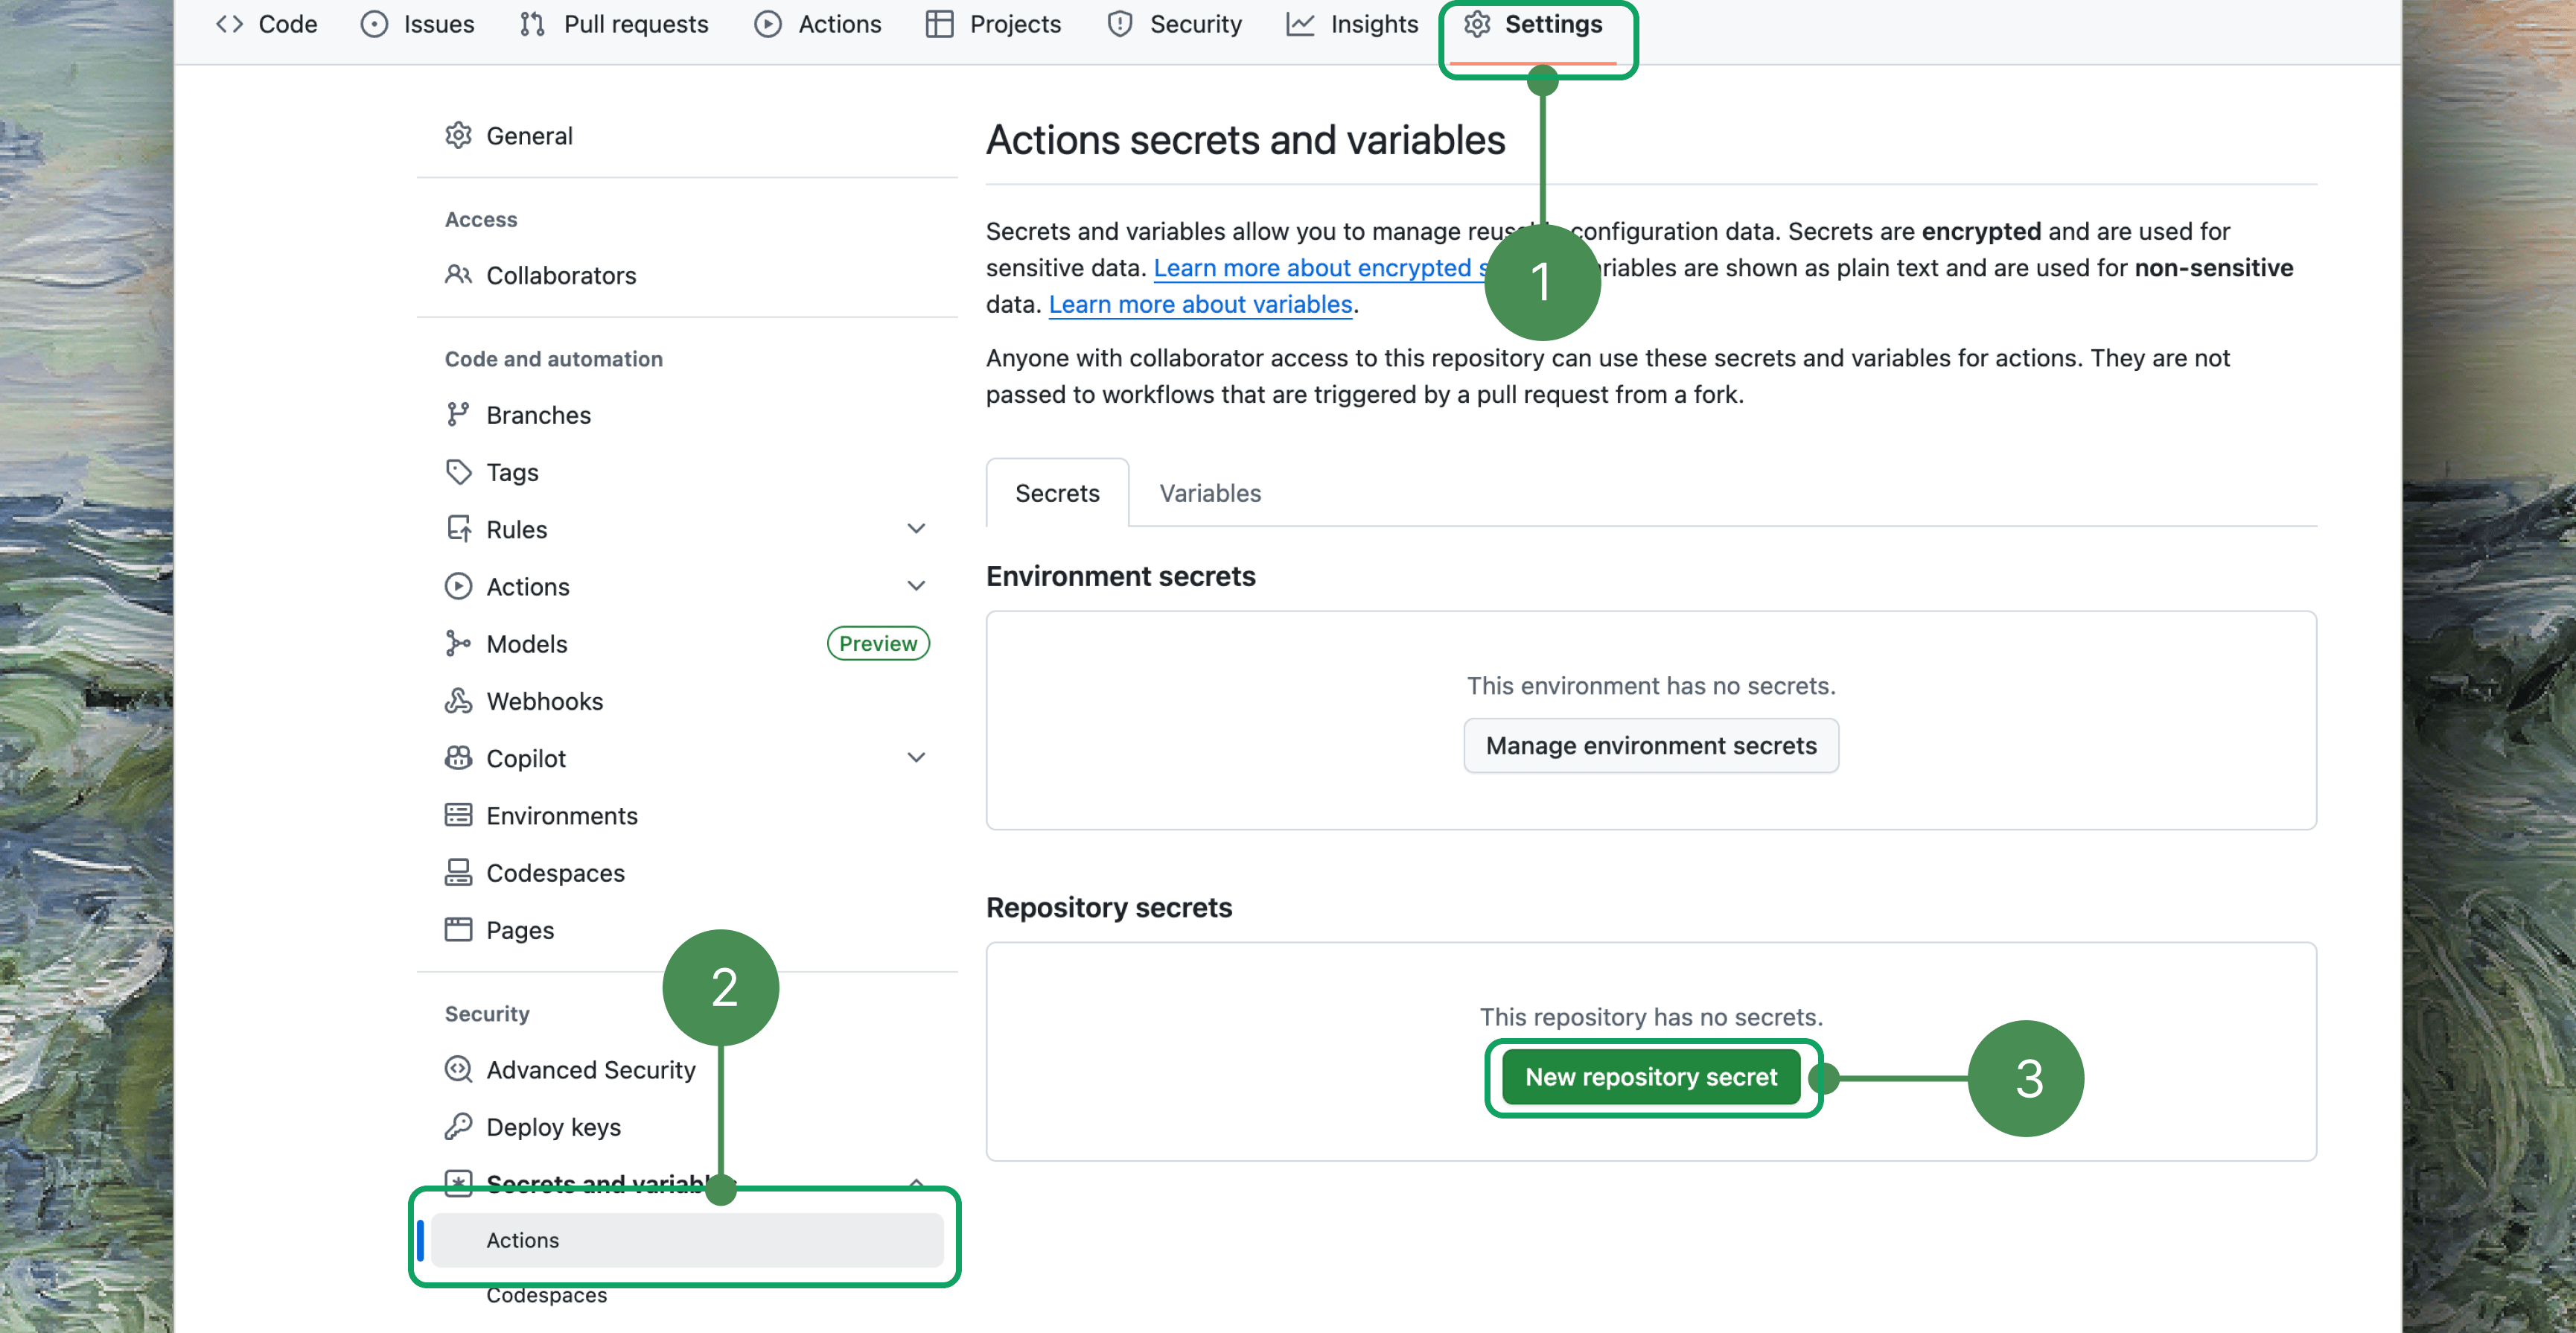
- Setup: Requires YAML config and repo secrets
- Workflow files:
.github/workflows/ci.yml - Deploys: Manual deploy step in workflow
- Config: Defined in repository workflow files
Setup GitHub Integration
- Github App
- Github Action
The TestSprite GitHub App provides a streamlined, no-config integration that automatically detects deployments and runs tests on every pull request. Unlike the GitHub Action approach, the GitHub App requires no workflow YAML files — just connect your repository through the TestSprite Web Portal.
1
Connect Your Deployment Platform
Connect your repository to a deployment platform that supports automatic preview deployments on pull requests. Supported platforms include:


Vercel
Netlify
Render
Fly.io
2
Connect GitHub in TestSprite Web Portal
- Log in to the TestSprite Web Portal
- Navigate to GitHub App in the sidebar under Settings
- Click Connect With GitHub App
- Authorize TestSprite to access your GitHub organization
- Select the repositories you want to connect
3
Configure Repository Settings
After connecting your organization, configure the integration for each repository:


- Select a Connected Repository from the dropdown
- Configure the Pull Request Settings:
- Click Save Changes to apply your configuration
4
Managing Connection
You can manage your GitHub App connections from the GitHub App settings page in the TestSprite Web Portal.
Create a Pull Request
- Your deployment platform deploys a preview of the PR
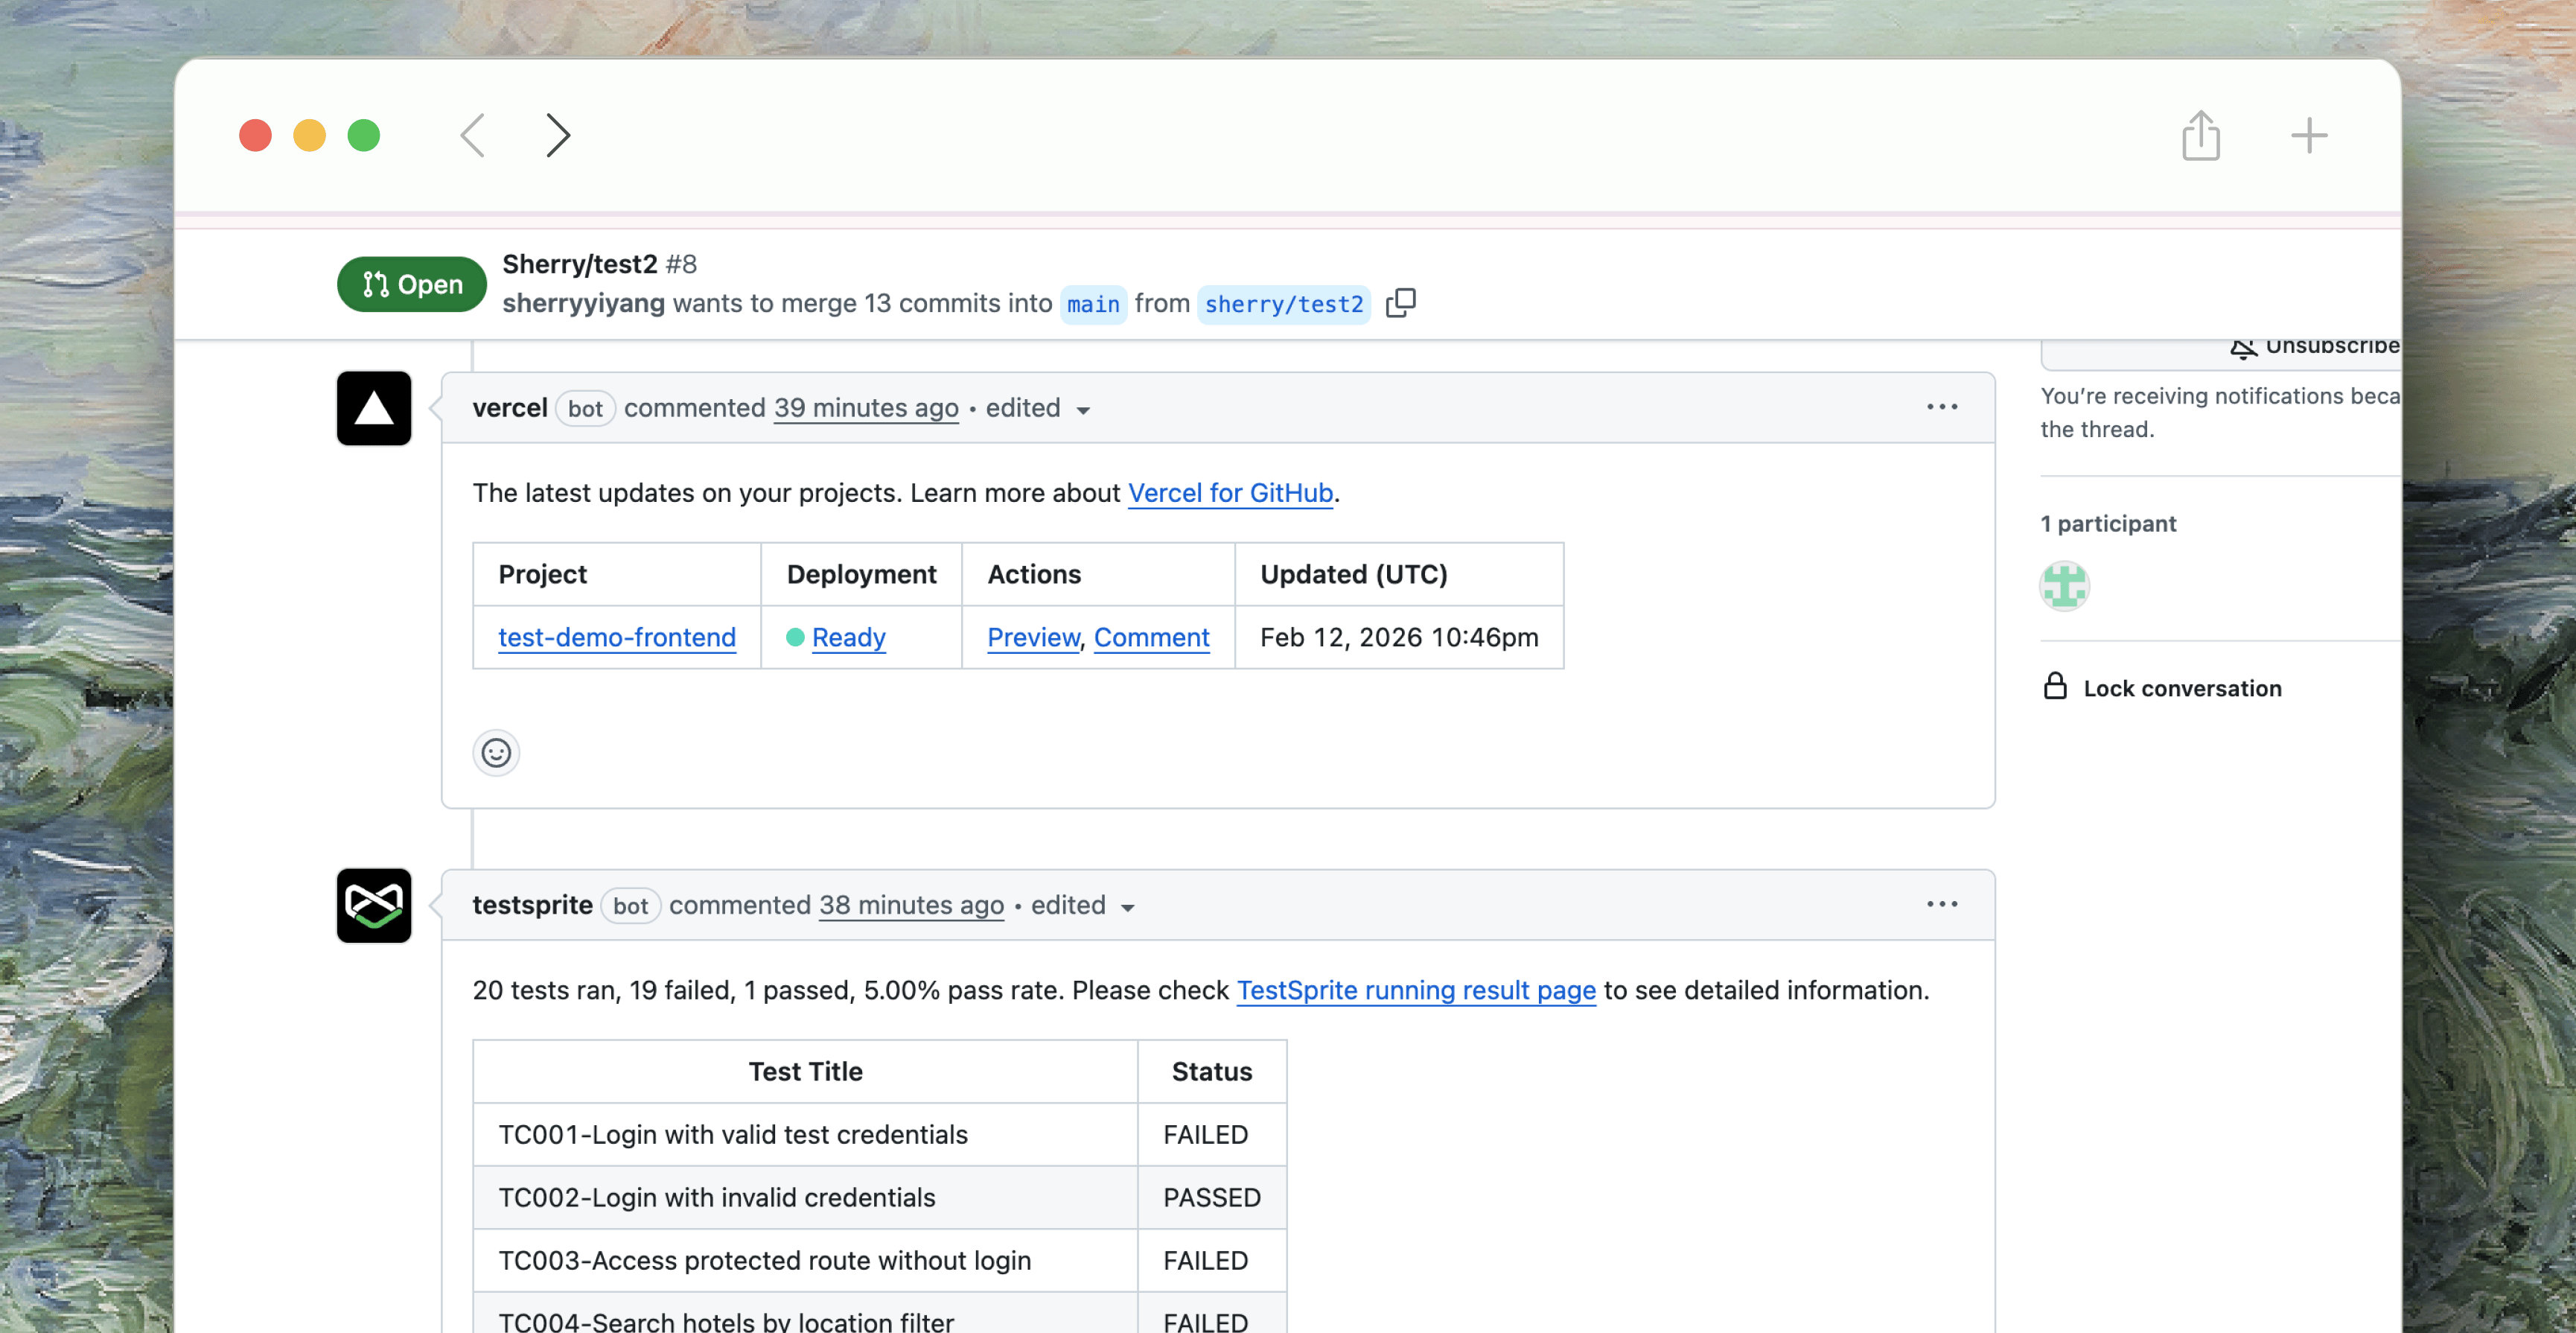
- TestSprite detects the deployment and starts running tests
- The TestSprite bot posts a comment on the PR with test results
Both methods produce the same test result comments on your pull requests. Choose the approach that best fits your team’s workflow.
Next Steps
Test Maintenance
Learn how to maintain and update your test suites over time.
Manage API Keys
Create and manage your TestSprite API keys