

What a Workspace Is
Creating a Workspace
1
Open the workspace switcher
Click the workspace name at the top of the left sidebar, then choose Create workspace.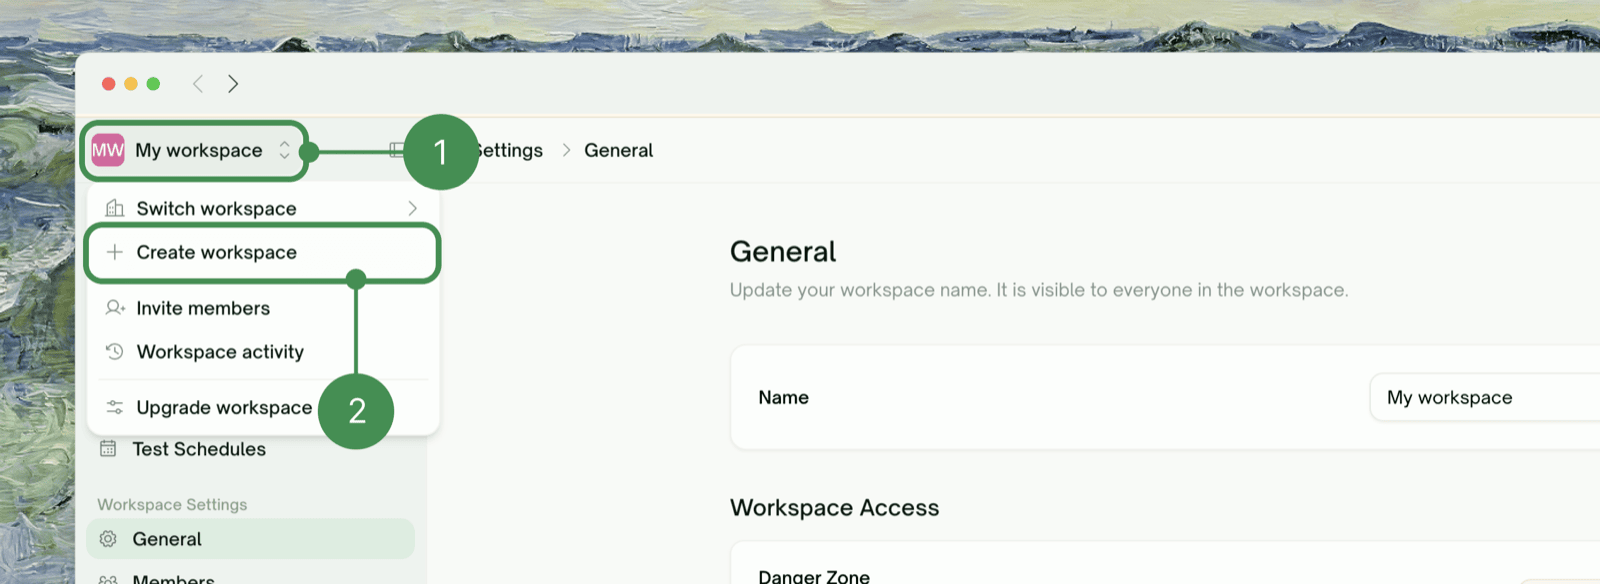
2
Name it
Enter a workspace name. The name appears in the switcher and on the page people see when they accept an invitation, and you can change it later.
3
Pick a plan
Free creates the workspace right away, as long as you don’t already own a Free workspace (the tile shows Limit reached if you do). Paid plans are billed per seat, monthly or yearly: Continue to payment takes you to the Stripe-hosted checkout, the workspace is created as soon as the payment goes through, and you land back in the portal inside it. A first-time subscriber choosing Starter monthly gets the first month free.
Switching Workspaces
The workspace switcher lives at the top of the left sidebar. Click it and choose Switch workspace to see every workspace you belong to — your default workspace first, then the rest alphabetically, with a checkmark on the active one. The same menu holds Create workspace, Invite members (Admins and the Owner), and Workspace activity.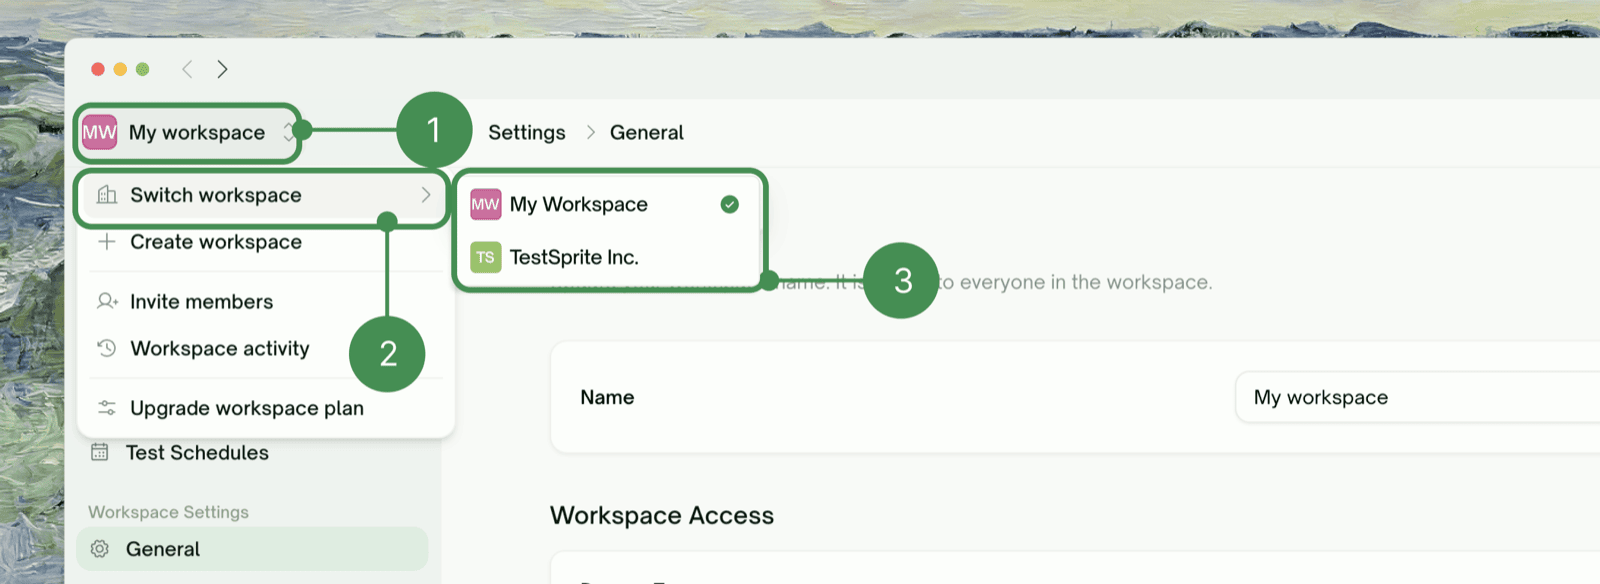
- Where you are — you land on the selected workspace’s dashboard, and the URL updates to that workspace.
- What you see — projects, tests, runs, schedules, and settings all come from the new workspace.
- What you can do — your role is per-workspace, so someone who is an Admin in one workspace may be a Viewer in another.
Workspace Settings
Workspace Settings inside a workspace collects everything that is workspace-scoped: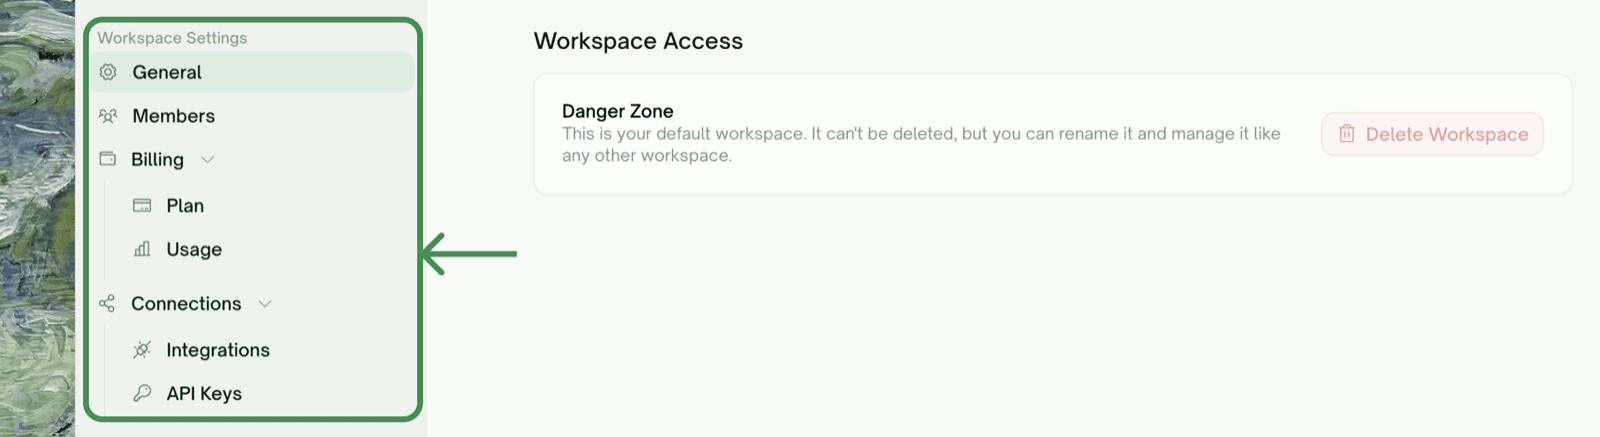
Plans and Pausing
Every workspace has its own plan. On Free, the workspace is you plus read-only Viewers. Member and Admin seats need a paid plan (Starter, Standard, or Pro), billed per seat, and every paid seat adds a monthly credit allowance. The Owner picks or changes the plan from Settings → Plan. You can own only one Free workspace, and the default workspace counts. When a paid subscription ends, the workspace moves to Free if nothing in it needs a paid plan: no paid seats besides the Owner, and within Free limits. Otherwise it is paused: read-only for everyone, nothing runs, and the credit balance is frozen. The Owner resolves it from Settings → Plan by renewing, choosing another plan, or downgrading to Free, which turns Admins and Members into Viewers. A paused workspace can still be deleted.Deleting a Workspace
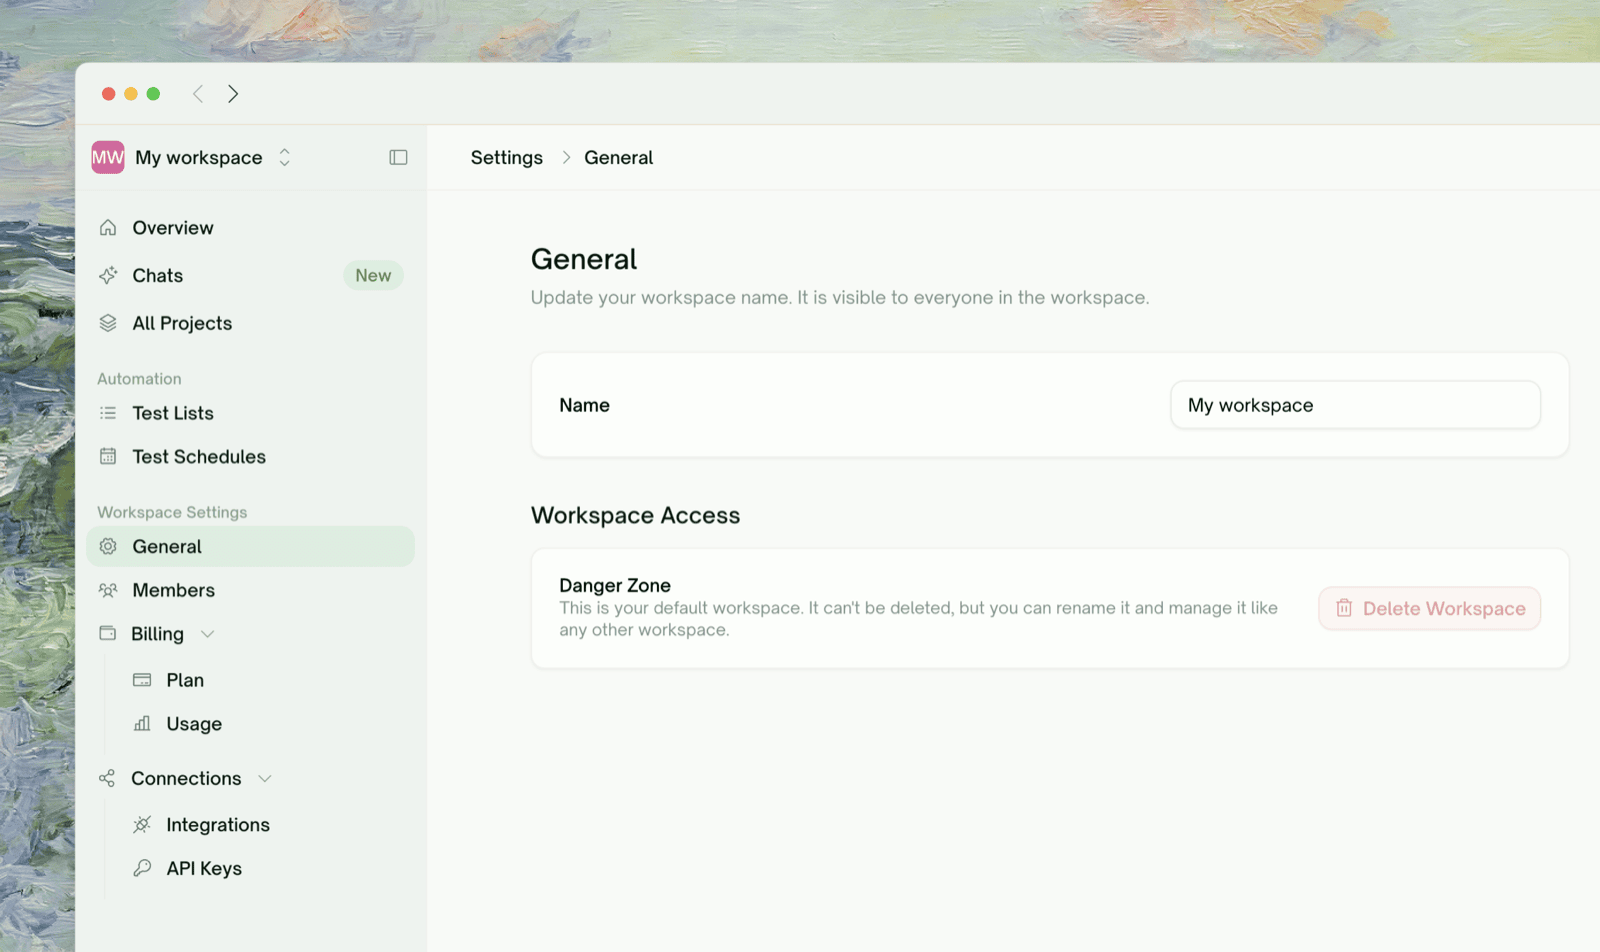
Only the Owner can delete a workspace, and only from Workspace Settings → General. The default workspace can’t be deleted — the button is there but disabled — so you always keep at least one.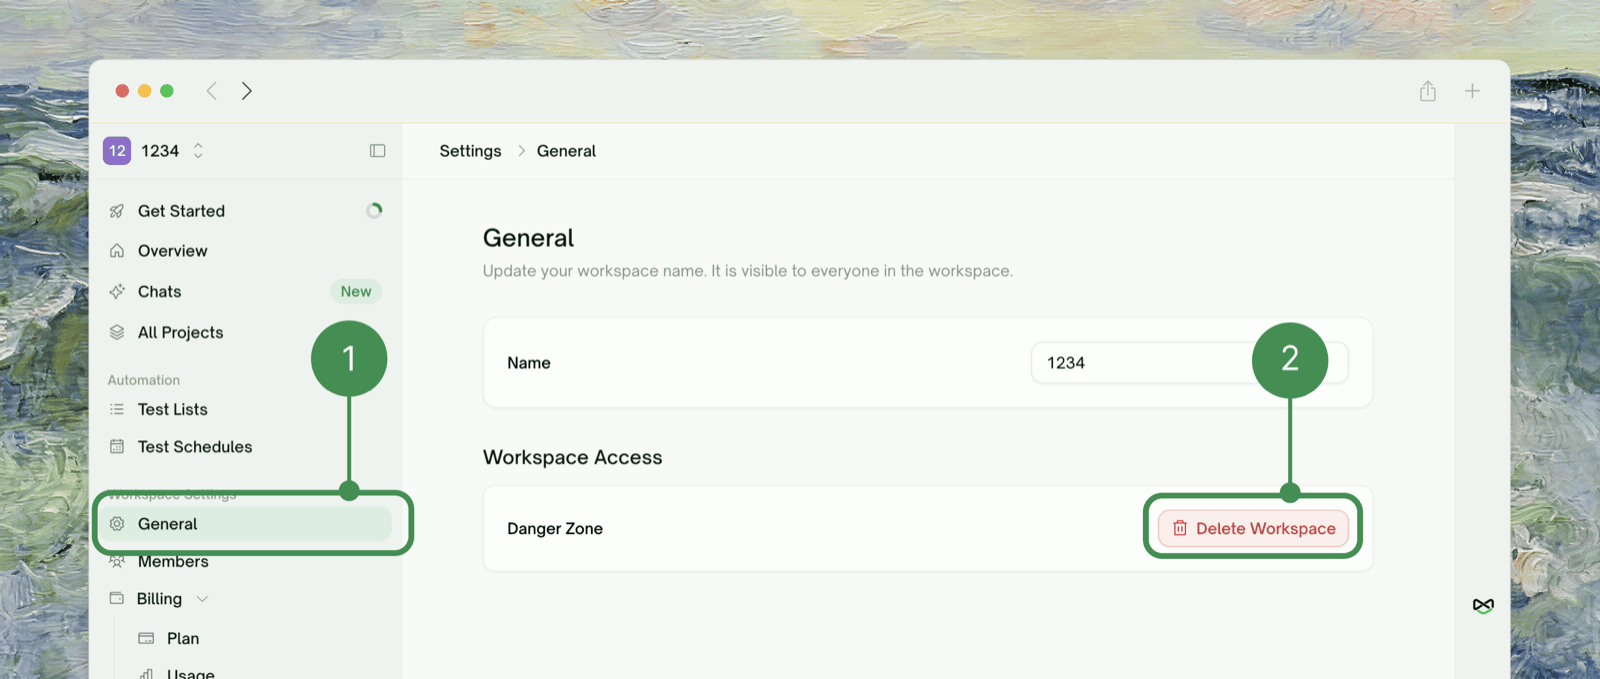
Where to Go Next
Members & Roles
Invite teammates and understand the four roles
Sharing a Project
Show a project to someone outside the roster
API Keys
Workspace keys and legacy personal keys, creation, expiry, and revocation