

Overview
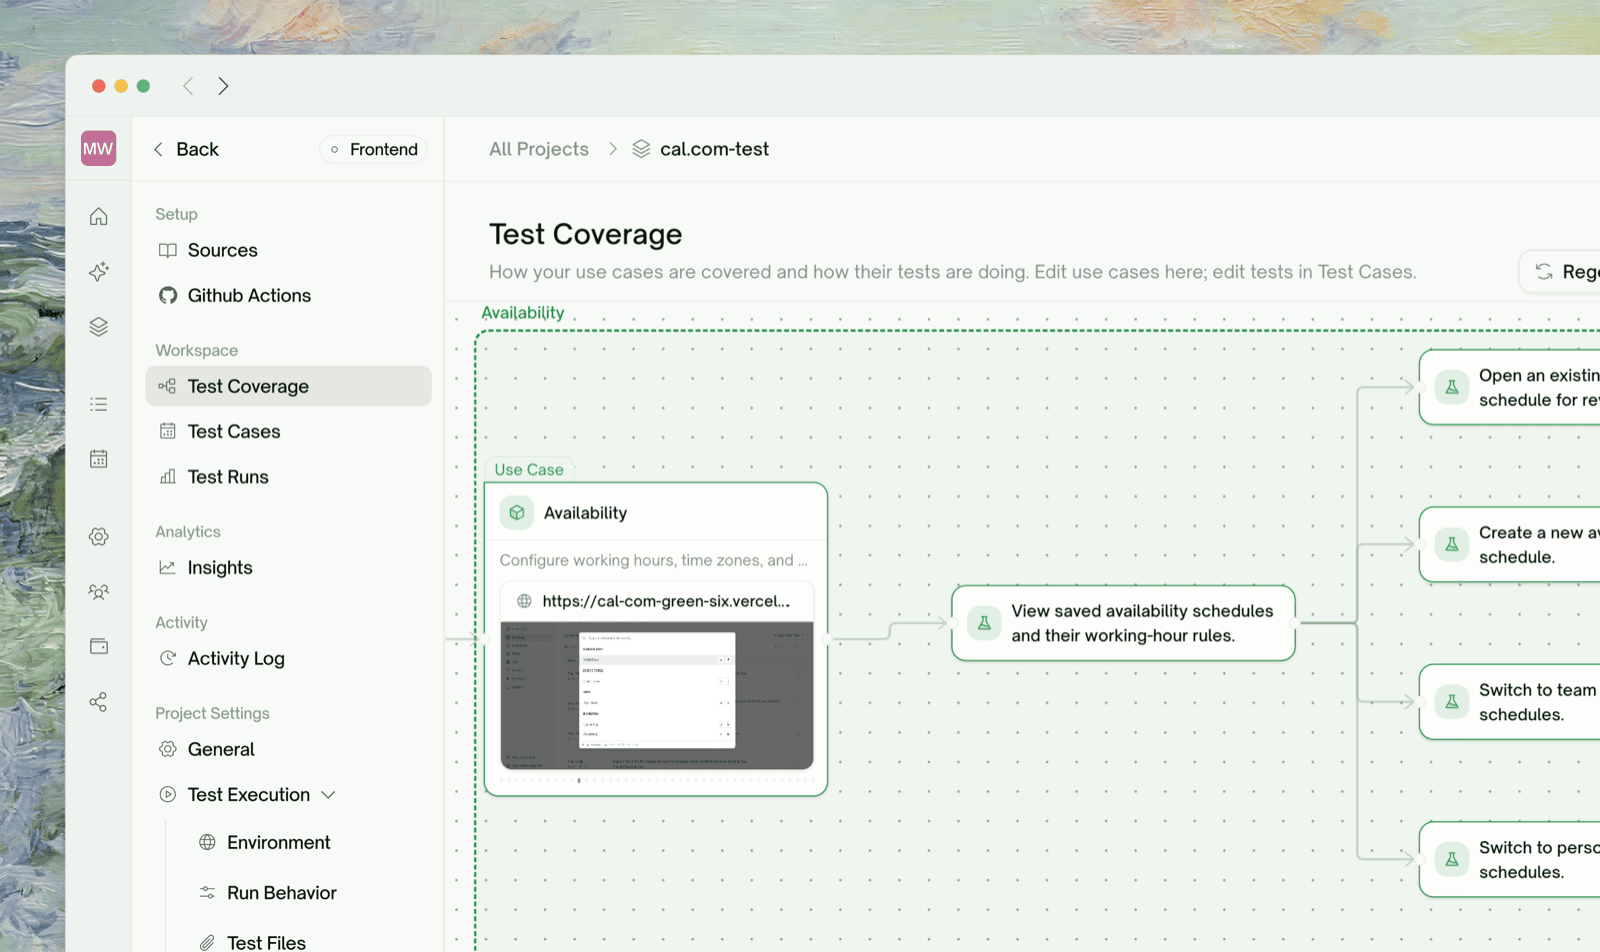
Test Coverage is the project’s visual map: your product’s features, the use cases under each feature, and the test cases attached to each use case. Every node is colored by its latest results, so you can see what’s covered, what’s passing, and where the gaps are. Open it from the project’s left nav, where it’s the first item under Workspace.Reading the Map
The map flows left to right: Project → Feature → Use Case → Test Cases. Each use-case node aggregates the results of the tests under it:
While you’re editing, nodes also carry session tags: New (added this session), Modified (edited this session), and Draft (a hand-added test case not yet saved).
Dependency arrows
Arrows between use cases show logical prerequisites (“checkout depends on product search”), identified when the plan was generated. They drive the left-to-right layout. They do not sequence test execution: runs you launch from the map execute as a normal batch.Editing Directly on the Map
- Add a feature: hover the project root node and click +.
- Add a use case: hover a feature node and click +, or click the trailing + on an existing use case to add one that depends on it.
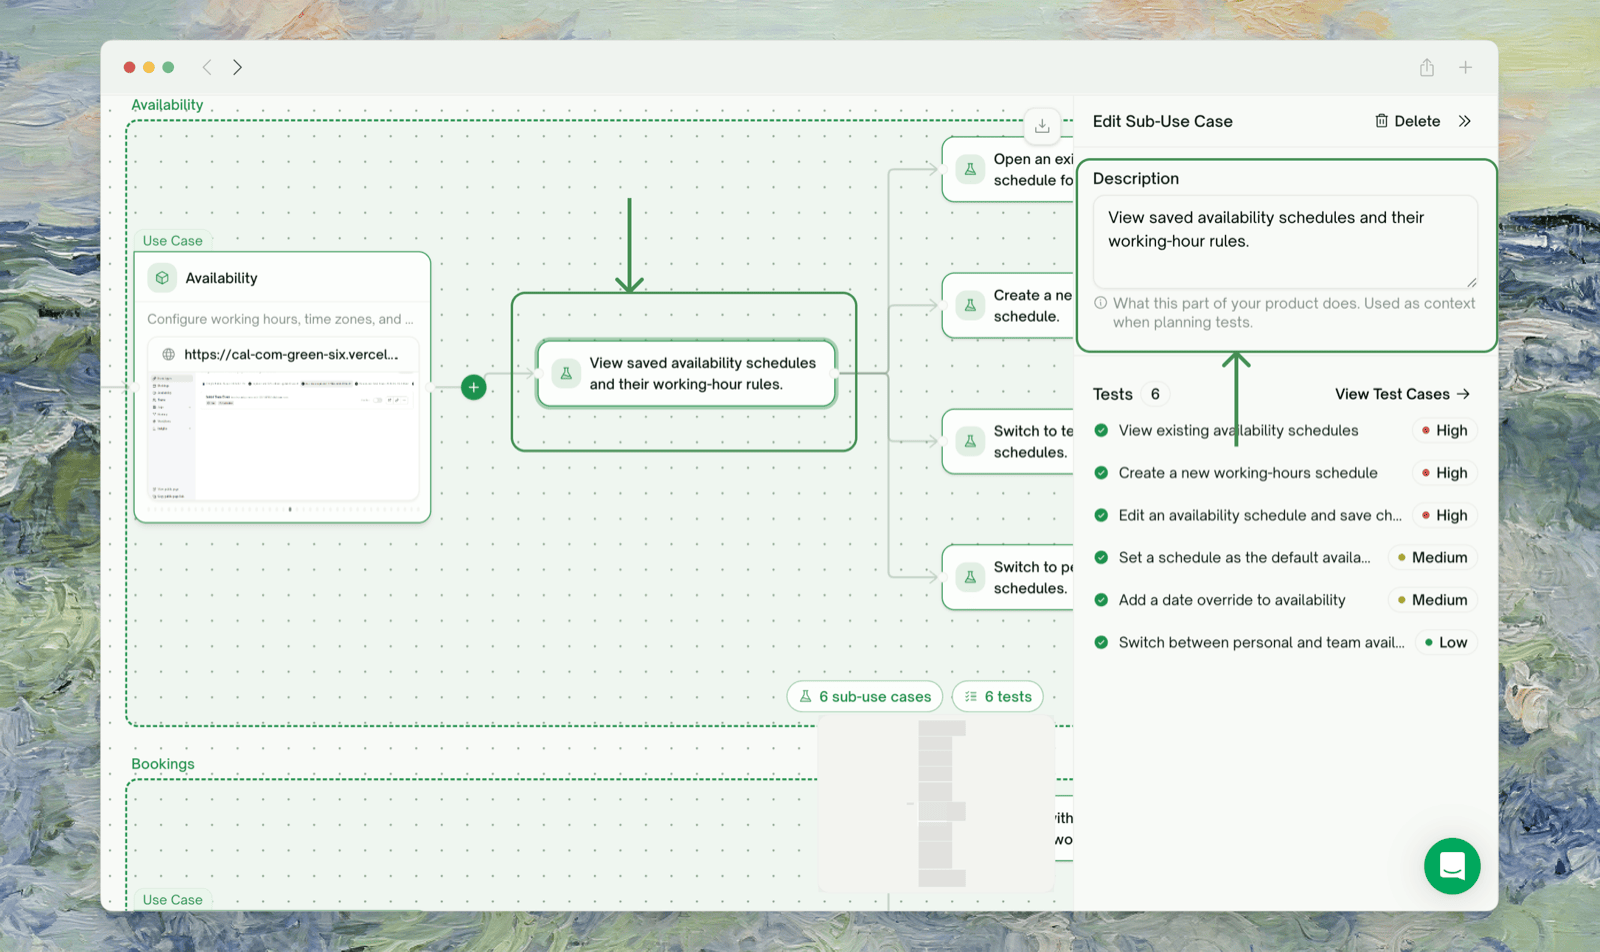
- Rename or edit a description: click a node and edit in the detail panel on the right.
- Delete a feature or use case: from the same detail panel.
- Add a test case under a use case: the + next to “Test cases” in the detail panel, or the ✨ sparkle on a feature to have AI propose more tests for just that feature.
What Save does
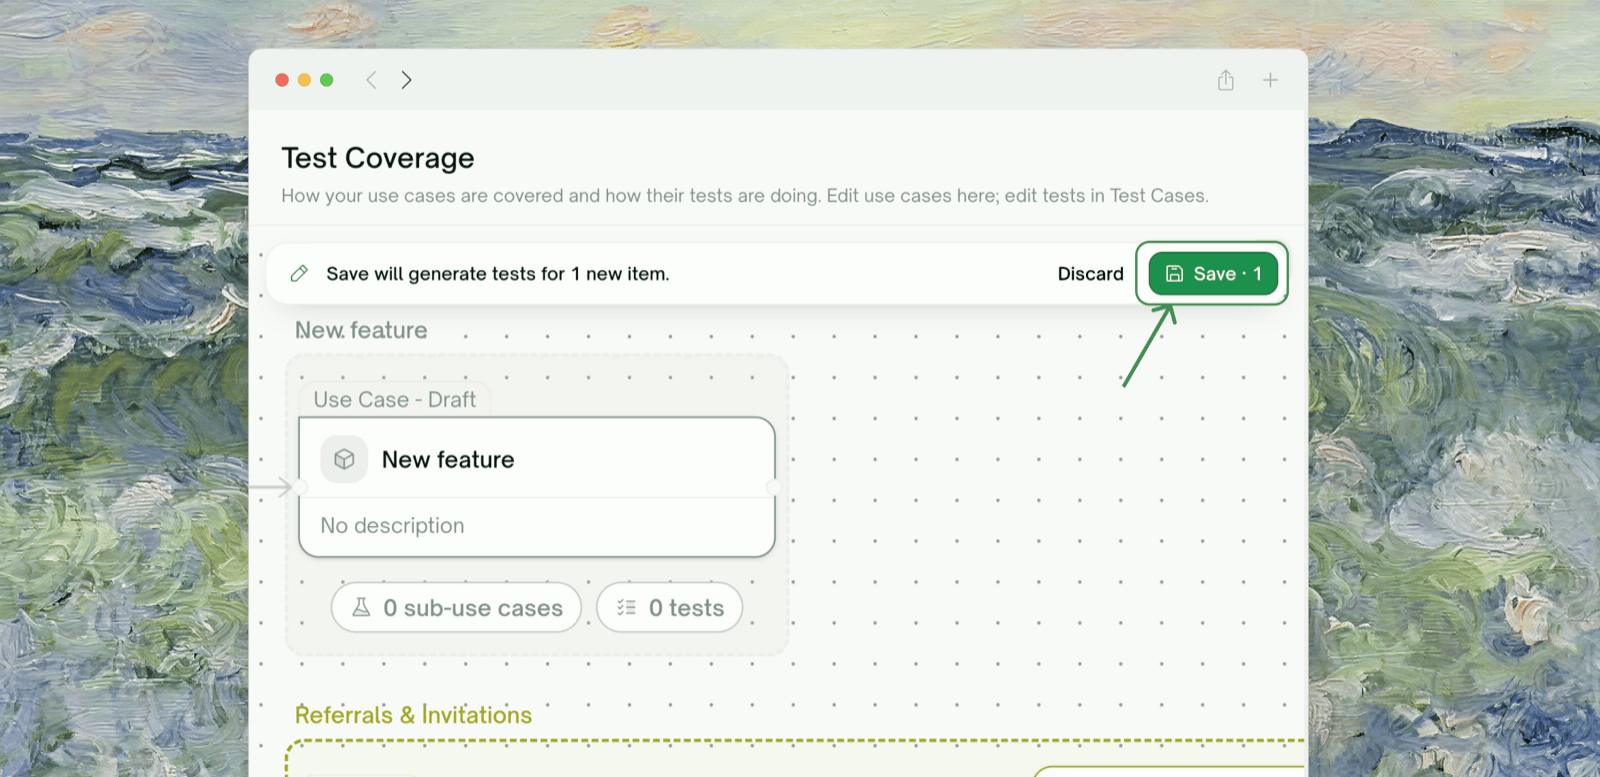
- New use cases get tests generated for them.
- Deleted use cases take their now-orphaned tests with them. The review dialog lists exactly what would be removed before you confirm.
- Renames and description edits save in one click and do not regenerate existing tests.
Workflow: Coverage-Gap Review Before a Release
1
Open Test Coverage next to your PRD
Walk the feature list top to bottom against the release’s requirements.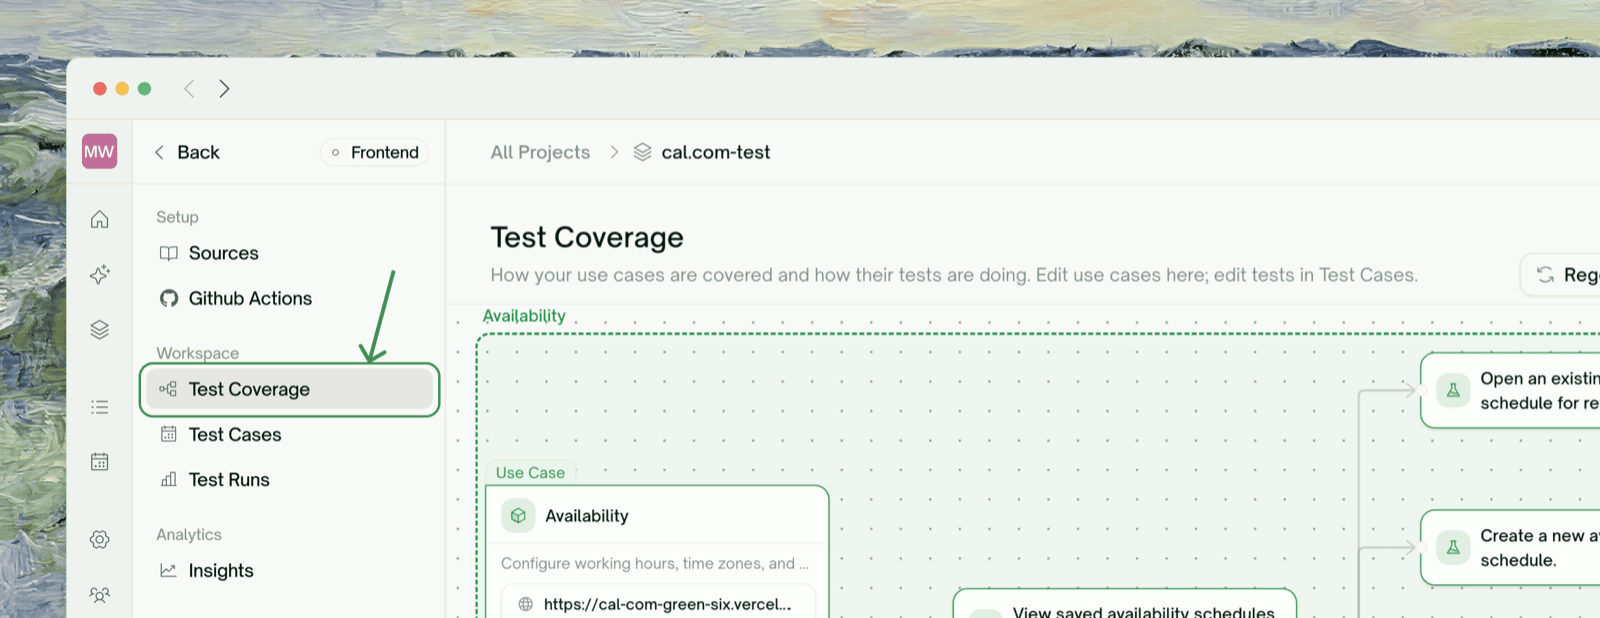
2
Hunt gray and missing nodes
Gray means it exists but has never run. Missing means the feature or flow isn’t on the map at all: add it inline with + and let Save generate its tests.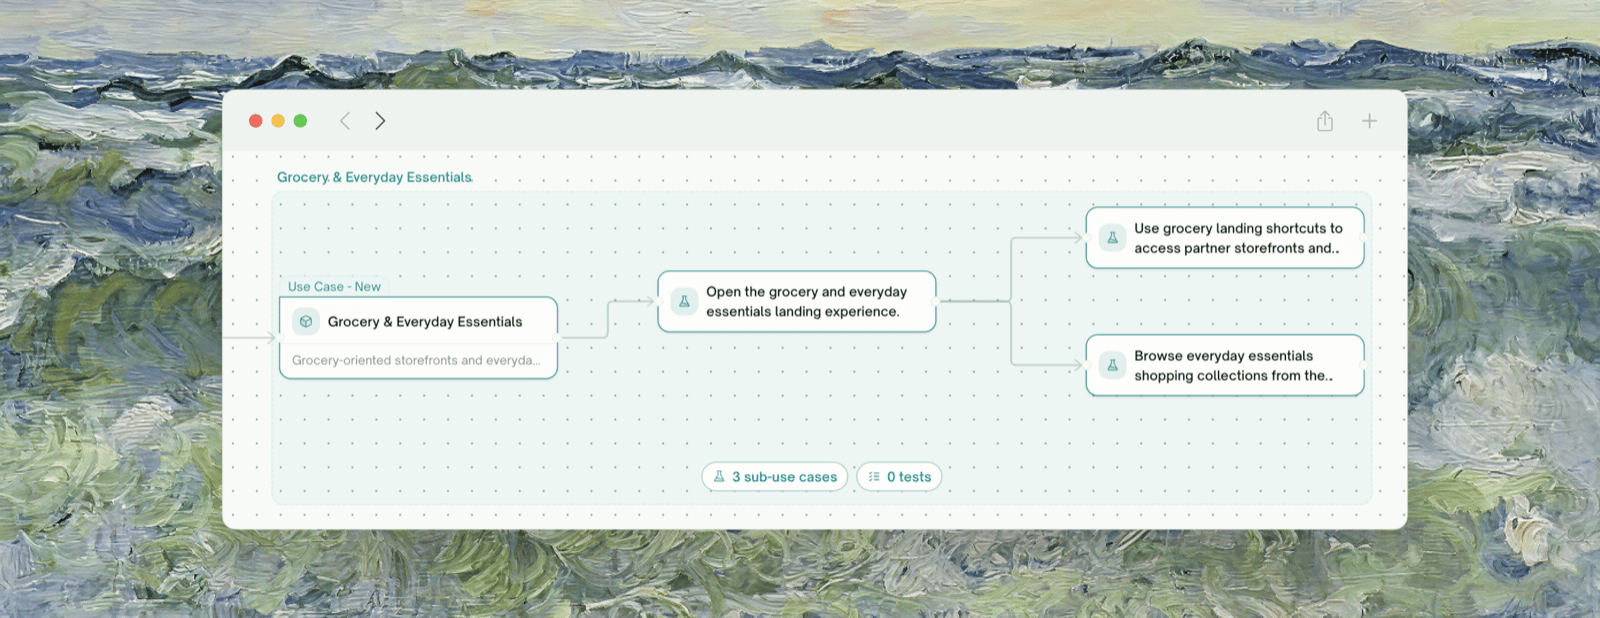
3
Check the red and amber paths
A red node on a release-critical flow is a blocker. Amber usually means an environment or auth issue to clear before you trust the run.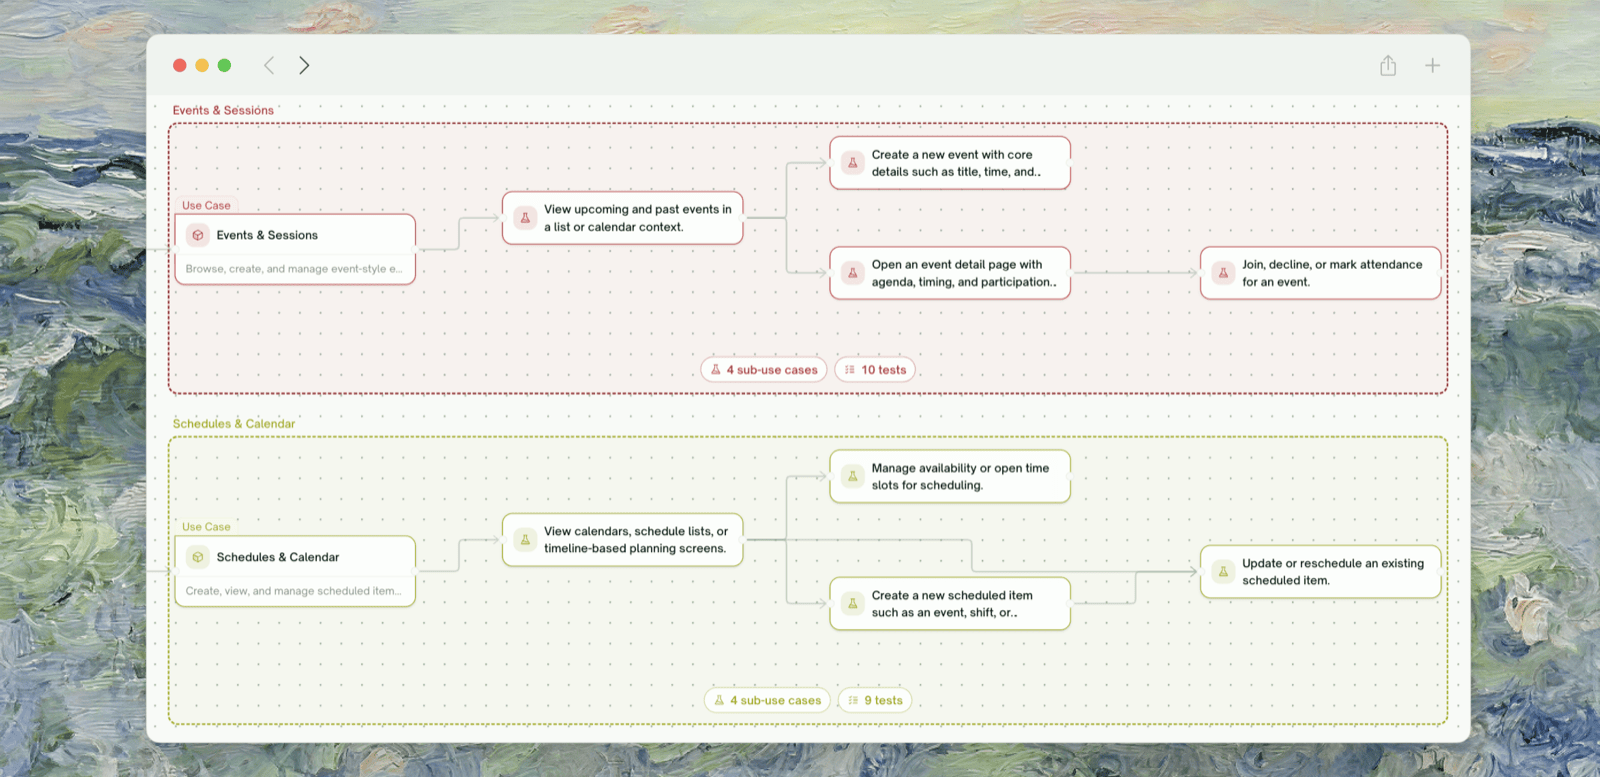
4
Save and run the additions
Run the new tests and re-check the map. The goal is a green (or consciously accepted) path for every requirement.
Where to Go Next
Managing Test Cases
Edit the tests behind each node, singly or in bulk
Managing Test Cases
Let AI improve a test that isn’t checking the right thing